 Portuguese
  English
  Spanish
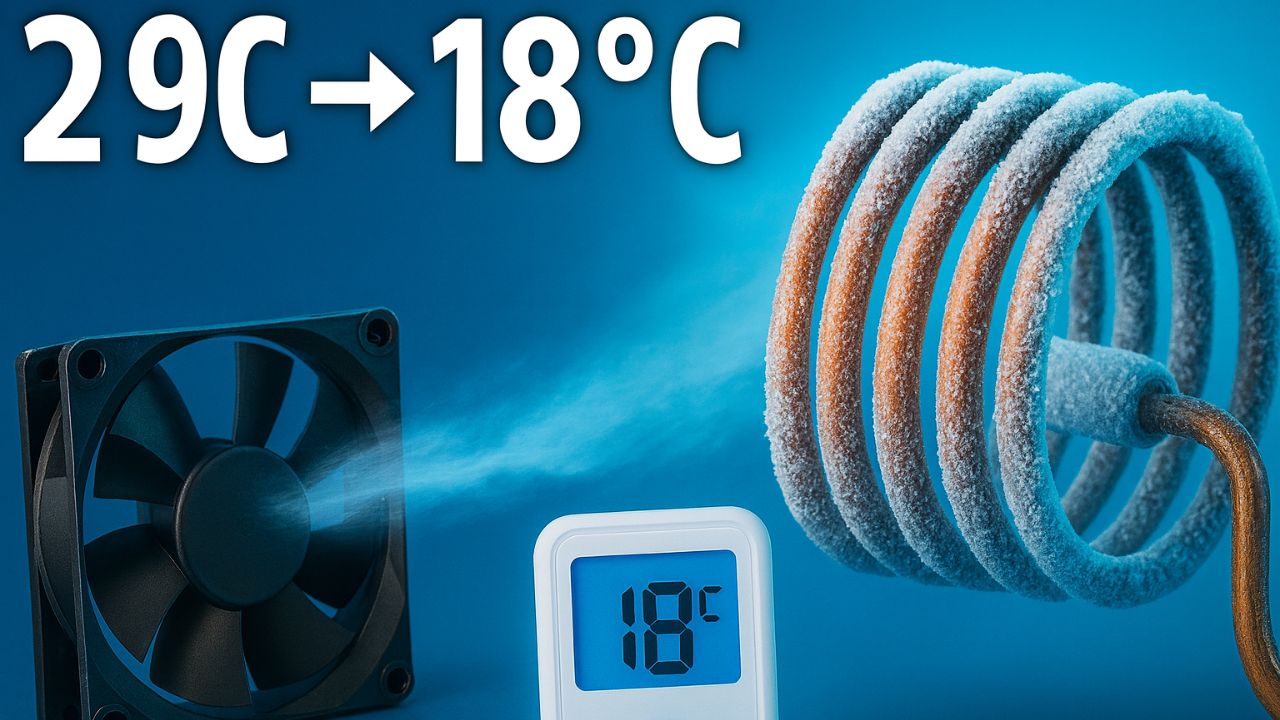


This DIY Air Conditioner Project Shows How to Transform Copper Tubes, a Thin Capillary, a Mini Air Pump, and a Simple Fan into a Real Refrigeration System Capable of Reaching Around 10 °C.
The idea of the DIY air conditioner is to take advantage of the same principle as traditional units, but on a smaller scale and with simple parts. With a bit of manual skill, it is possible to assemble a closed circuit of isobutane that evaporates, absorbs heat, condenses, and circulates again, cooling the air as it passes through the evaporator.
Throughout this step-by-step guide, you will understand how the copper coils are assembled, how the capillary creates the pressure drop, how the mini pump replaces the compressor, and why this DIY air conditioner can actually cool the surrounding environment.
What This DIY Air Conditioner Is Capable of Doing
The aim of this DIY air conditioner is to build a compact machine that actually produces cold air, without needing a traditional compressor or complex electronic circuits. With a well-assembled setup, the copper evaporator can reach temperatures close to 10 °C, even forming ice in the tubing.
The system is designed to be portable and simple, combining only copper tubing, a capillary, a fan, a mini air pump, a battery, and isobutane, all connected in a closed refrigeration circuit.
-
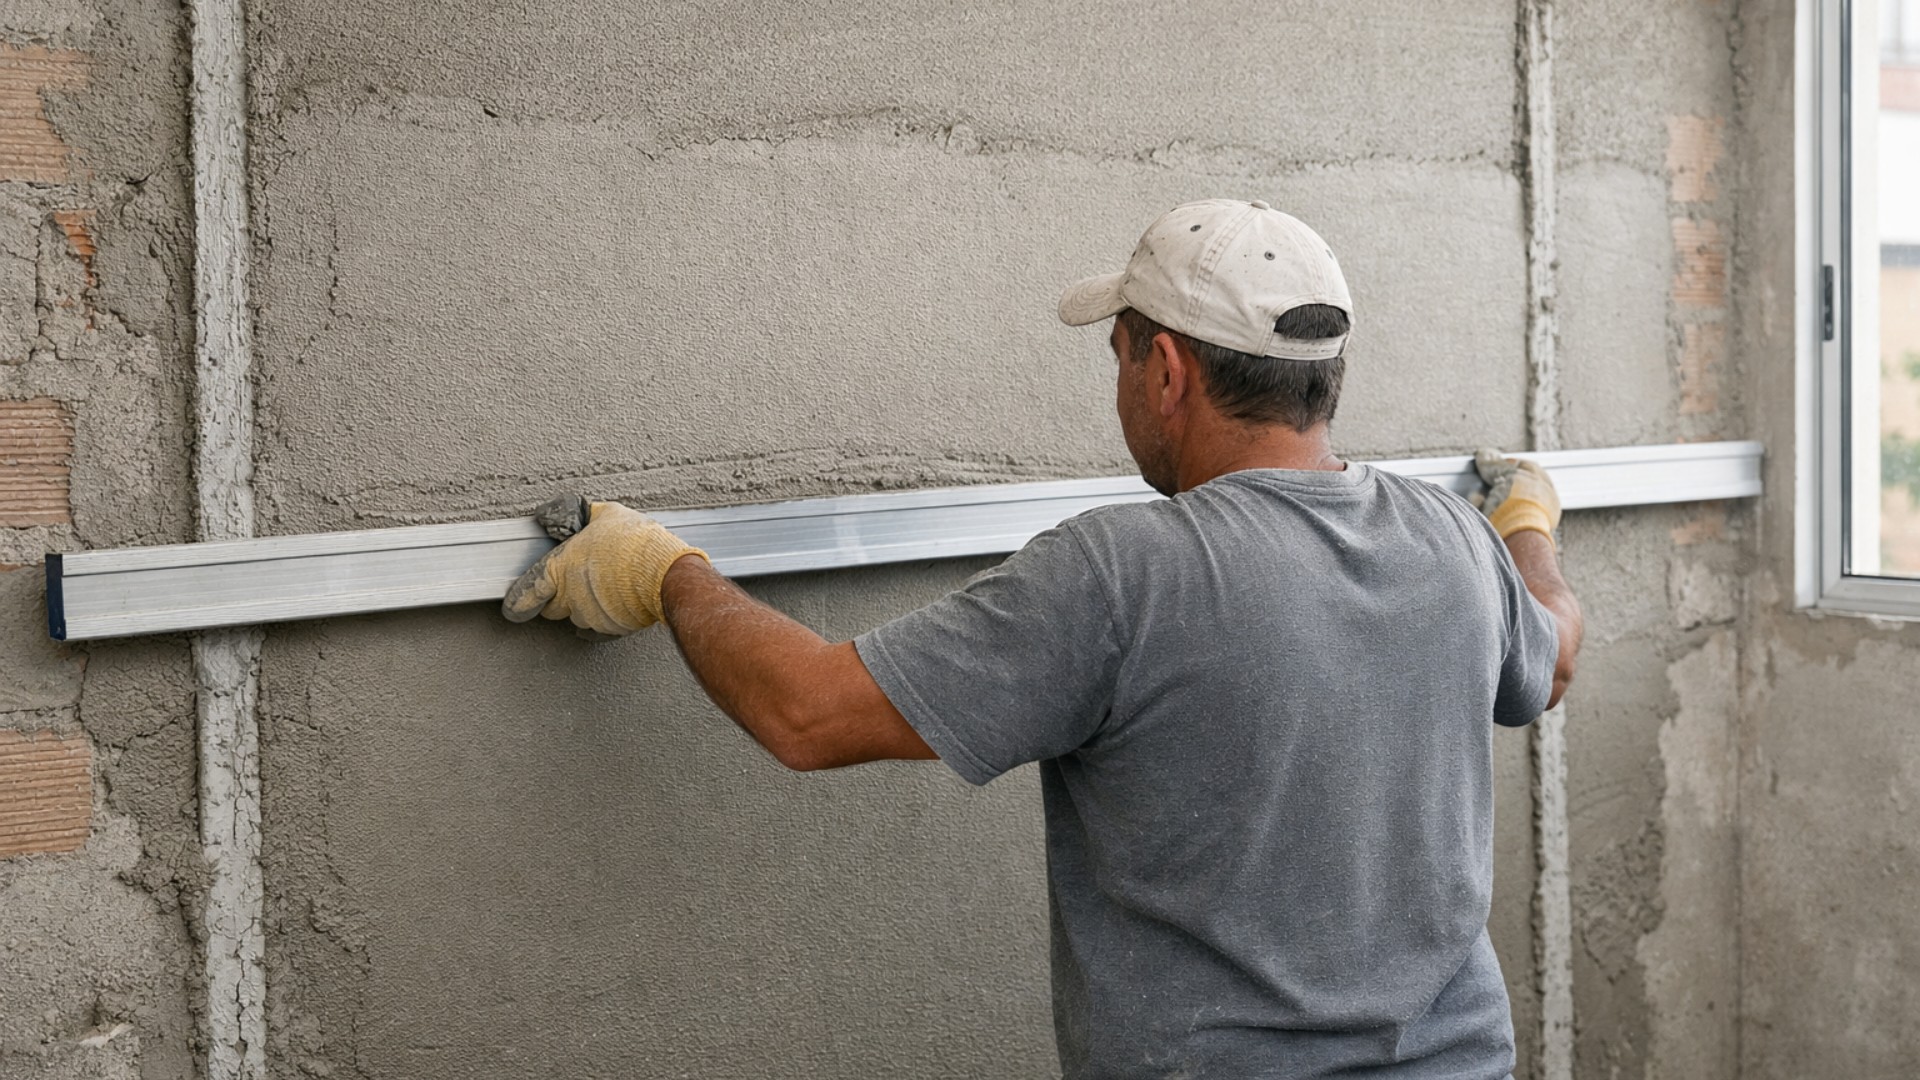
The section of Serra da Rocinha on BR-285 is now open in Timbé do Sul: 50 m tensioned curtains and top-down technique stabilize the slope, with a stairway duct controlling the water.

-
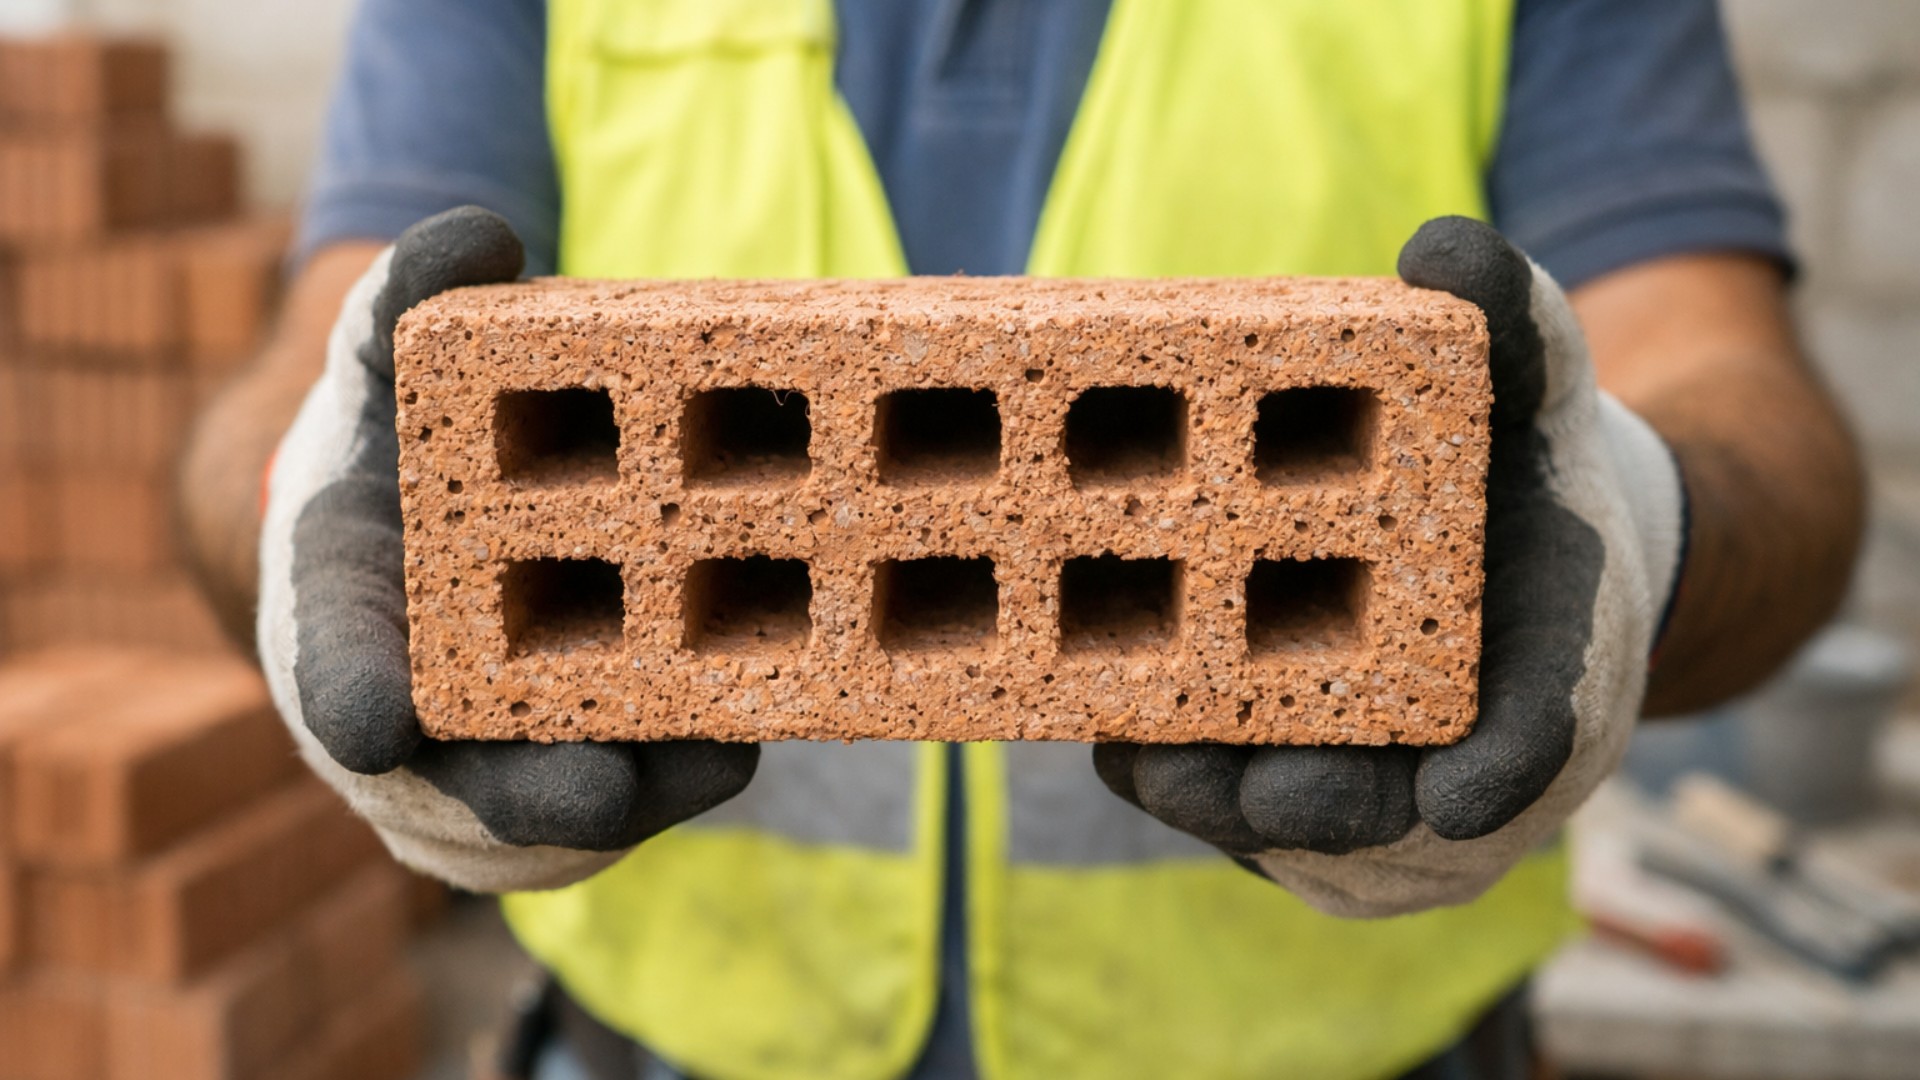
Scientists use sawdust mixed with clay to create a lighter brick, promising efficient thermal insulation and impressing by transforming waste into a solution for construction.
-
With a DNA shape, this bridge in Singapore draws attention in modern architecture and surprises tourists by transforming a simple crossing into an unforgettable visual experience in the urban heart.

-
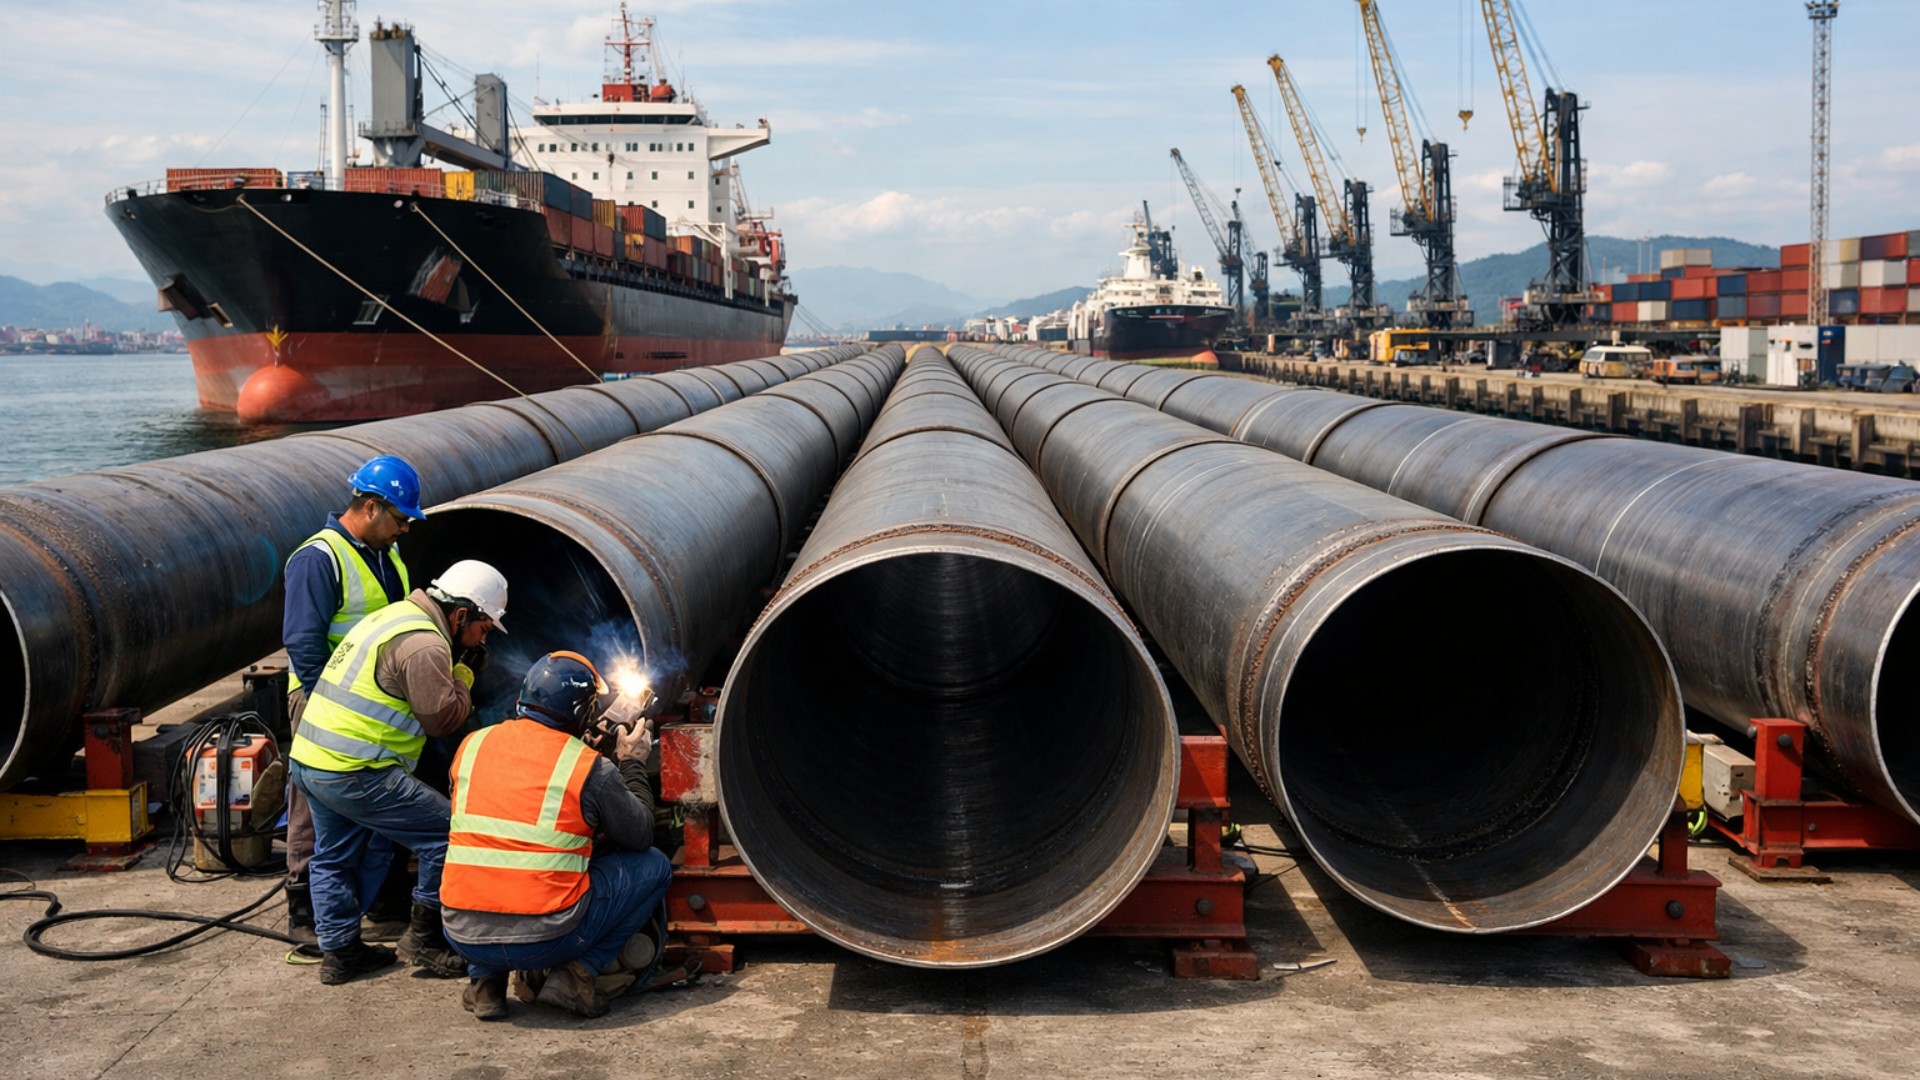
Giant underwater pipeline begins to take shape with a R$ 134.7 million project at the Port of Santos: the 1.7 km structure uses 12-meter and 700 mm pipes to supply water to 450,000 people in Guarujá.

Copper Coil Functioning as Evaporator

The base of the DIY air conditioner is the copper tube. First, a copper tube of approximately 4 x 6 mm is used. You choose a round object, such as a paint can or cylinder, and wrap the copper tube in a spiral shape, making about eight turns.
After forming the coil, the tube is cut, and both ends are gently bent outward, facilitating future connections with the rest of the system.
At this stage, copper takes on the role of the evaporator in the DIY air conditioner. Since copper has excellent thermal conductivity, this is where the refrigerant evaporates, absorbs heat, and cools the air that the fan will blow.
Building the Condenser and Organizing the Parts on the Board
Next, the second coil is made, which will be the condenser. The procedure is similar, but this time the turns are wider and spaced out, not as dense as the first one.
This difference is important because the condenser is the part that needs to release heat to the environment and return the refrigerant to a liquid state. A well-positioned condenser with more open coils helps the hot gas cool more efficiently.
Then comes the stage of assembly on a support board. This board will hold the evaporator, condenser, fan, and battery box.
The layout can follow the arrangement in the original video or be adapted to the available material, as long as the air can circulate well through the evaporator and the condenser is positioned adequately to dissipate heat.
The copper tubes are secured to the panel with plastic clamps and ties. Here, it’s essential not to reverse the inlet and outlet directions so that the DIY air conditioner cycle works correctly.
Thin Capillary, The Heart of the Cooling Circuit
The next element is the capillary, an extremely thin tube that controls the flow of the refrigerant. This capillary has an internal diameter of only 0.6 to 0.8 mm and is considered the heart of the DIY air conditioning system.
It is bent around a pen, forming three turns. When the liquid refrigerant passes through this narrow tube, it undergoes a sharp pressure drop. This drop causes the liquid to vaporize almost instantly, absorbing heat and cooling the tubing.
After bending the capillary, one end is connected to the condenser and the other to the evaporator. The connections need to be tightly fastened with the appropriate tools to avoid any loosening. Next, a soldering iron is used to securely seal the copper ends, keeping the system closed, safe, and stable.
Fan, Mini Air Pump, and Electric Connections
To turn the setup into a functional DIY air conditioner, it is necessary to move the air and circulate the refrigerant. Right next to the evaporator, a small 12 V fan is installed that blows air through the cold copper coils. It is this airflow that carries the cold from the evaporator to the environment.
A 9 V battery box is also installed to power the fan and the mini air pump. The 12 V pump is secured in its own support, and its function will be to compress the gas, like a mini compressor.
Two 6 x 8 mm PVC hoses are used to connect the outputs of the condenser and the evaporator with the air pump. The output of the pump is connected to the condenser, while the input is linked to the evaporator, closing the cycle.
The fan and the pump are connected to the battery box, with the wires properly soldered to ensure firmness and avoid bad contact. All electrical connections must be well insulated to prevent shorts and failures during the operation of the DIY air conditioner.
Charging the System with Isobutane and Starting the Mini DIY Air Conditioner
With everything assembled, the crucial step comes: injecting the refrigerant. In this project, the refrigerant used is isobutane. A syringe is used to insert small amounts of gas into the PVC hose, taking care not to puncture or cause leaks.
The needle of the syringe is introduced into the hose, and isobutane is injected gradually. Not much gas is needed, just a small amount is sufficient for the DIY air conditioner to get going and start cooling the copper evaporator.
It is vital to remember that isobutane is flammable. Any experiments with DIY air conditioners using gas require great care, a ventilated environment, and absolute distance from flames, sparks, or heat sources.
How the Refrigeration Cycle Works Inside the DIY Air Conditioner
To understand what happens inside the system, just follow the path of the isobutane. It enters as a liquid in the evaporator, coming from the condenser and passing through the capillary first. In the capillary, the pressure drops sharply. This reduction causes the liquid to vaporize and, upon vaporizing, it absorbs heat from the surroundings.
It is at this moment that the copper tube of the evaporator cools and can even form ice, while the fan blows this cold air out. The DIY air conditioner works because the refrigerant pulls heat from the air as it changes physical states inside the copper coil.
After evaporating and absorbing heat, the isobutane continues in gas form through the tubing to the mini air pump, which acts as a compressor. The pump sucks the low-pressure gas and compresses it, turning it into high-pressure hot gas.
This heated gas then enters the condenser. As it passes through the more open coil, the refrigerant releases heat to the environment, warming the tube. It loses heat, condenses, and returns to a liquid state, ready to pass through the capillary again and restart the cycle.
The process repeats continuously:
- liquid passes through the capillary, loses pressure, and evaporates in the evaporator
- cold gas absorbs heat, is sucked by the pump, and compressed
- hot gas passes through the condenser, releases heat, and turns back into liquid
Liquid that turns into gas absorbs heat, gas that returns to liquid releases heat, and that is how this DIY air conditioner actually cools the air around the coils.
A Refrigeration Laboratory in the Form of a DIY Air Conditioner
In the end, this DIY air conditioner project functions as a small refrigeration laboratory, practically demonstrating what happens inside a large unit. It uses the same physical principles, but with exposed copper tubes, visible capillary, mini air pump, and a simple fan.
More than just cooling, it helps visualize how the cycle of compression, condensation, expansion, and evaporation transforms a fluid like isobutane into an agent capable of extracting heat from the environment and taking that heat elsewhere.
And you, after understanding how this DIY air conditioner with copper, capillary, isobutane, and mini pump works, would you dare to build your own to test this mini refrigeration system in practice?


QUAL É A CAPACIDADE EM BTU’S PARA ÁREA DE ATÉ 20 M2❓️
Acredito que é só para ter uma brisa fresca e que não esfriaria um ambiente.
Gostaria de saber qual a metragem do ambiente que esse projeto resfria