 Portuguese
  English
  Spanish
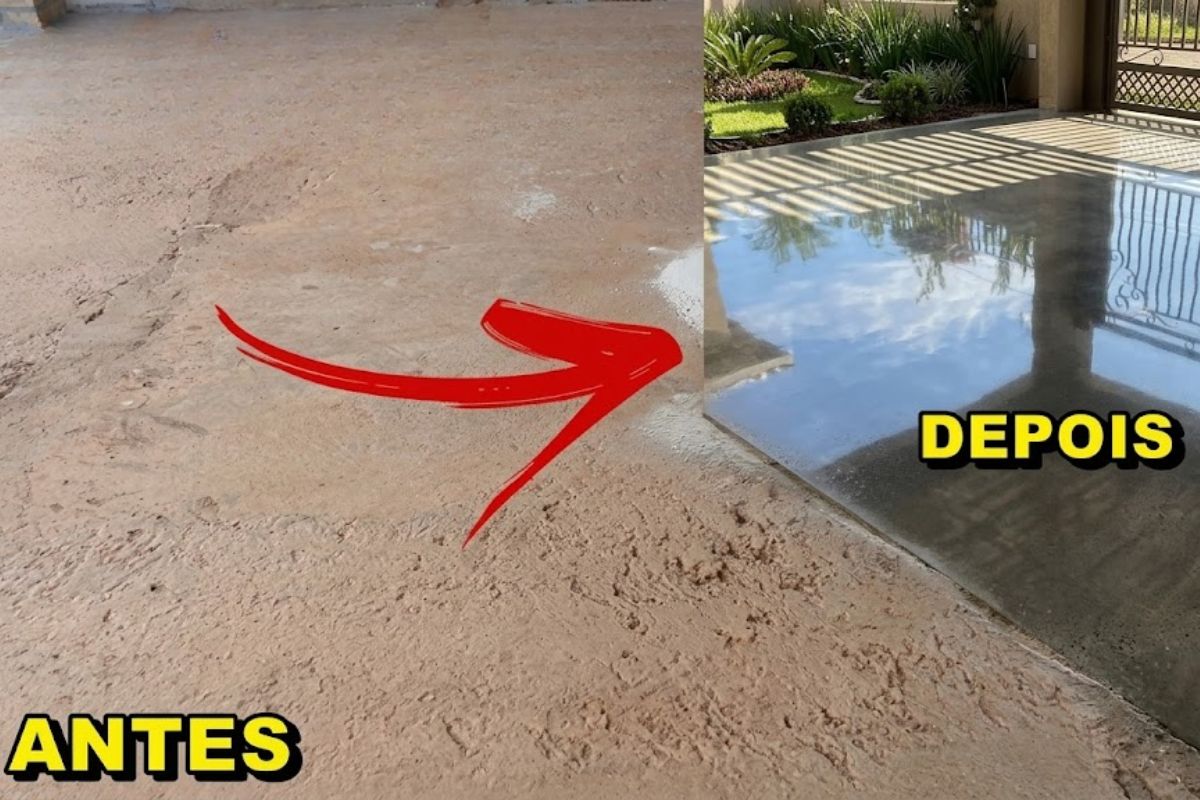
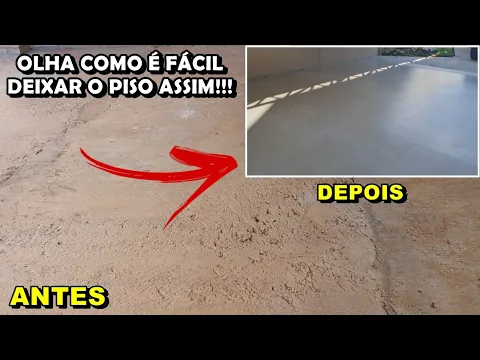
In An Area Of 53 Square Meters, A Rustic Floor Full Of Holes Received Heavy Cleaning, Primer, Self-Leveling Cement, And Three Coats Of Resin, In A Process Executed In About Four Hours That Aimed To Level The Concrete, Reduce Costs, And Deliver A Glossy Finish Similar To Liquid Porcelain Without Breaking Anything
The floor of this area began with a thick, rustic concrete full of imperfections, but was transformed through a direct sequence of cleaning, primer, self-leveling cement, and a finish with resin. The strongest point of the method is that it does not depend on the removal of the old base, which reduces time, mess, and expenses in a major renovation.
The intervention took place in a space of 5.30 by 10 meters, totaling 53 square meters, and aimed to deliver a smoother, more uniform, and glossy surface. The visual result was close to that of liquid porcelain, but with execution based on self-leveling product, thickness control, and proper use of the bubble roller to prevent surface defects.
What Had To Happen Before The Floor Began To Level
Before any application, the floor underwent a thorough cleaning with a pressure washer. The reason was simple: the concrete had many tiny holes and irregularities capable of holding dirt, and any residue trapped there would compromise the adhesion of subsequent layers. Without deep cleaning, the finish could look beautiful at first, but would lose quality in adhesion.
-
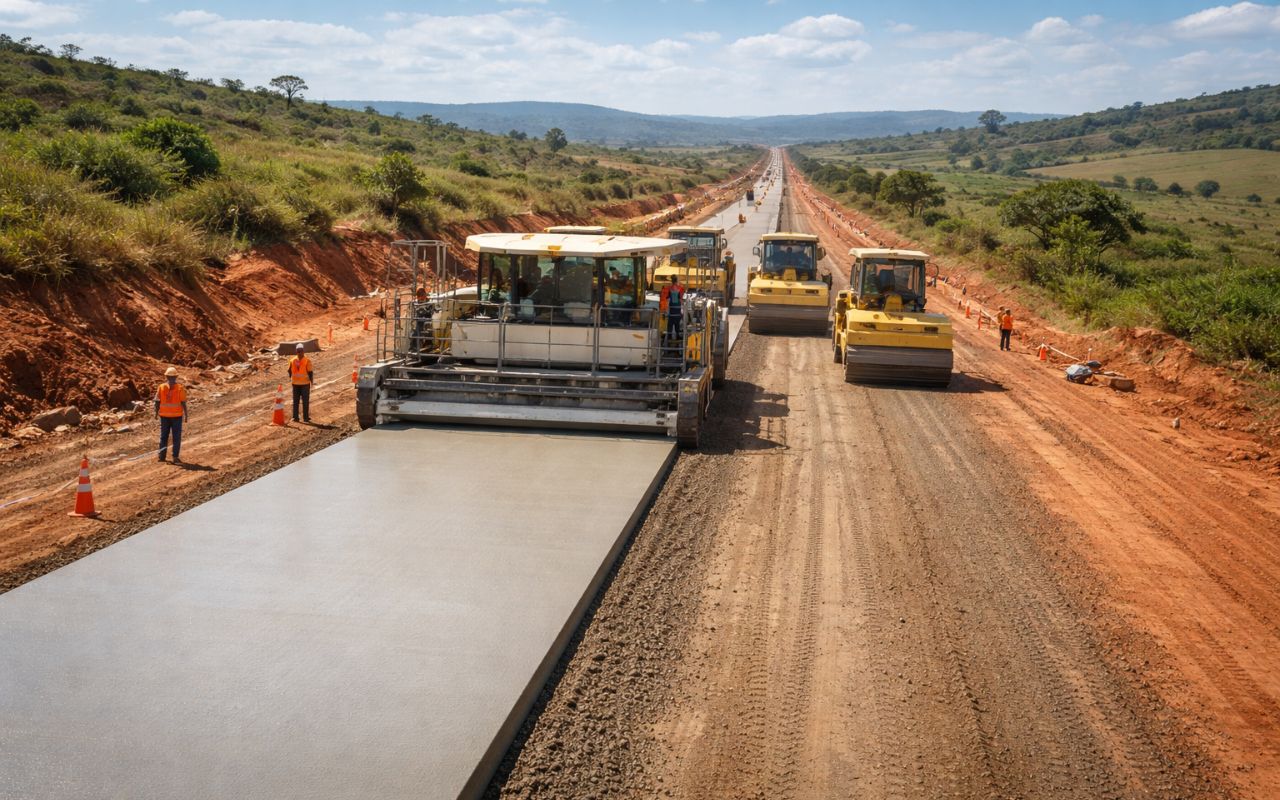
New CCR concrete paving technology promises roads up to 3x more durable, less maintenance, and cost reduction in Brazil.
-
Made from recycled plastic, plastic wood is gaining space in the construction industry because it does not rot, resists moisture, and reduces maintenance costs over the years.

-
Florianópolis will receive a million-dollar BRT that will begin construction in 2026 with nearly 400 million in funding from the federal government and the Inter-American Development Bank, and the map already shows the routes for the exclusive bus corridors.

-
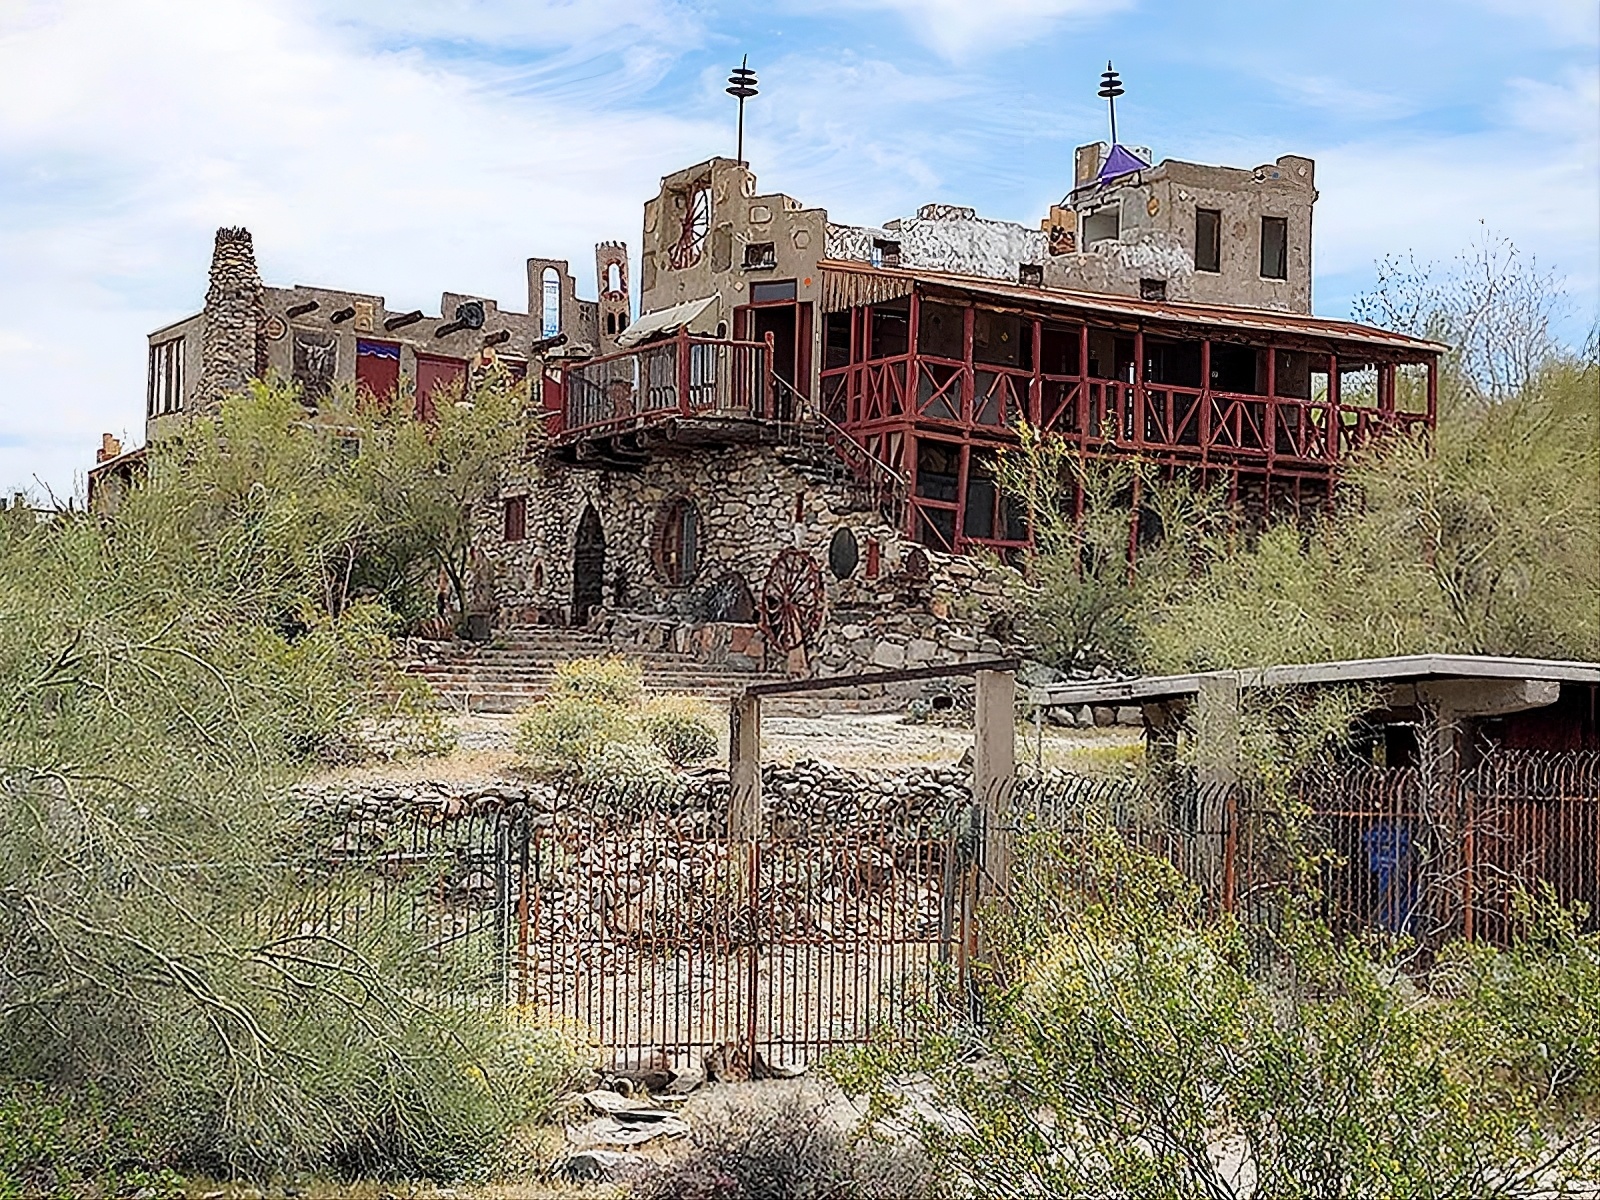
Without a blueprint, without an engineer, and using scrap from the dump, a father spends 15 years building an 18-room castle for his daughter, featuring tram tracks, 13 fireplaces, and over 700 m², which may now be demolished.

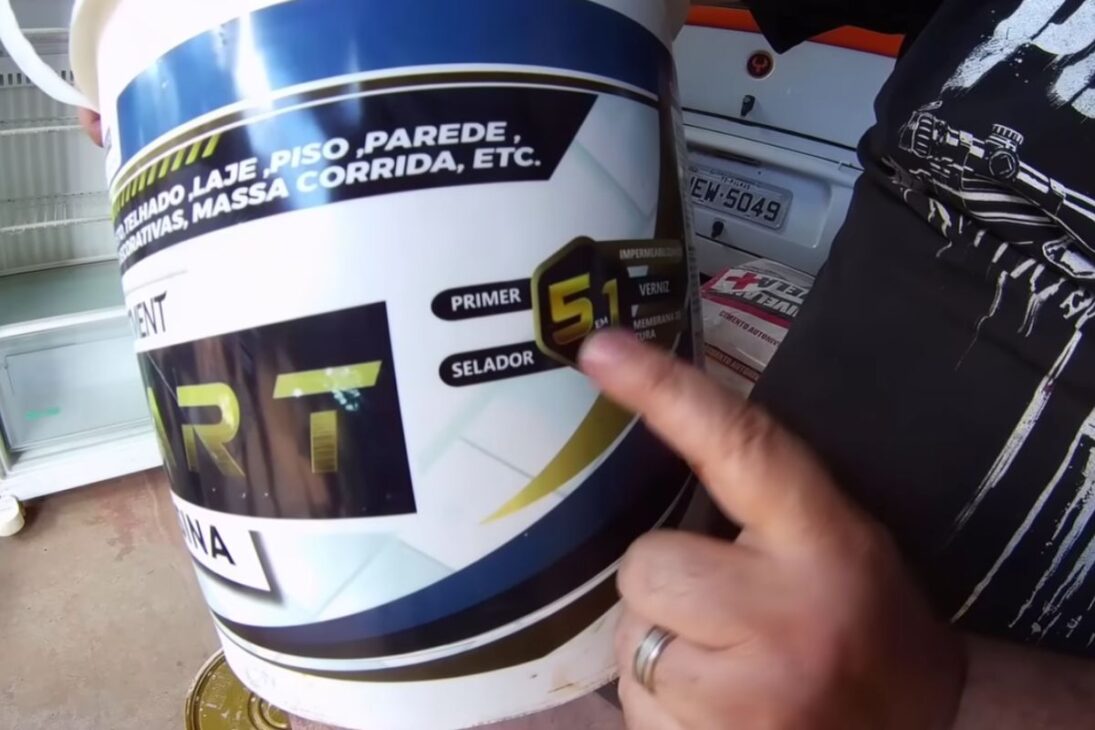
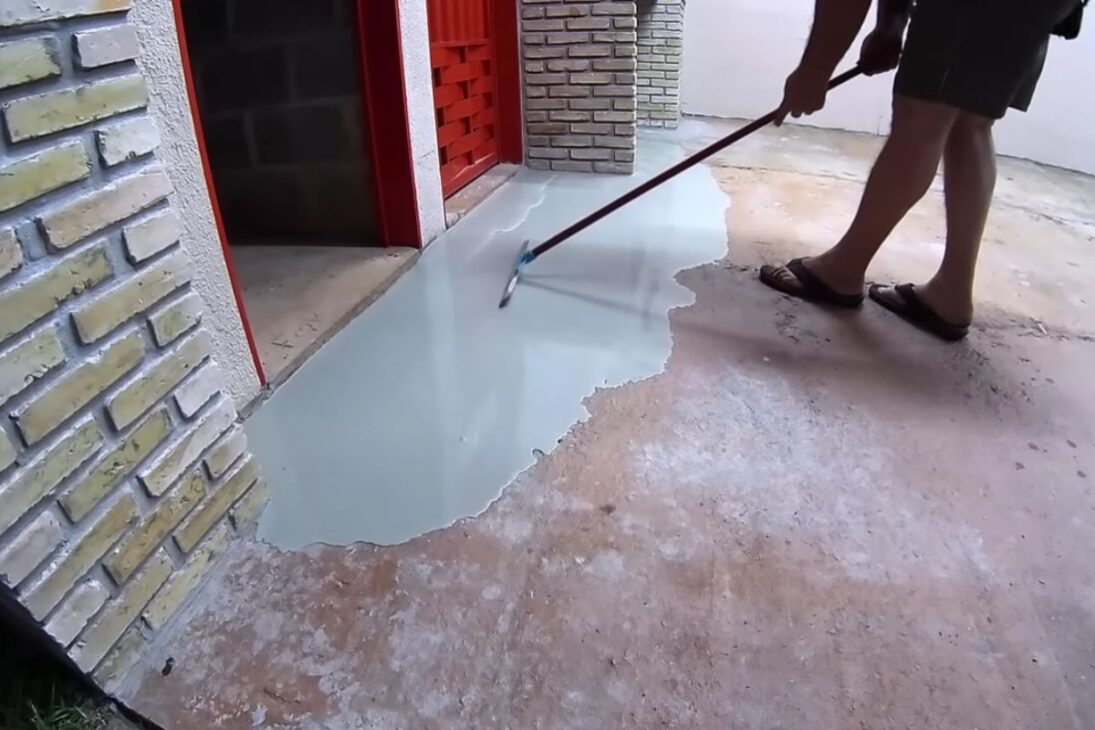
After drying overnight, the first phase of the resin was applied as a primer. The initial dilution was one part resin to one part water, applied with a thick wool roller to better penetrate the holes in the concrete. After two hours of drying to the touch, a second coat was applied without dilution. Only after another six hours of total drying was the floor ready to receive the self-leveling cement.
This preparation is what separates improvisation from method. The primer did not just come in to “wet” the surface but to seal, uniform absorption, and provide a more stable base for the self-leveling material. When the base is very irregular, what happens before the main layer weighs almost as much as the main layer itself.
Also for this reason, the system did not start with the most visually appealing stage. The final gloss catches the eye, but the transformation of the floor only holds up because the concrete was cleaned, dried, and prepared with resin at the right time. Without this sequence, the finish would lose performance precisely where it matters most: in adhesion and regularity.
How The Self-Leveling Cement Came Out Of The Bucket And Took Over The Concrete
The central stage began with the mixing of self-leveling cement in the specified proportion of 4 liters and 600 milliliters of water for each 20-kilo bag. Water was added first, and the product was gradually added while continuously mixing to avoid undissolved lumps. The material needed to come out homogeneous, as any clump would compromise the smooth finish that the floor required in the end.
Since the area was large, two containers were used to maintain production pace. The whole space was 53 square meters, and the total consumption reached nine packages of self-leveling cement. The application was done by pouring the product directly onto the concrete, letting it start to spread on its own, and then correcting the thickness with a notched trowel.
This manual correction was important because the floor was not flat. There were higher and lower points, and leaving the material completely loose would mean accepting higher expenditure in some sections. The decision was to work with a medium thickness, not too thin and not excessive, closing imperfections and controlling consumption. The final estimate was between 3 and 4 millimeters. It was this balance that allowed leveling without making the product too thick and too expensive.
In practice, the self-leveling cement did what the name promises, but not magically. It helps the material settle, but requires proper handling, spreading, and filling of corners. The floor gained uniformity because there was enough product, area control, and constant monitoring of what still needed to be covered.
Why The Bubble Roller And Resin Determined The Final Finish
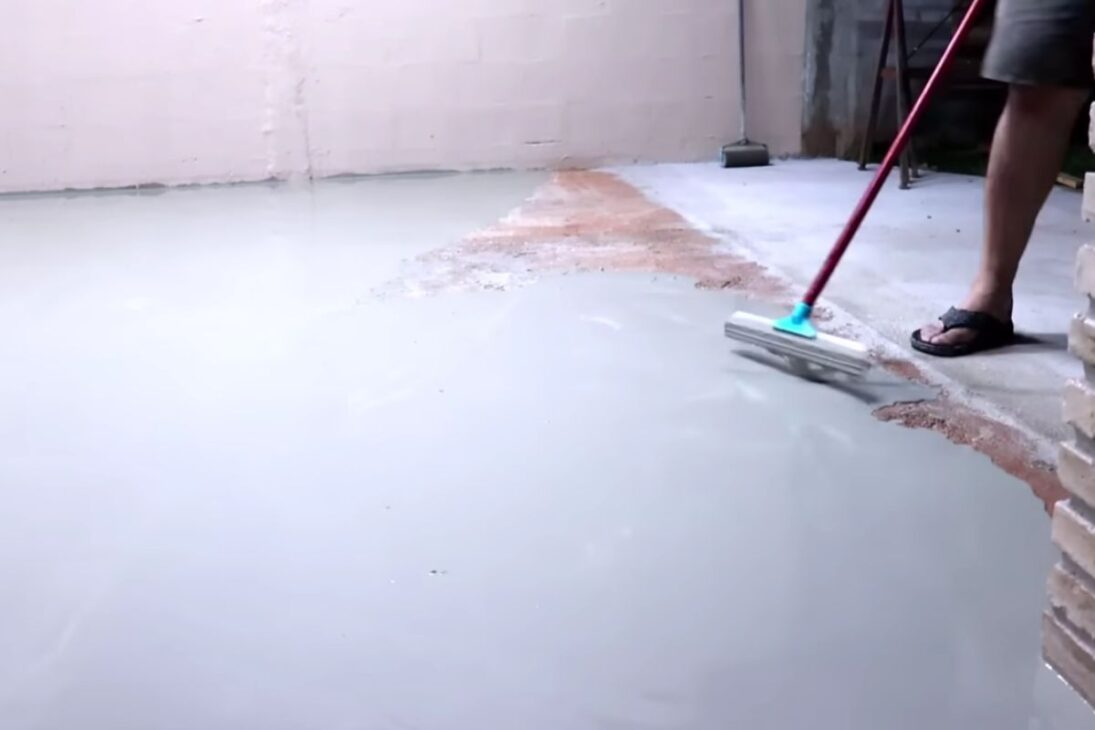
If there was one tool considered essential, it was the bubble roller. After spreading with the notched trowel, it was used to pierce air bubbles trapped beneath the material. Without the bubble roller, these bubbles would rise, burst, and leave tiny holes on the surface. In other words, the part that seems like a detail is precisely what prevents the floor from losing its smooth appearance.
The repeated use of the bubble roller also helped reveal the shine of the self-leveling cement while still wet. This is where the visual reading of a continuous surface began to appear, more similar to a liquid and leveled finish. The material was already showing signs of reflection and uniformity, indicating that the floor was moving from being just a corrected concrete to becoming an area with a much more refined finish.
After 72 hours of curing, the finishing resin phase began. The floor was simply swept to remove dust from the drying period and then received three pure coats of resin, without dilution. The application was crossed: one coat in one direction, the second in the opposite direction, and the third again in the initial direction. This crossing helped better seal the surface and build the shine that gave the final reading a cleaner and more continuous look.
It is at this stage that the method distances itself from a simple base correction. The self-leveling cement delivered flatness and the resin provided visual depth. The set did not transform the material into liquid porcelain, but produced a floor with a similar appearance in gloss and smoothness, without requiring complete demolition of the existing area.
How Much It Cost, How Much It Consumed, And Where The Real Savings Are
The whole execution took about four hours of direct work, not counting drying and curing times. In a renovation of 53 square meters, this figure is significant because it shows that the gain was not just in material but also in time. The less time the work is halted, the lower the indirect cost of the intervention tends to be.
In terms of consumption, the most important figure was the nine packages of self-leveling cement used to achieve the chosen intermediate thickness. The yield itself was treated as a variable because the manufacturer indicates about 2 kilos per square meter per millimeter, and this changes significantly with the final thickness. If the floor were made thicker, it would use more. If it were thinner, it would risk not hiding the flaws of the concrete well.
In the total count, considering also the materials that were received and recalculated at market price, the approximate cost reached R$ 1,437. The comparison made for an equivalent floor was around R$ 3,400. The difference is close to R$ 2,000, which explains why this kind of method attracts so much attention in home renovations.
The real savings, however, did not come only from the lower price. They appeared in the combination of not breaking the base, not removing the old concrete, using few products, working with simple tools, and controlling the thickness of the self-leveling cement. The result was a floor renewed with a much lower investment than a conventional flooring replacement.
The irregular concrete floor became a much smoother, uniform, and shiny surface because of proper preparation, controlled application of self-leveling cement, mandatory use of the bubble roller, and final sealing with resin. What stands out most is not just the visual appeal, but the fact that the transformation was done without demolishing the base and at a cost much lower than a traditional solution.
In your opinion, does this type of finish really pay off to save on renovations, or would you still trust more in replacing the entire floor?


-

Uma pessoa reagiu a isso.