 Português
  Inglês
  Espanhol
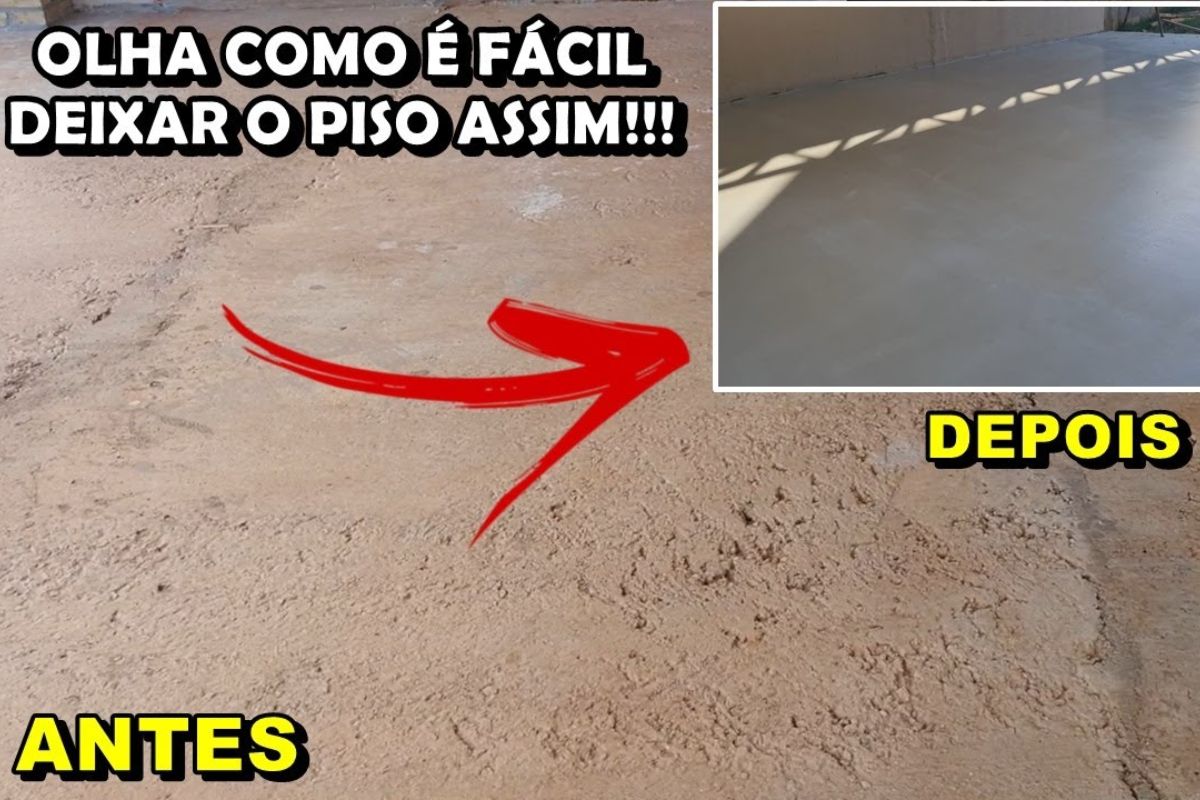
With Proper Cleaning, Primer Application, Self-Leveling Cement Use, and Resin Finish, Mason Transforms Rustic Floor into a Smooth, Shiny Surface with Porcelain-Like Appearance Spending Around R$ 1,437 in an Area of 53 m²
A mason decided to renovate an area of his home by himself and transformed a rustic concrete floor into a smooth, shiny, and even surface with the appearance of liquid porcelain. Using self-leveling cement, simple tools, and a well-organized step-by-step process, he demonstrated that it is possible to achieve a high visual impact result without hiring a team or opting for more expensive traditional flooring.
In an area of approximately 53 square meters, the work involved deep cleaning, primer application, preparation of self-leveling cement, and finalization with resin to provide shine. The final result resembles a porcelain floor but was achieved using common concrete, corrected and leveled, with a total cost of around R$ 1,437, well below the approximately R$ 3,400 he estimated he would spend on conventional flooring.
How the Floor Looked Before the Transformation
The starting point was a workspace attached to the house, with thick and very rustic concrete flooring. The mason’s idea was to create a more pleasant space for the family and more functional for daily use, without undertaking a major renovation.
-
Drought may be creating stronger superbugs in the soil and helping antibiotic resistance reach hospitals, warns a study highlighting a problem that could grow alongside extreme weather.

-
The biggest scam in history: Napoleon’s France deceived the United States by selling them a territory that was Spanish.

-
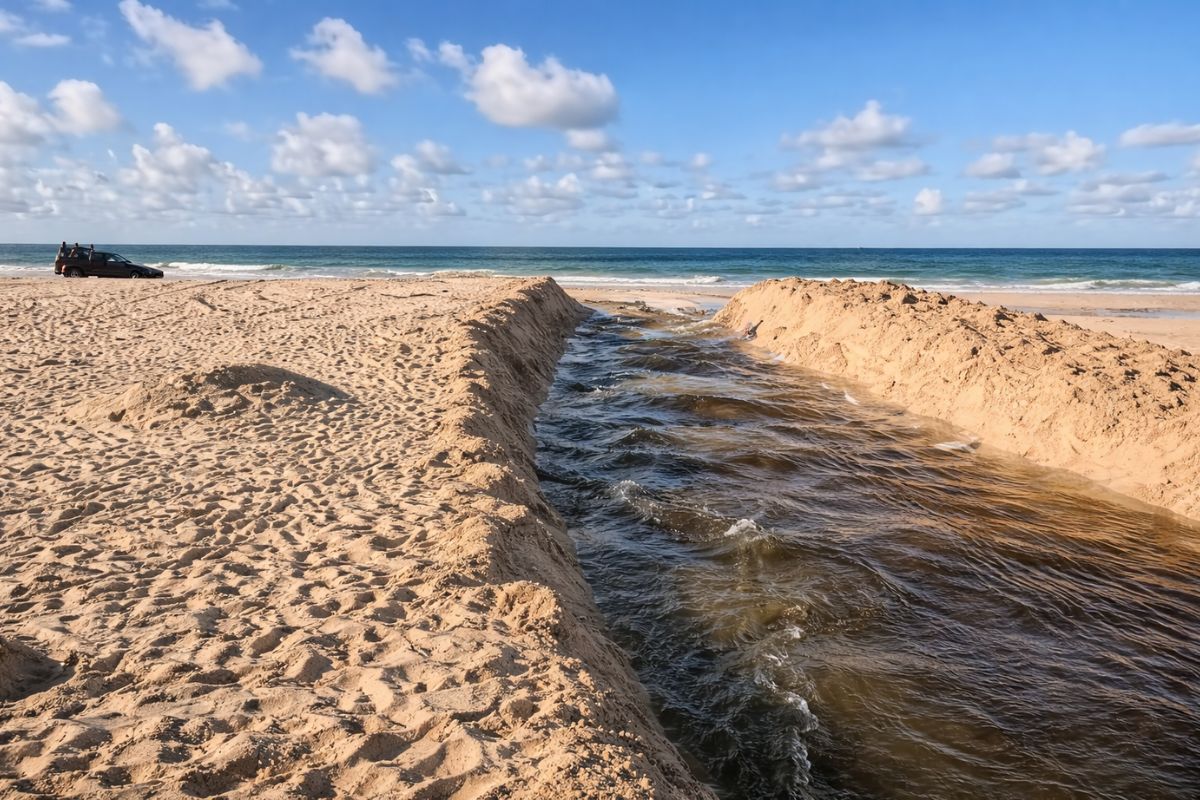
Why is the Danakil Desert so dangerous? It has unstable terrain and how extreme temperatures and toxic gases turn the region into one of the most hostile environments on Earth.

-
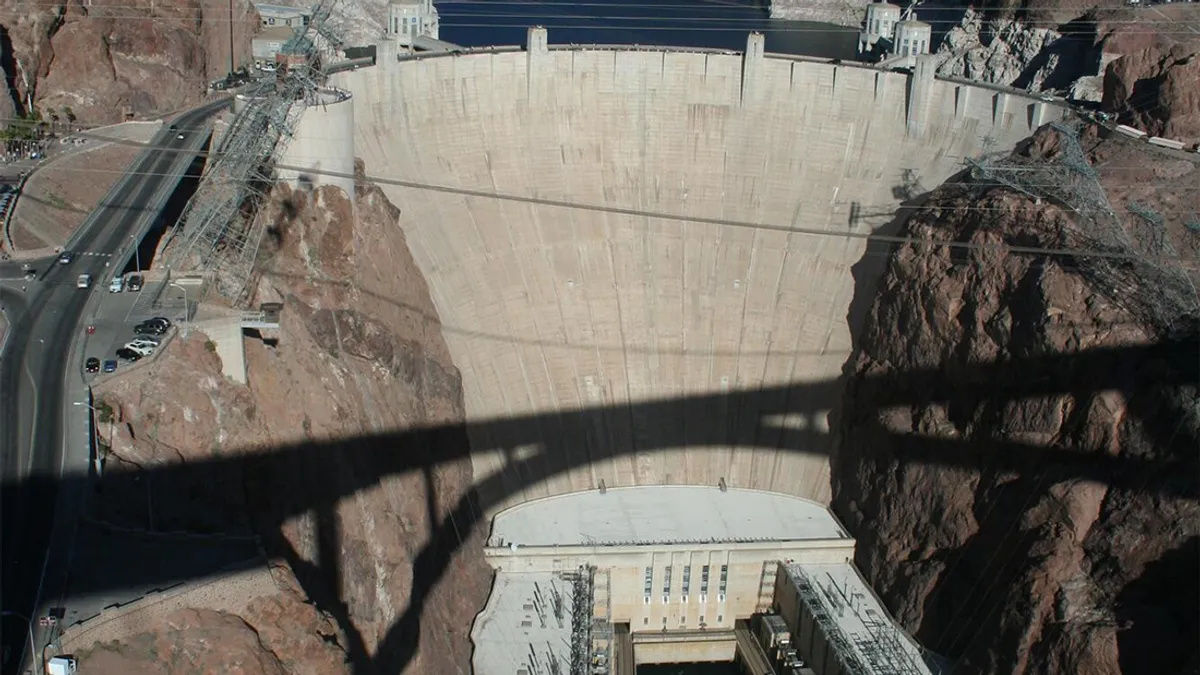
With a height of 221 meters and a capacity for trillions of liters, Hoover Dam still holds a trick that makes water defy logic.

The existing concrete had irregularities, porosity, and that typical raw slab appearance.
Instead of laying tiles or investing in traditional porcelain, he opted to use self-leveling cement to create a smooth, light, and continuous base with a look similar to liquid porcelain but with a simpler application process.
Floor Cleaning: A Step That Cannot Be Ignored
Before any application, he conducted a complete cleaning of the floor, using a pressure washer to remove dirt, dust, and debris stuck in the pores and small holes of the uneven surface.
This phase is essential to ensure product adhesion and to avoid defects in the finish.
After washing, the floor was left to dry completely overnight. Only with the floor well dried could he proceed to the primer application and later achieve a finish that resembled porcelain without the risk of peeling or stains resulting from trapped moisture in the base.
Primer Application to Prepare the Concrete
With the floor clean and dry, the primer preparation stage began. He used a multifunctional resin as both primer and sealer, diluted in the first coat in a 1 to 1 ratio with water, according to the manufacturer’s instructions.
The mixture was applied using a thicker wool roller to penetrate well into the pores of the concrete.
After approximately two hours of touch drying, he applied a second coat, this time undiluted, forming a sealed base ready to receive the self-leveling cement.
Then, he waited for the complete curing time indicated, about 6 hours, before moving on to the main stage: leveling the area.
Preparation of Self-Leveling Cement
In the next phase, self-leveling cement came into play, responsible for transforming the rustic floor into a smooth, continuous surface visually similar to liquid porcelain.
The product used was the type that requires only the addition of water, in the ratio of 4.6 liters for each 20 kg bag. He first poured the water into the bucket and then gradually added the powder while constantly stirring to avoid cement lumps.
The goal was to achieve a very homogeneous mixture without clumps, which is crucial for a uniform floor.
Since the area was large, measuring 5.30 meters by 10 meters (53 m²), he worked with two containers in parallel to maintain the application pace and prevent the mixture from hardening before being spread.
Tools Used to Level and Remove Bubbles
For the application of the self-leveling compound, the mason used two tools purchased online: a notched trowel and a bubble-breaking roller, both with a broom handle attachment.
First, he poured the mixture onto the floor, allowing the product to spread naturally. Then, he used the notched trowel to adjust the thickness and help distribute the cement evenly, covering imperfections without creating excessive accumulations.
Next came the bubble-breaking roller, responsible for eliminating air bubbles trapped in the mixture.
Without this roller, the bubbles could rise, burst, and leave small holes in the floor, compromising the smooth visual effect that resembles liquid porcelain.
Thickness, Consumption, and Application Time
The mason opted for an intermediate thickness, around 3 to 4 millimeters. According to his own account, he did not make it too thin or too thick, seeking a balance between material consumption and good aesthetic results.
In the total area of 53 square meters, he used nine bags of self-leveling cement. The execution time for the application was approximately 4 hours from start to finish.
During the process, it was already possible to see from the shine of the surface that the floor was gaining a smooth texture and continuous appearance, similar to that of freshly applied liquid porcelain.
After completing the application, he respected the curing time indicated by the manufacturer before allowing traffic and proceeding to the final finish.
Curing Time and Application of Finish Resin
With the floor already leveled, the manufacturer’s recommendation was to wait about 72 hours for curing. After this period, he swept the area to remove dust accumulated over the three days and began the finishing process.
The final stage was the application of the same resin again, this time pure and in three crossed layers, to provide shine, protection, and to give the floor an appearance even closer to porcelain.
He applied the first coat in one direction, the second in the crossed direction, and the third repeating the initial direction, ensuring uniform coverage and a visually more sophisticated finish.
The result was a light, smooth, shiny, and continuous floor, with the appearance of liquid porcelain, but made over the original concrete base, corrected with self-leveling cement and resin.
How Much Was Spent and How Much He Claims to Have Saved
For the entire transformation of this area, the mason did an approximate calculation totaling the materials he used, including those he received for free, but calculating their values so the public would have a sense of cost.
Adding up expenses with self-leveling cement, resin, and tools like the notched trowel and bubble-breaking roller, he reached a total of around R$ 1,437 to renovate the 53 m² floor.
Comparing it to the budget he estimated for conventional flooring, he calculated that a similar covering could reach approximately R$ 3,400, showing a significant difference.
In his evaluation, the final cost to obtain a floor with a similar appearance to porcelain was much lower than opting for traditional tiling, in addition to the savings on labor as he did everything himself.
Floor with the Appearance of Porcelain Without Laying a Single Tile
In the end, the rustic concrete floor transformed into a smooth, shiny, and even surface with the look of liquid porcelain.
Visually, the area gained a sense of spaciousness and a more sophisticated finish, something that is typically associated with expensive floors and more complex work.
The step-by-step process showed that, with planning, adherence to manufacturers’ instructions, and use of the right tools, it is possible to achieve a result of high aesthetic impact without necessarily laying a single piece of traditional porcelain.
For those who enjoy DIY and want to cut costs, this type of solution can be an interesting alternative for work areas, garages, workshops, and balconies.
And you, would you dare to transform a rustic floor in your home with self-leveling cement to make it resemble liquid porcelain or would you still prefer traditional porcelain in tile format, with complete installation?


-

-

-

-

-

-

51 pessoas reagiram a isso.