 Portuguese
  English
  Spanish
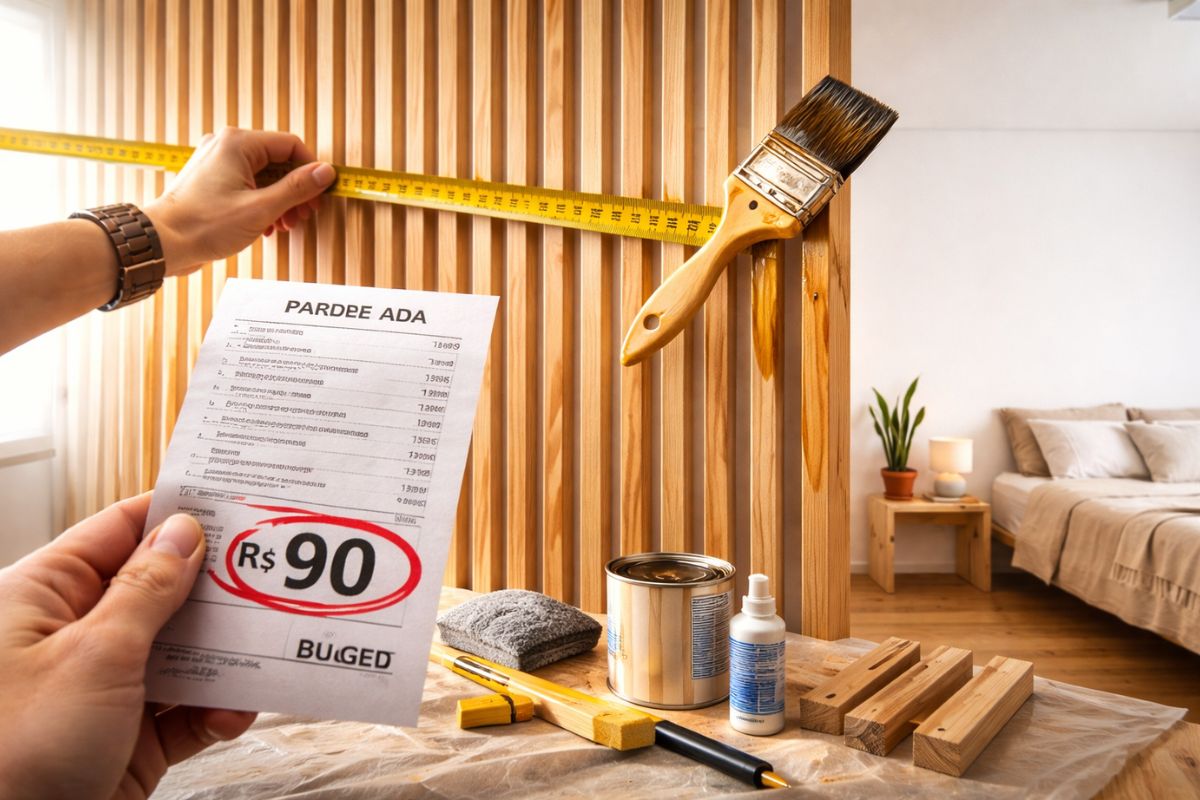
An elegant slat wall with a sophisticated look was built for only R$ 90, using pine wood, basic tools, and a lot of attention to detail. The result shows that the secret to a beautiful slat wall is not in the cost of the material, but in the planning of each step, from the spacing between the slats to the finishing layers.
A slat wall is one of those decorative elements that instantly transform any environment and that, at first glance, seem to cost a fortune. But the experience of someone who built a complete slat wall for only R$ 90 proves that the sophisticated effect does not depend on the size of the budget, but on the care taken in each step of the process. The result turned out so elegant that it is hard to believe in the amount invested.
The secret to a cheap and beautiful slat wall lies in three pillars: careful planning before starting, smart choice of accessible materials, and obsessive attention to installation and finishing details. None of these pillars require professional experience or expensive tools; they require patience, precise measurement, and a willingness to do it right. Below is the step-by-step of how this R$ 90 slat wall that looks like it came from a magazine was made.
The ideal materials for a slat wall that costs less than R$ 100

The choice of materials is the first step to ensure that the slat wall looks beautiful without breaking the budget. The most recommended materials for an economical slat wall are pine wood or MDF, which are easy to cut and handle, quality screws and anchors for secure fastening, and paint or varnish for the finish.
-
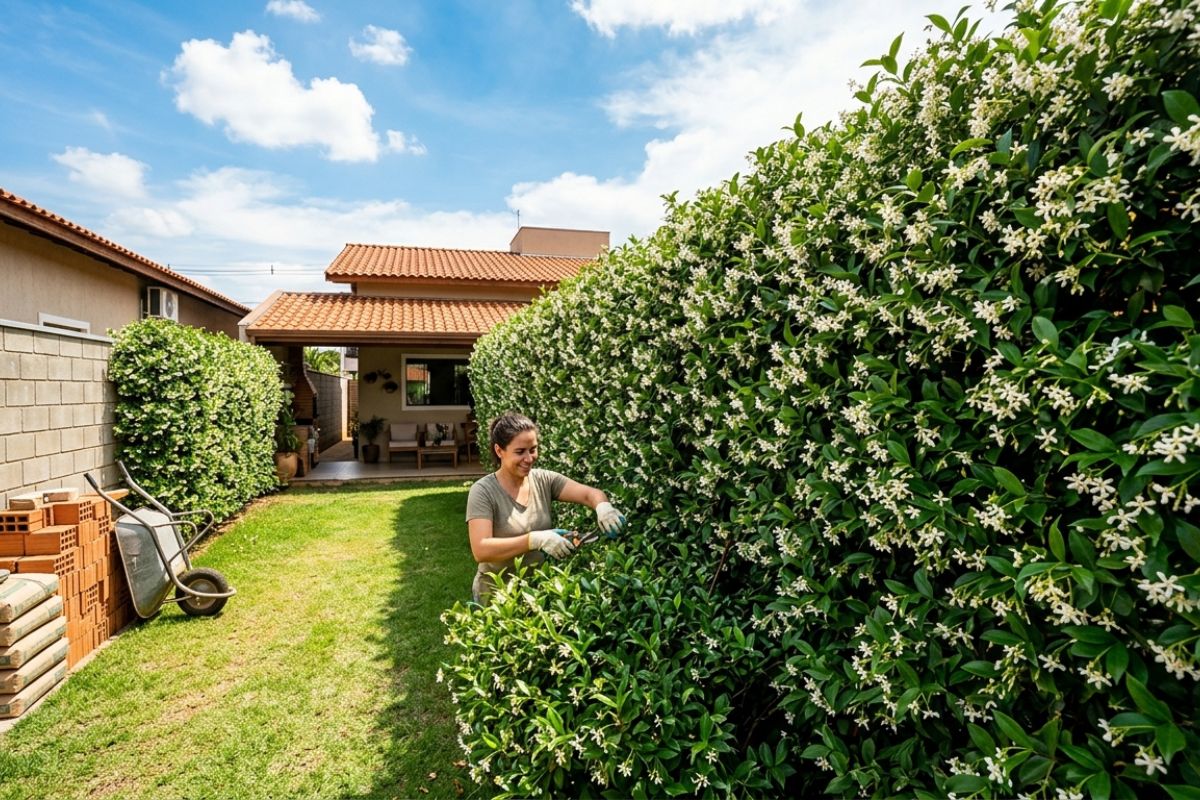
Live fence that saves on construction: Virginia jasmine grows up to 60 cm per year, reaches 10 m, and closes the yard with a dense and fragrant green wall, without aggressive roots and with simple, inexpensive, and quick pruning.
-
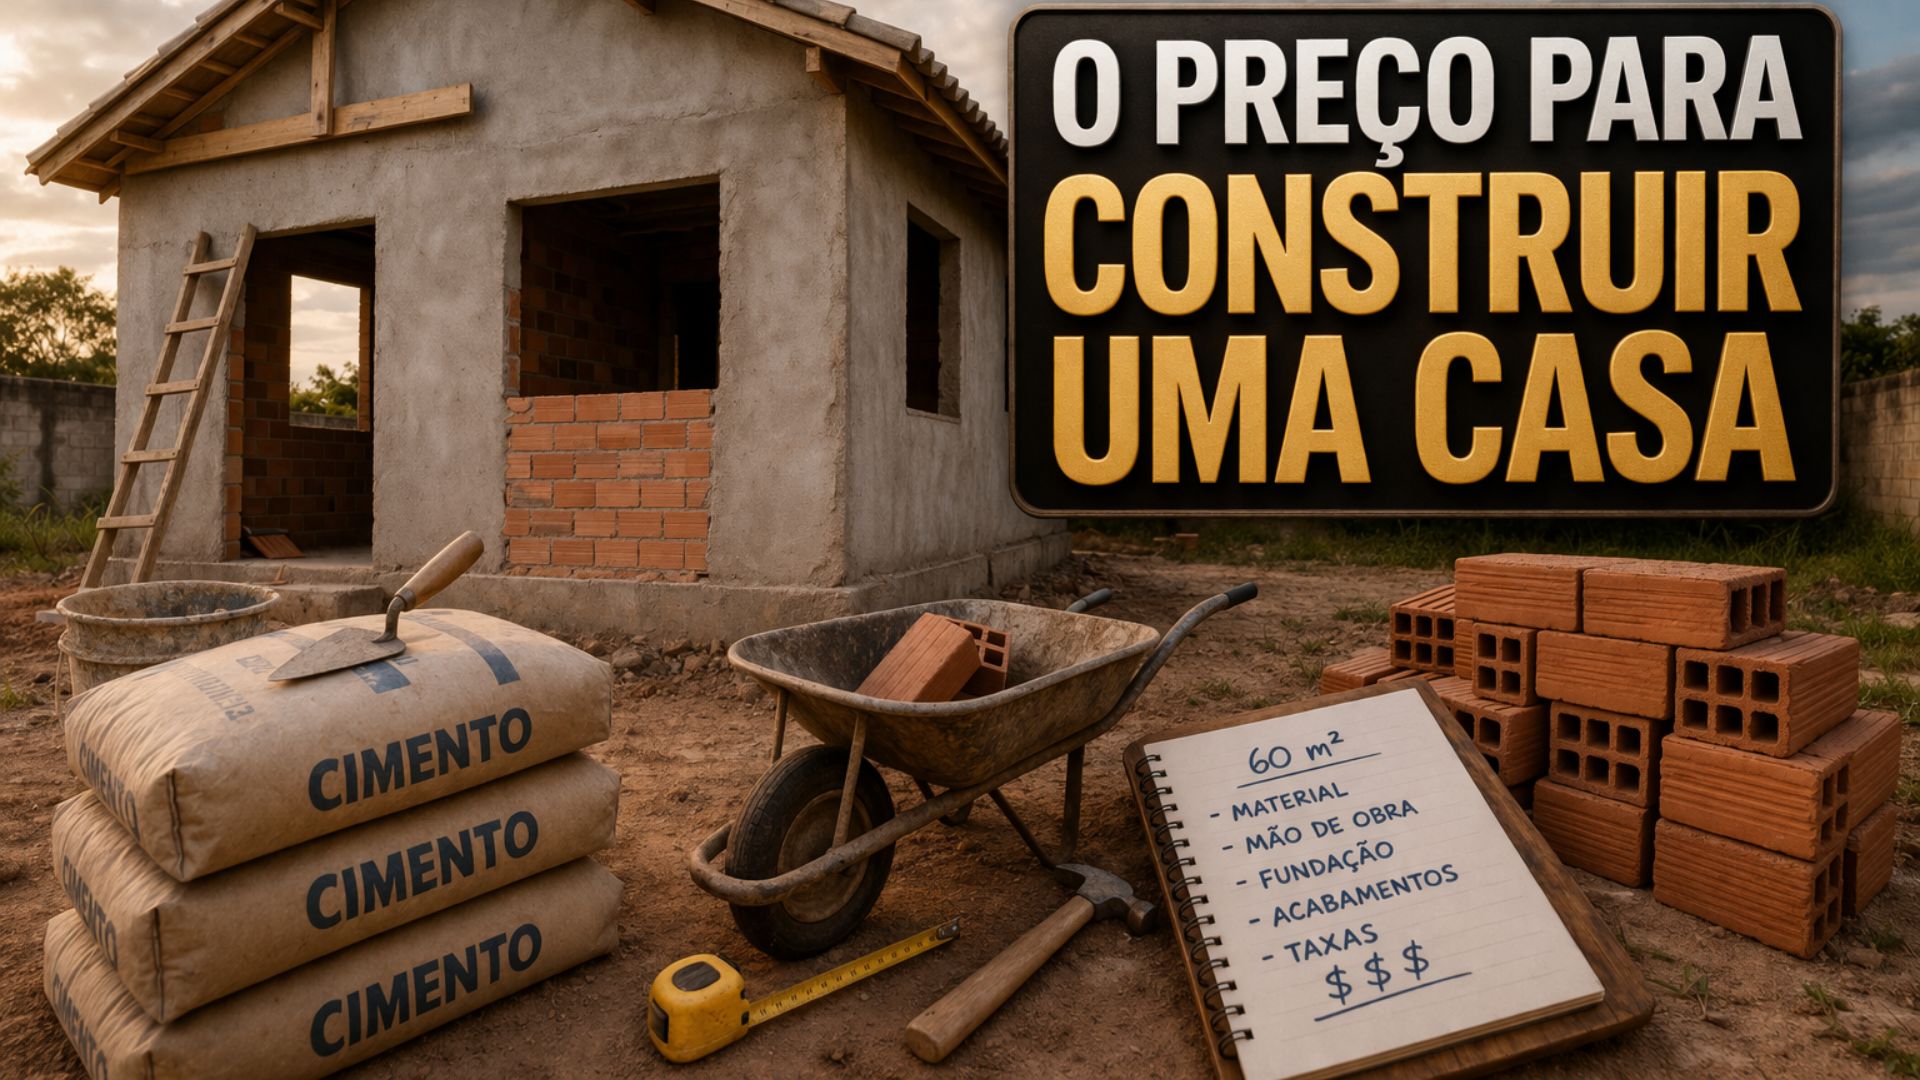
This is the cost to build a simple 60 m2 house in 2026, including contingencies, foundation, finishing, labor, and hidden fees.
-
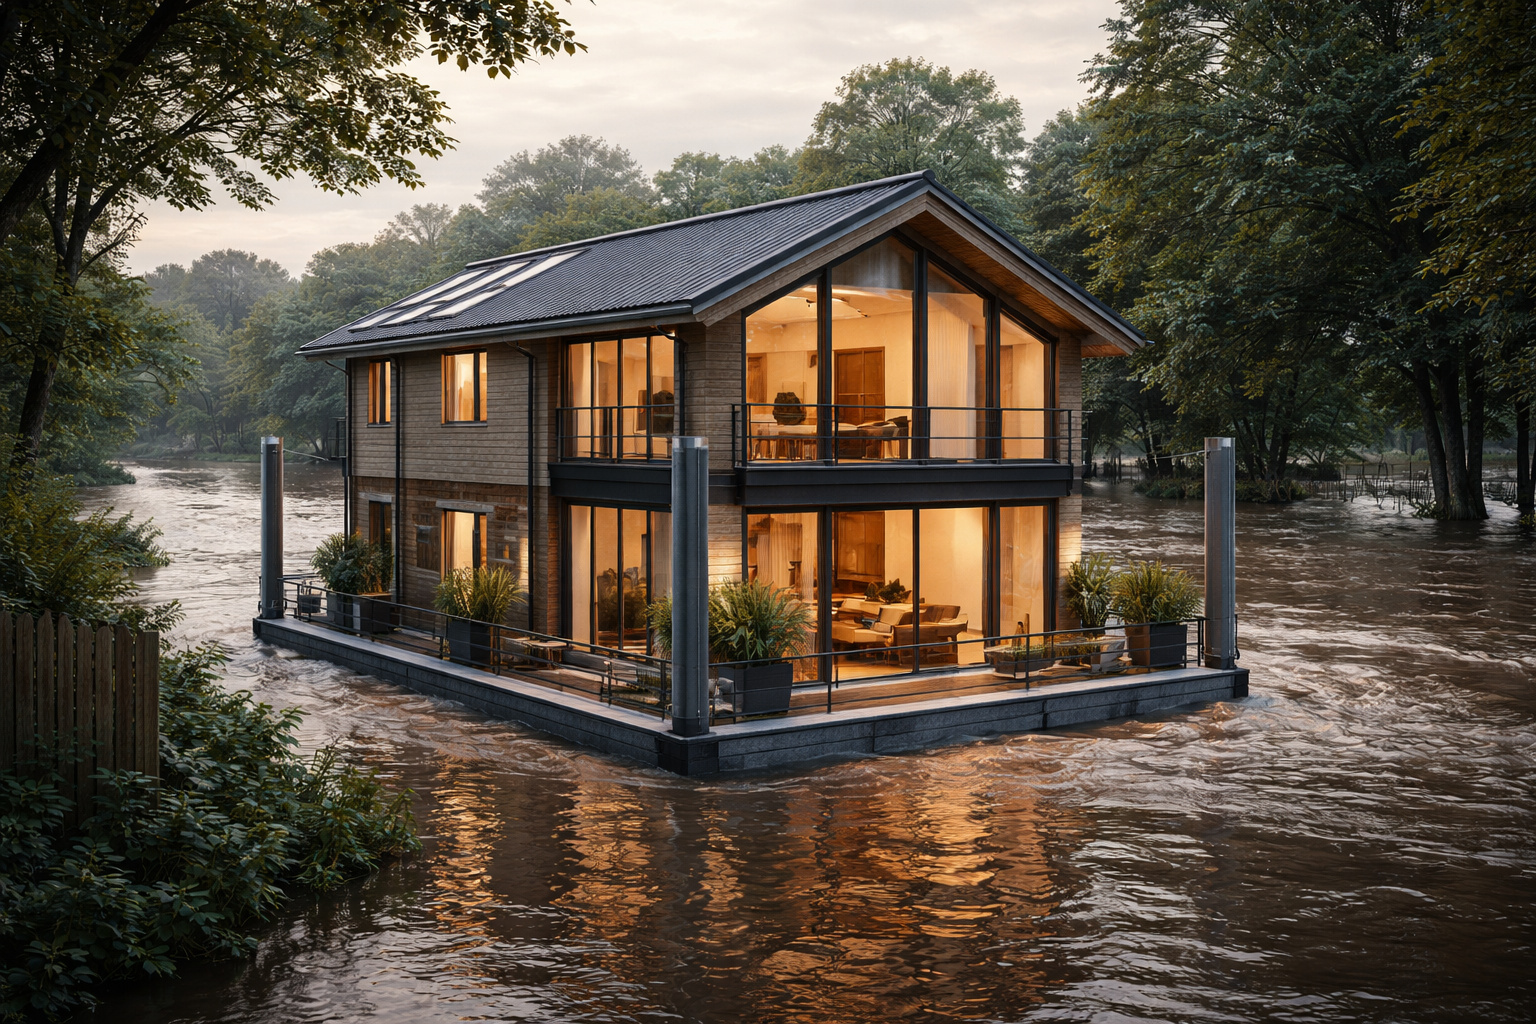
Amphibious houses with a floating dock system gain global attention by revealing technology that allows homes to rise with floods and avoid losses in high-risk areas.
-
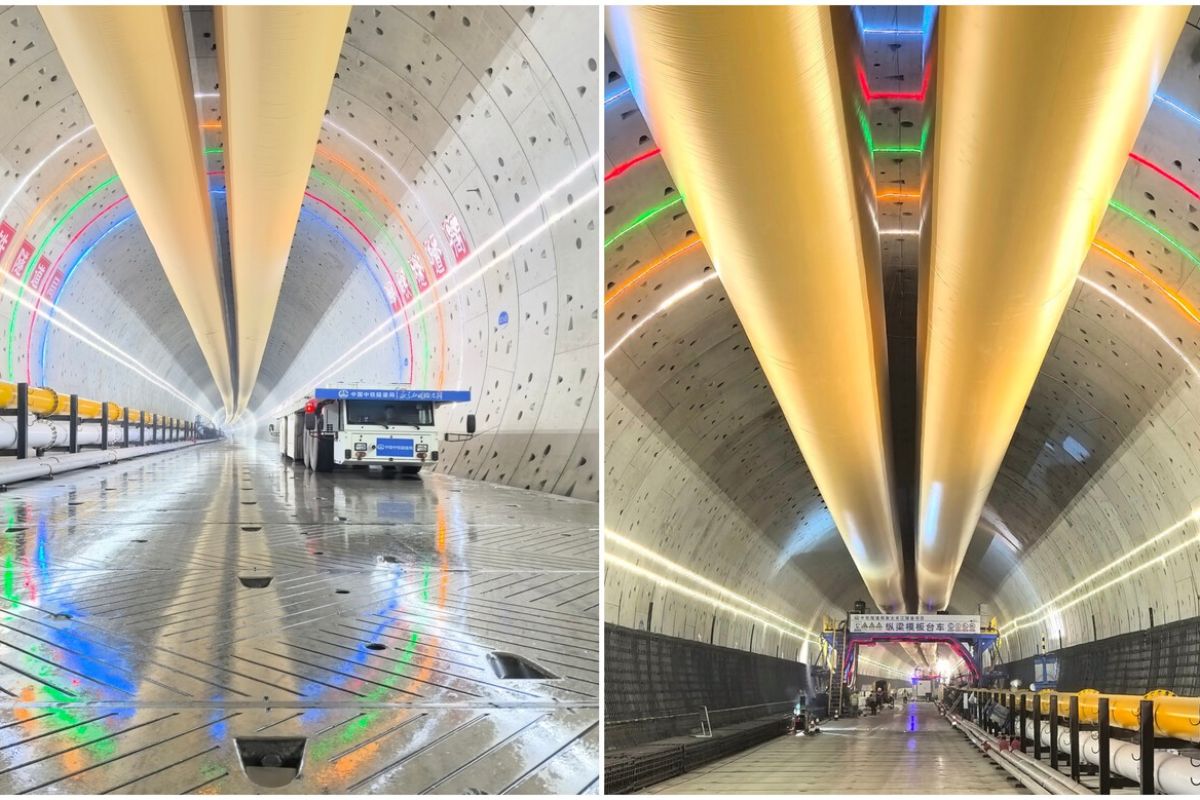
Between tunnels, bridges, and billions in investment, Istanbul is preparing to receive a 125-kilometer railway that crosses continents, enhances the circulation of goods and passengers, and changes the strategic outlook of Turkish transportation.


The necessary tools are basic: drill, saw, and sandpaper. Those who already have these tools at home further reduce the cost.
Before buying anything, it is important to define the desired style and color palette so that the slat wall harmonizes with the rest of the environment.
Reusing leftover wood is a strategy that can reduce the cost to almost zero in the structural part; what remains from renovations, disassembled furniture, or even pallets can be transformed into perfectly functional slats.
What matters is not the origin of the wood, but that all slats have the same thickness and width to ensure visual uniformity.
How to prepare the wall before installing the slats: the step that prevents errors
Preparing the wall before starting to attach the slats is essential, and this is where many people go wrong. Correctly marking the fastening points and leveling each slat before screwing ensures that the slat wall remains uniform and aesthetically pleasing. An irregular spacing between the slats is the most visible error and the hardest to correct once finished.
The process begins with measuring the entire wall and defining the desired spacing between each slat. Using a spacer, which can be a piece of wood cut to the exact measure, ensures that the distance between the slats is always the same from the top to the bottom of the slat wall.
Marking the fastening points with a pencil avoids unnecessary holes and material waste. This initial care saves time and ensures that the final result looks professional even when done by oneself.
The finishing that transforms the slat wall from simple to sophisticated
If planning and installation are the foundation, the finishing is what transforms a simple slat wall into a visual highlight of the environment. Applying uniform layers of paint or varnish without rushing, allowing for drying time between each coat, is what gives the wood that smooth, professional, and well-cared-for appearance.
The difference between a slat wall that looks homemade and one that looks showroom-ready is literally in the quantity and uniformity of the finishing layers.
In addition to paint or varnish, it is important to sand each slat before application to remove splinters and irregularities.
The spacing between the slats and the uniform height are details that the human eye instantly perceives; if one slat is slightly misaligned or one space is larger than the other, the entire visual effect is compromised.
This is why prior planning is so important: every centimeter counts when making a slat wall that impresses.
Why the R$ 90 slat wall looks like it cost thousands
The visual effect of a well-made slat wall is disproportionate to the actual cost. This happens because the slats create vertical or horizontal lines that add depth, texture, and sophistication to the environment effects that are usually only achieved with expensive coverings, imported panels, or custom carpentry work.
When the spacing is uniform, the wood is well-sanded, and the finishing has been applied with care, the visual result rivals projects that cost ten or twenty times more.
The slat wall also has the advantage of being extremely versatile: it works in living rooms, bedrooms, hallways, offices, and even bathrooms (as long as the wood receives proper treatment against moisture).
Investing little does not mean sacrificing quality; it means planning better, choosing wisely, and executing with patience. The R$ 90 spent on this slat wall bought pine wood, screws, anchors, and finishing material.
What did not need to be purchased and made all the difference was the time dedicated to careful planning and execution.
The summary for those who want to make a beautiful slat wall on a budget
Making an elegant slat wall for R$ 90 is possible, and the path involves four steps that cannot be skipped: defining the style and measuring everything before buying; choosing accessible wood like pine or MDF and reusing leftovers when possible; installing with millimeter uniform spacing using spacers; and applying finishing layers with patience and uniformity. Each of these steps costs more time than money, and that is exactly what makes the result look expensive.
The lesson is clear: creativity and planning are worth more than large budgets. A well-made slat wall transforms any environment, and the amount invested is almost irrelevant when the execution is careful.
Have you ever made a slat wall at home or are you thinking of doing one? How much did you spend? Share your experience in the comments, and if you have questions about spacing, material, or finishing, ask and the community will help.


Seja o primeiro a reagir!