 Portuguese
  English
  Spanish
In The Abandoned Farm, The Couple Starts The Project From Scratch, Faces Months Of Hard Work And Completes A Functional Tiny House With Reinforced Foundation, Moisture Protection, And A Step-By-Step Finish
In the abandoned farm, a couple decided to take the project off the paper and build a tiny house from scratch, starting with clearing the land and reaching the interior finish with patience and method. The construction progressed in well-defined stages, always prioritizing structure, waterproofing, and comfort.
During months of hard work, the construction gained foundation, walls, waterproof roof, windows, heating, drywall, coverings, and a wooden deck at the entrance. More than a before and after, the journey shows how each technical decision influences the durability and actual use of the house.
From The Ground To The Design of The Tiny House At The Abandoned Farm
At first, the scenery required preparation. The area where the house would be built needed to be cleared and leveled, removing vegetation and organizing the work space. Then, the couple marked the exact perimeter of the tiny house on the ground and began excavation.
-
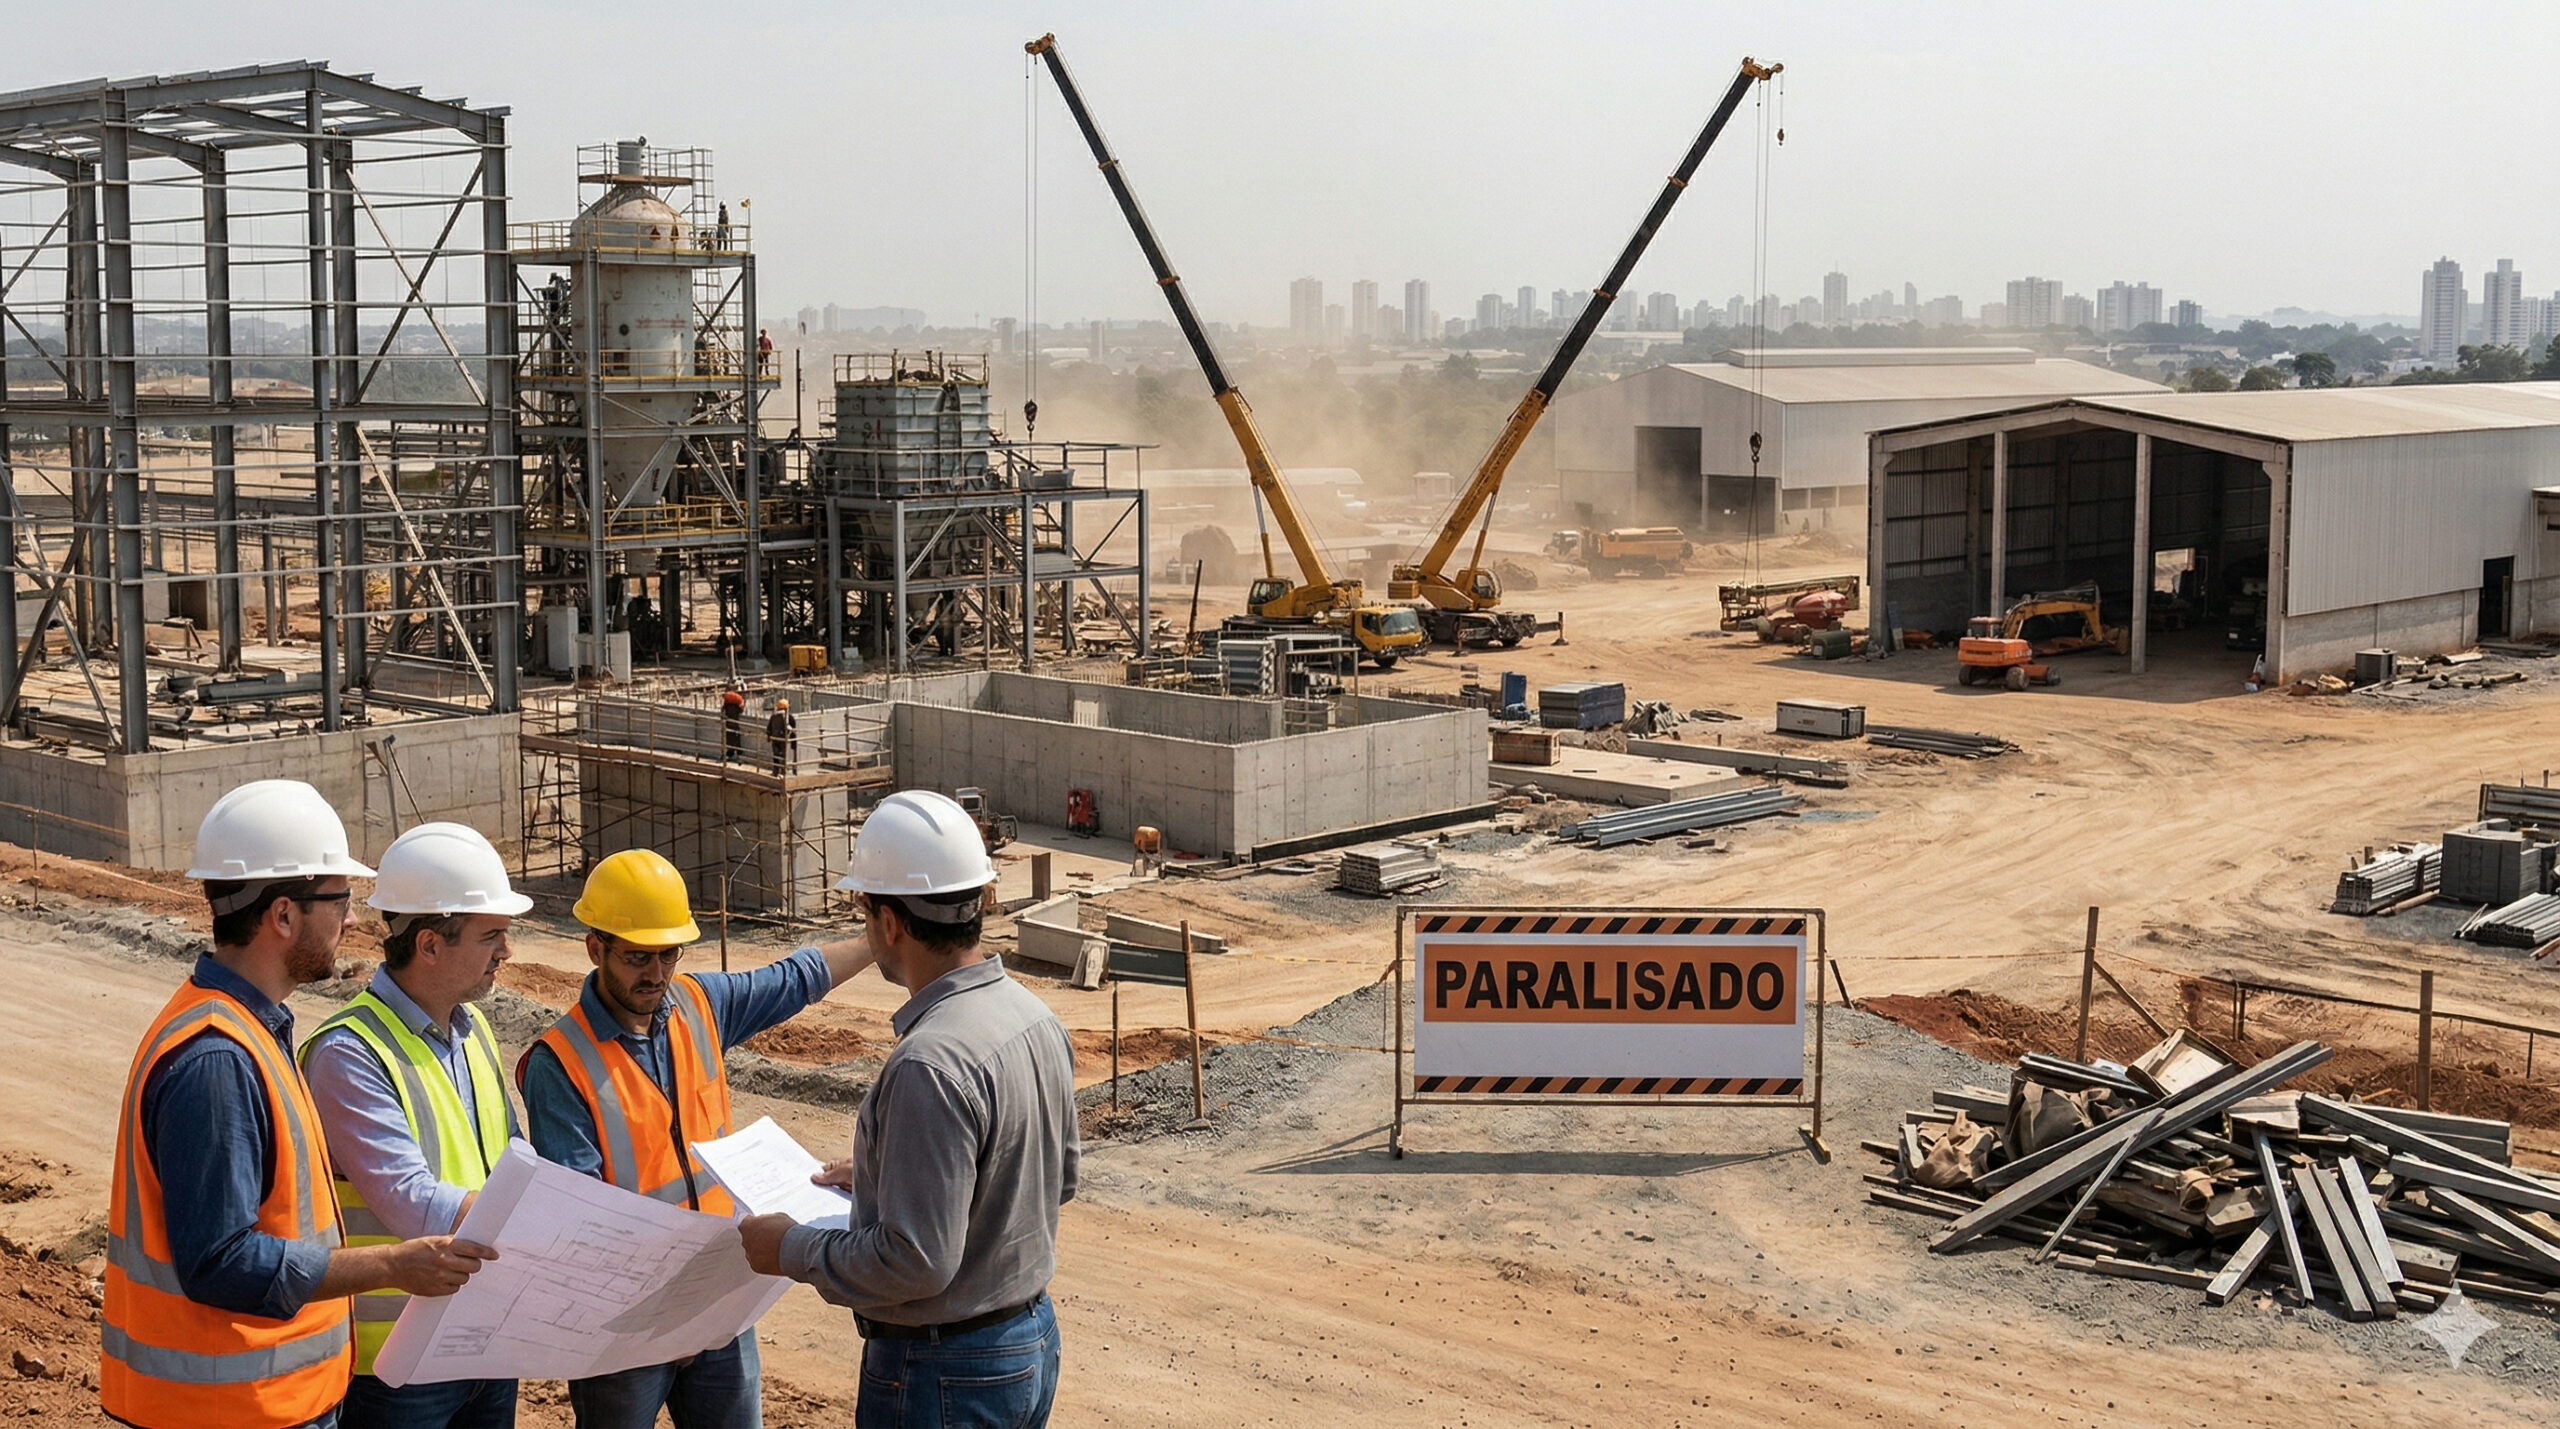
The lack of welders, electricians, and operators becomes a structural threat in 2025, with the construction industry and manufacturing already suffering from delays, cost pressures, and labor shortages in Brazil.
-
Brazil and Paraguay are just 46 meters away from a historic union on the bioceanic bridge that promises to revolutionize trade between the Atlantic and the Pacific.

-
With 55 km over the sea, a cost of US$ 20 billion, and enough steel to build 60 Eiffel Towers, China’s largest project has connected Hong Kong, Zhuhai, and Macau in a colossal bridge that defies the logic of engineering.

-
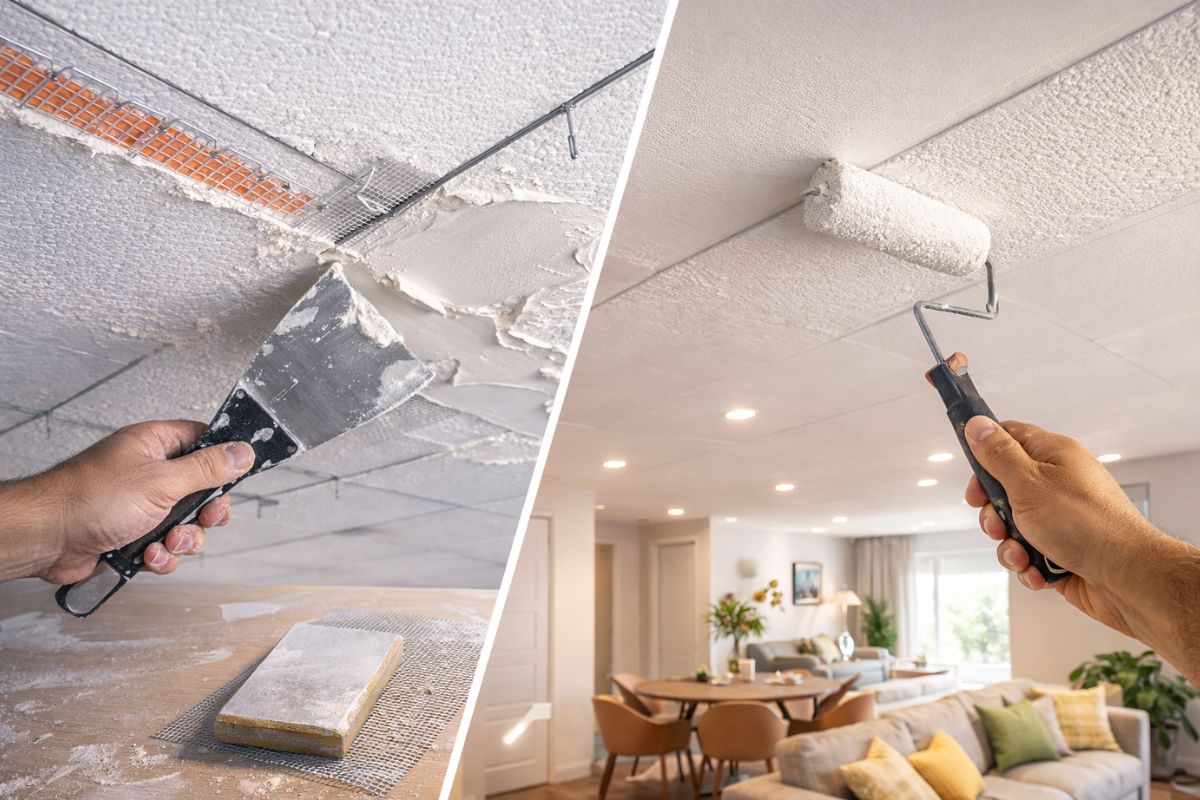
A trick with joint compound transforms a Styrofoam ceiling into a plaster-like ceiling: leveled panels, wires and mesh at the joints, sand, paint, and change the environment while spending little today.

As the logistics of the site did not allow unloading everything at once, materials arrived gradually, in smaller volumes. This increased the effort but gave more control over the pace of the work. Gravel was spread to reinforce the soil and prepare the base. This is the stage that almost nobody values, but it defines the stability of what comes next.
Foundation, Drainage, And The Base That Cannot Fail
With the ground excavated and reinforced, the outline of the foundation began to emerge. To reduce the risk of moisture, a drainage membrane was installed in the soil, creating an extra layer of protection before the structural closing.
Next, the blocks were positioned in sequence, reinforcing bars were placed in the channels, and the concrete mortar was applied to form the base. At the corners, wooden stakes helped to fix strings as alignment references.
This simple detail prevents the walls from “straying” from square early on. Since part of the foundation would be exposed to moisture for a long time, the couple applied waterproofing to the outer area of the base. The result does not show in the final photo, but it avoids headaches with infiltration.
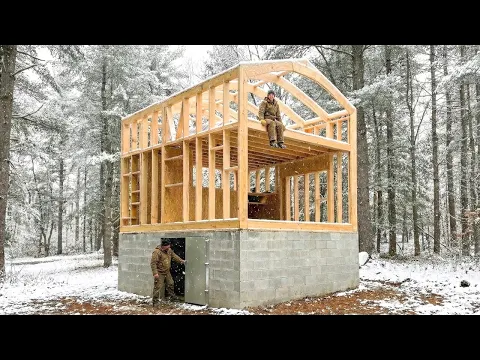
Wooden Structure And The First Floor Taking Shape

With the foundation ready, the structure began with the basement and the load-bearing support system. Sturdy beams were installed to support the first floor and, on top, OSB panels created a firm and continuous surface.
From there, the tiny house began to “born” visually: the wooden structure rose piece by piece, with studs, cross-braces, and bracings carefully fixed. Every well-made joint saves corrections later on.
Upper Floor And External Closure With Rigid Panels

After the first level, the same process was repeated on the upper floor. New beams, new OSB panels, and then the raising of the upper walls.
To give wind resistance and tie the structure together, the couple installed external cladding panels, measuring and cutting each part with precision. This closure creates a more rigid “shell” and prepares the whole for the rain protection system.
Throughout this phase, the abandoned farm ceased to be just a construction site and gradually became the setting of an evolving project. When the skeleton becomes volume, everything starts to make more sense.
Waterproof Roof And Protection Against Rain And Humidity
With the walls raised, it was time for the roof. The entire roof was protected with a waterproof membrane, which serves as the first barrier against water and moisture. Then, the tiles were installed one by one, closing the external system.
When the roof was completed, the feeling changed in practice: the interior had more protection to advance with installations and finishing without depending so much on weather conditions. Next, windows and external door were installed, marking the transition from an open structure to a more closed and controlled house.
Heating And Internal Walls With Insulation And Drywall
With the exterior more protected, the focus shifted to the interior. The heating system began to be set up, with the stove area prepared and the chimney pipe passing through the wall to the outside, secured on both sides.
In the walls, mineral insulation was placed in the cavities of the wooden structure, filling spaces and creating a thermal barrier. On top of that, a vapor barrier was added, helping to control moisture that can migrate from the interior to the walls.
Finally, the gypsum boards were installed to close the set. This “sandwich” of layers is what delivers comfort, reduces thermal variation, and improves the efficiency of the environment.
Bathroom: Preparation, Waterproofing, And Tiles

Before the final paint, a coat of primer helped to even out the surfaces and improve the finish’s adherence. In the stove area, heat-resistant materials reinforced safety and protection.
In the bathroom, attention was greater. The surfaces were prepared to ensure waterproofing and durability, and only then came the coverings. The floor and walls received tiles, and then the shower, sink, and cabinets were installed. A well-made bathroom is not a luxury, it’s prevention.
Stairs, Bedroom, And The Finish That Defines The Sense Of “Finished”
With the stairs installed, the two floors began to connect practically. On the upper floor, the flooring received base and wooden panels, defining the bedroom and bringing the feeling of a completed environment.
This type of progress is what transforms construction into home, because it changes the experience of the space. The abandoned farm was no longer just a construction site, but a place with a routine of assembly, finishing, and testing solutions.
Functional Kitchen, Wooden Facade, And Entrance Deck
In the kitchen, the modules were positioned and fixed to the wall, making the layout clearer and more organized. With the cabinets in place, the space was ready to receive equipment, utensils, and daily use. A functional kitchen is the heart of the tiny house, because it concentrates practical life.
On the outside, wooden cladding was applied to the facade, adding aesthetics and weather protection. At the entrance, a spacious wooden deck was built, serving as a living area and transition between the exterior and interior.
Final Result: Compact, Planned, And Durable Tiny House In The Abandoned Farm
After months of hard work, the couple completed a small yet highly functional tiny house with a well-protected base, waterproof roof, and interior finished in stages. Each phase was done with a focus on stability, moisture control, and consistent finishing.
For those who like to follow this type of construction, the story shows a central point: when the foundation and roof are treated as priorities, the rest flows with less rework.
Which part do you consider the most difficult in a construction like this at the abandoned farm: foundation, roof, or internal finish?


-

-

-

-

-

-

36 pessoas reagiram a isso.