
 Portuguese
  Spanish
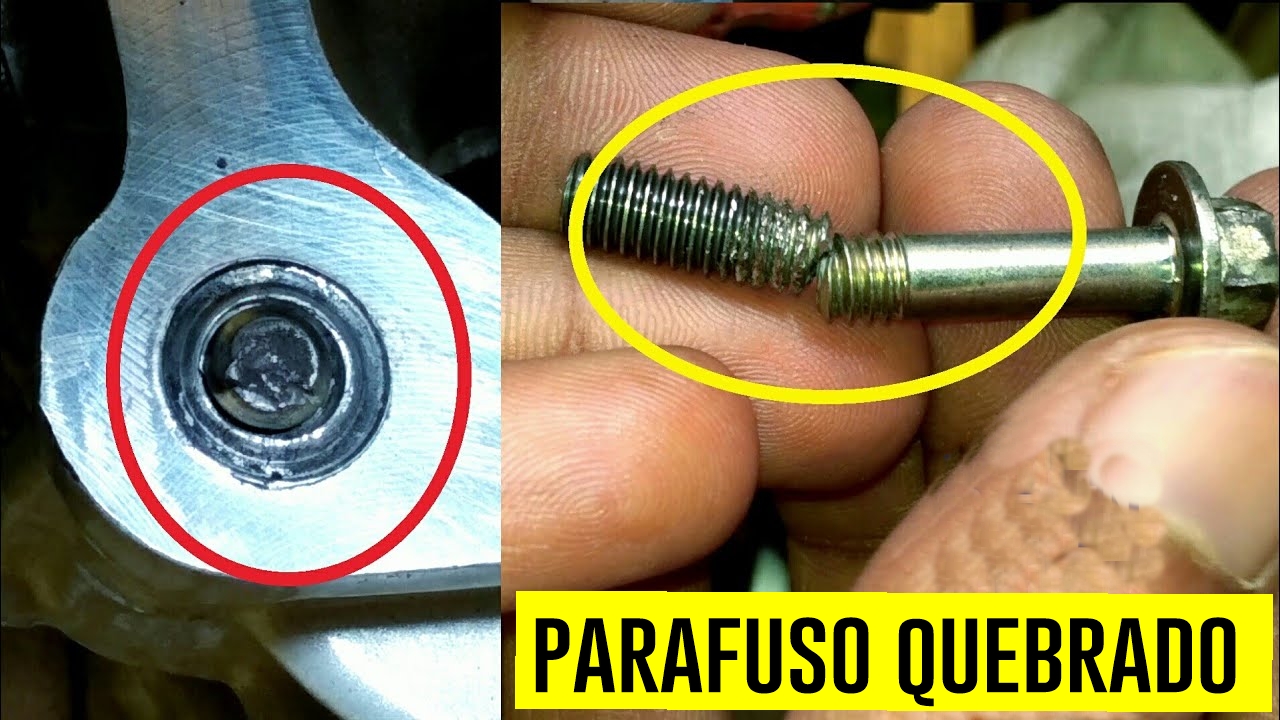
Learn Effective Techniques To Remove Broken Bolts From The Engine, Including The Use Of Extractors, Proper Tools, And Safe Methods To Avoid Damaging Parts.
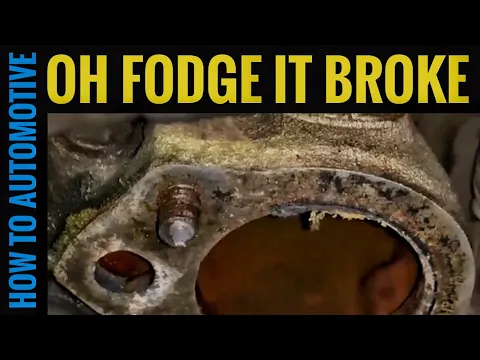
You probably know how frustrating it is to deal with a broken bolt. Even removing old bolts from an engine is a challenge due to rust, corrosion, and damage caused by extreme heat. Now, imagine when the bolt breaks completely.
This usually means that the hex head has disappeared, leaving you with nothing to grip with your ratchet or wrench. The result? An almost impossible task without the right tools and techniques.
There are effective ways to remove broken bolts from an engine. In this article, we will explore five methods ranging from simple solutions to more advanced techniques.
-
2027 Toyota Corolla Cross Unveiled: New Design, Enhanced Fuel Efficiency, Reduced Maintenance Costs, Advanced Technology, Connected Services, and Up to 10-Year Warranty

-
Fiat Cronos Precision 2018: Affordable Sedan with Spacious Trunk and Reliable Maintenance
-
Volkswagen to Cut Production by 1 Million Cars by 2030, Reducing Jobs and Platforms, Focusing on More Profitable Models

-
Toyota Launches First 100% Electric Car in Brazil: bZ4X with 343 HP, All-Wheel Drive, 361 km Range, Priced at $419,990 BRL, Limited to 99 Units


Let’s break down the process and show the tools needed for each approach. Here are the best ways to tackle this common problem and recover your lost time in the garage.
Apply Heat And Use Vice Grips

If the bolt still has part of its shaft exposed, one of the first methods to try is to apply heat and use vice grips or pliers to remove it.
The heat helps expand the metal, freeing the bolt from rust and corrosion. A popular source for generating heat is an oxy-acetylene torch, but you can also use a propane torch or even a butane lighter in emergencies.
Steps for the method:
- Choose a tool to heat the bolt. Be sure to protect adjacent components, such as rubber hoses or belts, that may be damaged by heat.
- Heat the bolt until it glows.
- Use vice grips or pliers to grip the hot shaft firmly.
- Try to twist the bolt in the loosening direction.
Important Note: This method only works if part of the bolt is exposed. If it broke flush with the hole, you will need to try another approach.
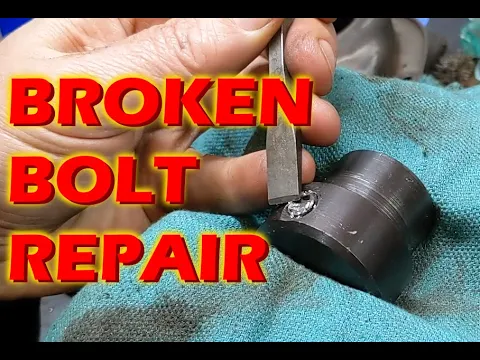
Use A Hammer And Chisel

When the broken bolt has a considerable portion exposed, you can try to remove it with a hammer and a chisel. This technique is simple and quick, ideal for situations where no more sophisticated tools are available.
Materials Needed:
- Hammer (preferably a small sledgehammer);
- Chisel or impact lever;
- Pennetrating oil.
How To Do It:
- Apply penetrating oil to the bolt shaft.
- Position the chisel tip at the end of the bolt, tilting it to strike in the loosening direction.
- Gently tap the chisel to create an initial mark, preventing it from slipping.
- Gradually increase the force, applying firm and controlled blows until the bolt begins to turn.
- Use pliers or vice grips to complete the removal.
This method is especially effective for larger bolts and can be attempted before resorting to more advanced techniques.
Weld A Nut On The Exposed Shaft

For those with access to welding equipment, this method is highly effective. It involves welding a nut to the shaft of the broken bolt, allowing you to remove it with a ratchet or wrench.
What You Need:
- MIG welder, stick welder, or arc welder;
- Nut compatible with the size of the broken shaft;
- Wire brush or grinder to clean the surface before welding.
Procedure:
- Clean the bolt and nut to remove dirt, grease, or rust.
- Position the nut over the broken shaft and weld it in at least two points.
- Wait until the weld cools and is firm.
- Use a ratchet or wrench to turn the nut and remove the bolt.
This method requires more technical skills but is highly reliable for complicated situations.
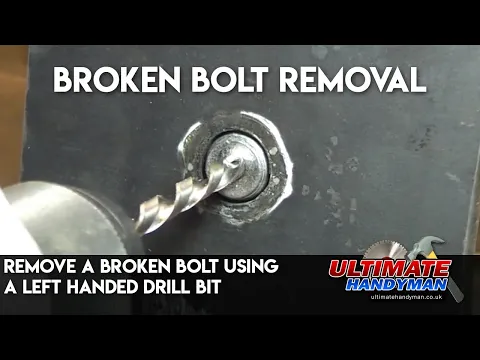
Drill With A Left-Hand Drill Bit

If the previous methods fail, an alternative is to use a left-hand drill bit. This tool, also known as a reverse bit, can help loosen the bolt while you drill.
Materials Needed:
- Punch tool;
- Hammer;
- Drill;
- Left-hand drill bit.
Steps To Execute:
- Use a punch tool to create a mark at the center of the bolt shaft.
- Align the left-hand drill bit with the mark and start drilling carefully.
- If necessary, start with a smaller bit to create a pilot hole.
- Continue drilling until the bit bites into the bolt and begins to turn it out.
This method is efficient but requires a lot of precision when positioning the punch and drill.
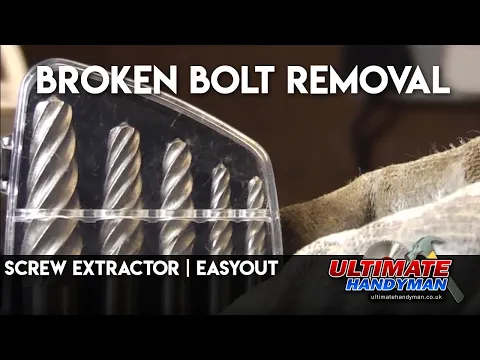
Use An Extraction Tool

When none of the previous techniques work, the final solution is to use a screw extractor. This specialized tool is designed to safely and effectively remove broken bolts.
What You Will Need:
- Punch tool and hammer;
- High-quality drill bits;
- Extractor set.
How To Proceed:
- Use the punch tool to create an indentation in the center of the bolt.
- Drill a pilot hole with a small bit.
- Gradually increase the diameter of the hole until it is slightly smaller than the extractor.
- Insert the extractor into the hole and lightly tap it with a hammer to secure it.
- Use a wrench to turn the extractor and remove the bolt.
This method is considered the most advanced solution and is ideal for extreme situations.
When No Method Works

If none of the above techniques solve the problem, the only remaining option is to drill completely through the bolt shaft and redo the hole. This process is highly complex and should be performed only by professionals or experienced individuals in engine maintenance.
Steps To Drill Completely:
- Create an indentation in the center of the bolt with the punch tool.
- Drill a pilot hole and gradually increase the diameter until the bolt is completely removed.
- Redo the threading of the hole with a suitable tap and die set for the pitch of the new bolt.
This procedure is laborious and risky but may save the component if all other methods fail.
With these five techniques and an alternative solution at hand, you can deal with broken bolts more efficiently and avoid future headaches. Choose the method that best suits your situation and always remember to use the right tools to ensure the best result. Avoid improvising in more serious cases, as this may further damage the engine.


Nunca use solda quando o parafuso quebrar rente ao bloco, o calor da solda vai aumentar a dureza do parafuso impedindo de vc furálo posteriormente.