 Portuguese
  English
  Spanish
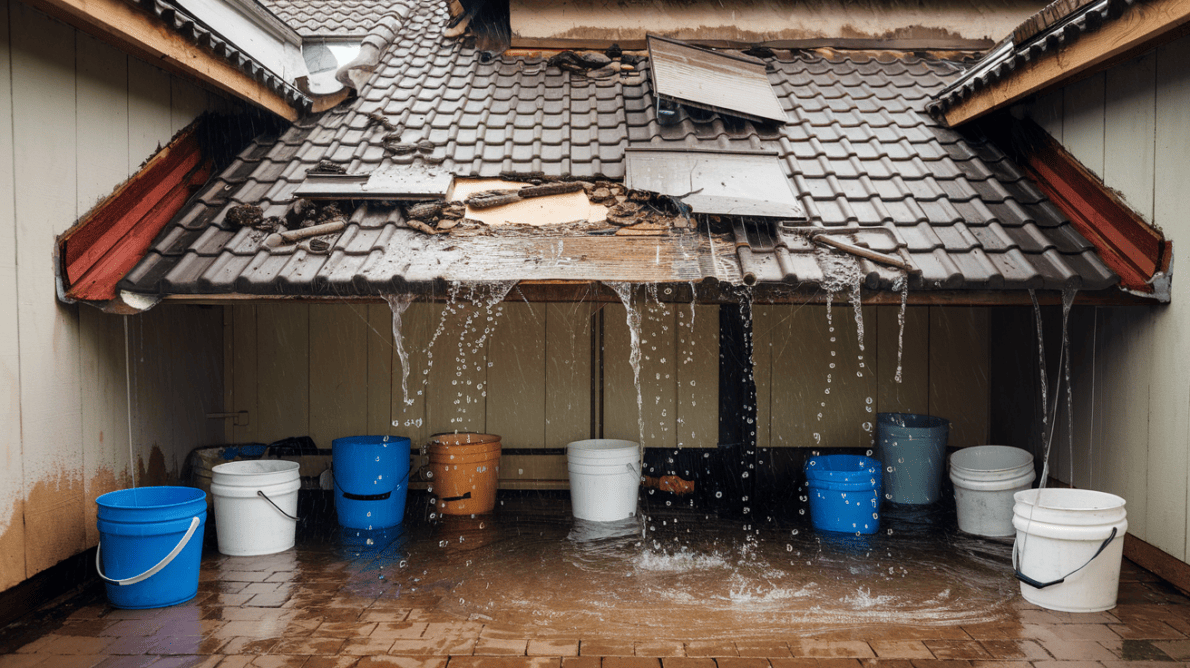
Understand Why The Roof May Continue Leaking Even After The Renovation: We Separated The Main Errors Made In Renovations, The Best Materials, And A Brief Step-By-Step Guide To Fixing The Leaking Roof After Renovation.
One of the most common problems — and also one of the most damaging to properties — is roof infiltration. When the roof continues to leak even after a renovation, the frustration is enormous. Property owners and residents justifiably worry, as the consequences can be severe: from stains on walls and mold on ceilings to structural damage and health risks due to humidity.
This type of situation usually occurs for various reasons, such as failures in the application of waterproofing materials, poor execution of the service, use of low-quality products, or even the absence of proper technical analysis before the work. Sometimes, the problem lies not only with the tiles but also with the gutters, flashings, thermal insulation, or even the roof’s structure itself.
In this article, you will understand simply why the roof may continue to leak even after the renovation, what the main errors are that lead to this, and how to prevent this problem from happening again. After all, taking good care of the roof ensures more comfort, safety, and savings for your property.
-
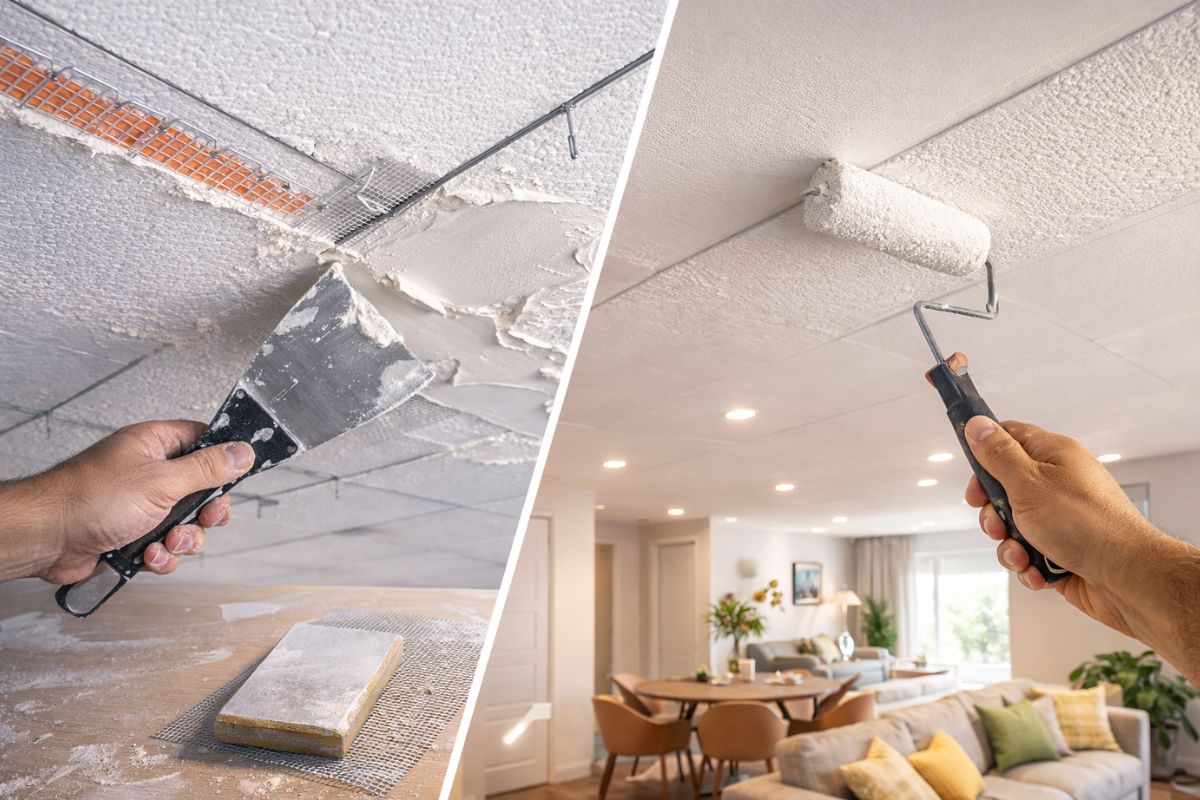
A trick with joint compound transforms a Styrofoam ceiling into a plaster-like ceiling: leveled panels, wires and mesh at the joints, sand, paint, and change the environment while spending little today.
-
Abandoned for over a decade, century-old silos in the state of Recife have been transformed into 251 apartments with curved walls in one of the most complex retrofits ever done in Brazil.

-
Inspired by millennia-old structures, a “differentiated” roof with 463 levels and a capacity for 9,000 people was built on top of a building in India; the tiered roof is almost a kind of giant garden of 9,000 m², reducing energy consumption and promoting interaction among students of Prestige University.

-
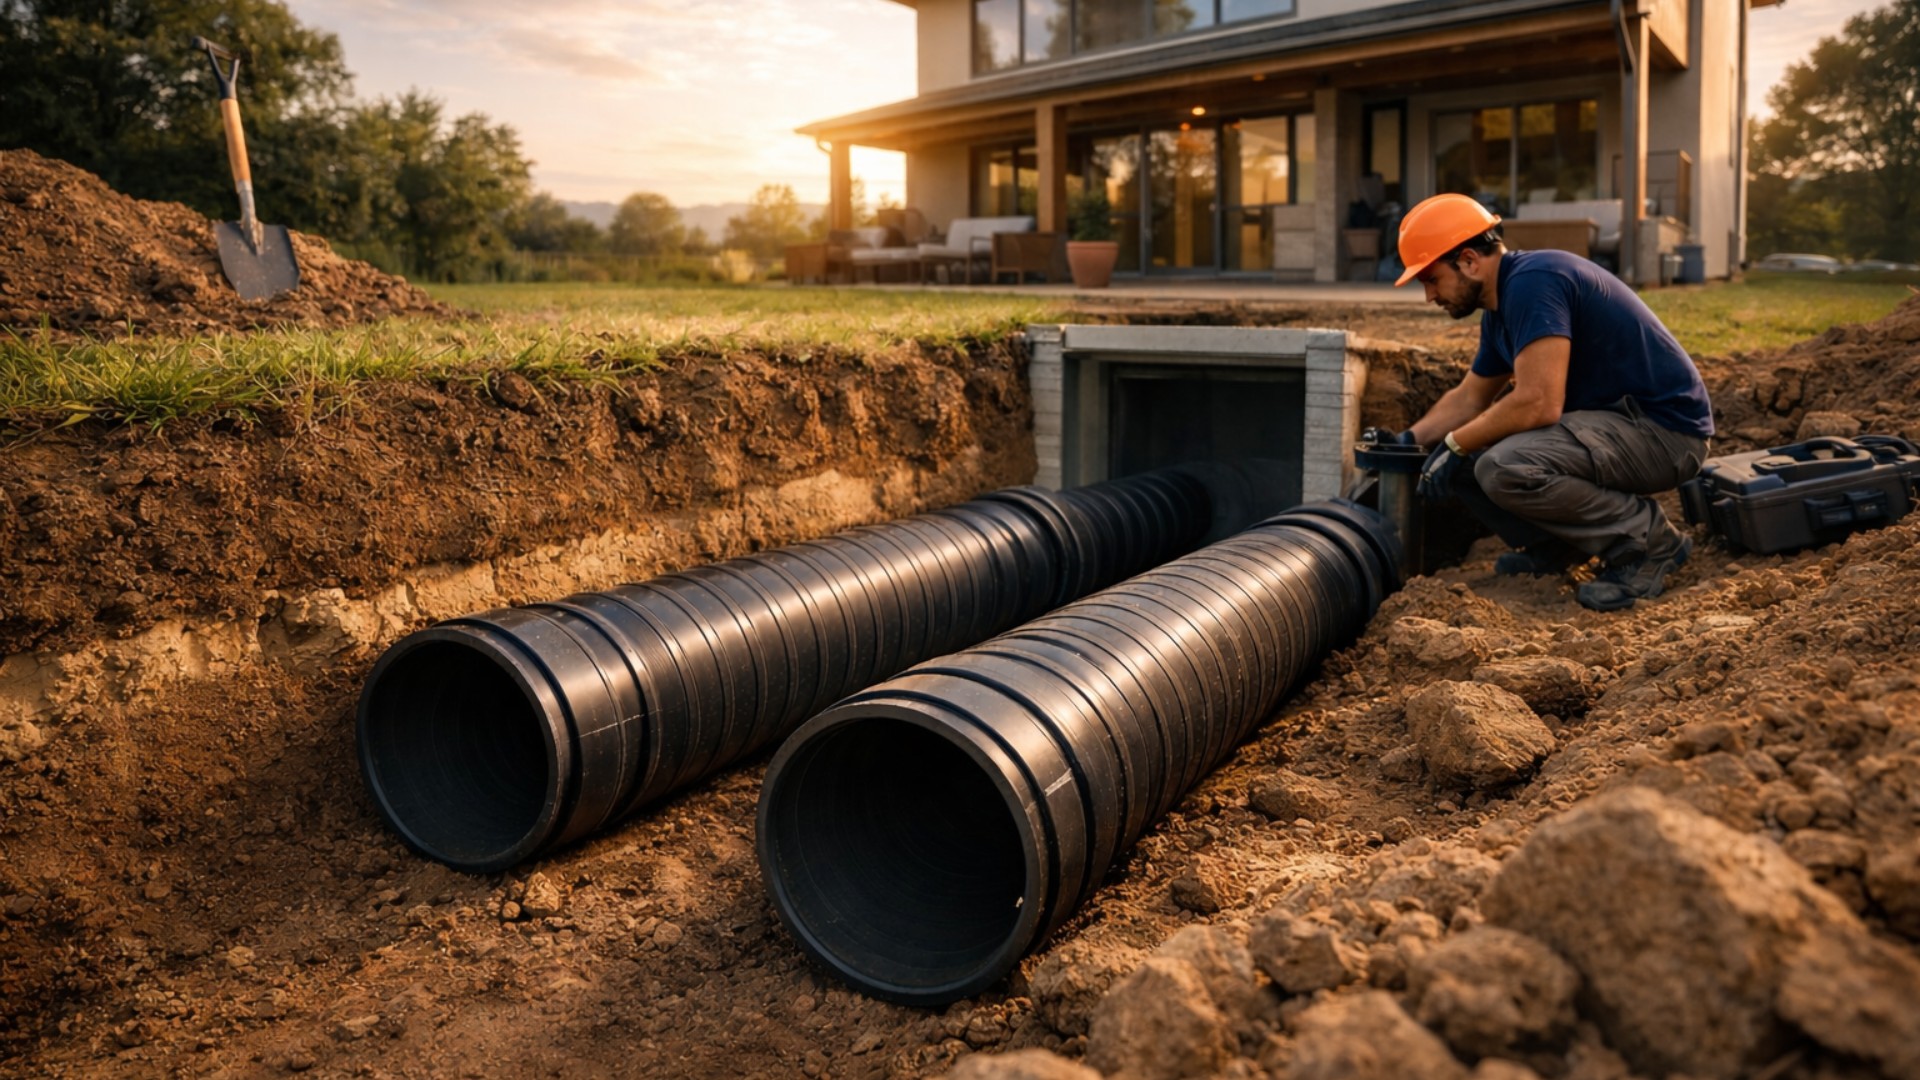
Architects are burying plastic pipes 2 meters deep and using ducts up to 30 meters long to cool homes without electricity, with low-consumption fans and natural heat exchange that drastically cuts the electricity bill.

Main Errors That Can Leave The Roof Leaking
Before talking about the main errors that can cause leaks in the roof, it is important that you know how to choose the right materials for your work. After all, deciding solely based on the product’s price is not the best approach.
Both the property owner and the professional involved in construction (architect, engineer, roofer, or mason) need to consider characteristics such as the type of material (whether it is fibrocement, PVC, or metal), the minimum slope of the roof, the structure and shape of the building, and the location, since, depending on the region, the project may be more susceptible to climatic conditions such as strong winds, storms, and excessive heat.
Ignoring the points above is already a warning that something may go wrong. Now that you know what characteristics will help you define the ideal roof for the work, check below why the roof may continue leaking even after the renovation.
Firstly, never step directly on the tiles, as this can cause cracks and breaks in the covering. Ideally, during assembly, professionals should place boards supported on the purlins of the roof to walk on. This helps with weight distribution, ensuring that movement is not a problem.
Other Errors That Can Leave The Roof Leaking After Renovation
The installation cannot be done haphazardly, nor should temporary fixes be utilized. There is a standard order that needs to be followed to ensure the best fit of the pieces, thus avoiding irregular roofs.
Using thermal tiles as an example, assembly must be done from bottom to top, that is, from the eaves to the ridge, in bands perpendicular to the supporting purlins. Other important tips during this stage include: for fastening, drill the tile and the structure using the appropriate drills, avoid overtightening the screws, and always install the tiles with the stamped side facing up.
Moreover, it is essential that they be placed against the direction of the predominant winds in the region to ensure the tightness of the covering, that is, the material’s ability to resist rainwater and humidity. If you are a professional in the construction field, you probably already know complementary pieces such as ridge, frog, and flashing, which are widely used in roof installation.
However, many consumers are not familiar with these terms and think that the tile is the only necessary item. Thus, neglecting these complements poses a risk to the roofing system. Irregular roofs often cause problems, mainly due to the lack of pieces and the use of temporary fixes, which should be entirely avoided.
How To Fix A Leaking Roof
Now that you know some reasons why the roof may continue leaking even after the renovation, it is important to know how to fix it.
The first step is to identify the source of the problem. Leaks can arise from various sources, such as broken tiles, clogged gutters, or issues with waterproofing. To find the exact point of the leak, start by examining the roof on a dry, sunny day.
Carefully inspect each tile for signs of damage, such as cracks or displacements. Once you identify the source of the leak, it is time to get to work and start the repair. First, remove the damaged tiles, then clean the area where the repair will be made and apply the sealant. While it is still wet, position new tiles on top.


Seja o primeiro a reagir!