 Portuguese
  English
  Spanish
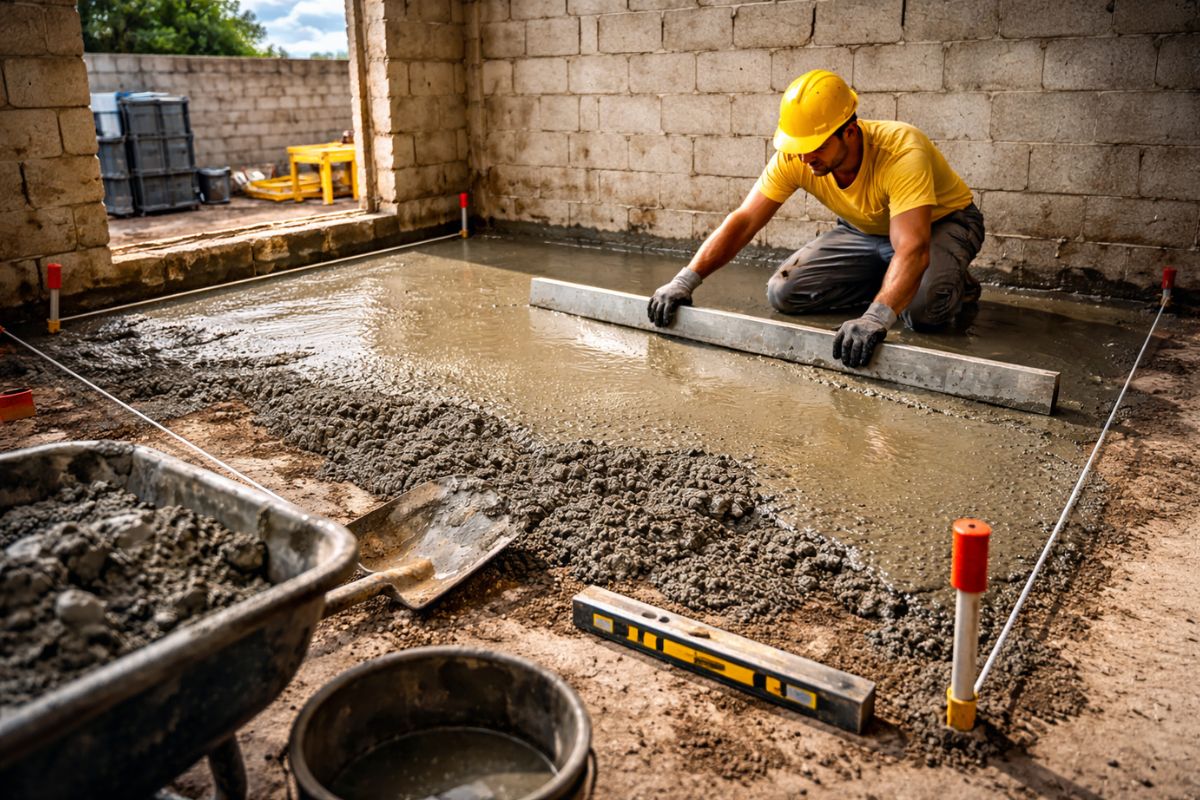
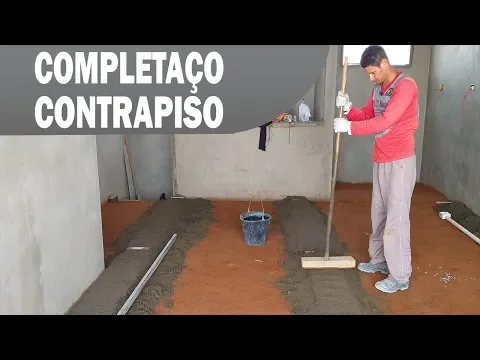
The Mason Shows How to Mark the Level with a Hose, Create Points in the Four Corners, and Pull the Floor with a Long Ruler to Ensure Drainage and a Firm Finish
The mason starts the house from scratch with what almost no one values at the beginning, but everyone feels at the end: the floor leveling. He makes it clear that if the base is set incorrectly, the problem shows up later as a crooked floor, water pooling, and coverings that don’t settle properly. Therefore, before thinking about “throwing mass,” the mason defines where the floor needs to be higher and which direction the water must flow.
In practice, the mason works with a simple and very efficient reasoning: first, he prepares the ground to receive the floor leveling, then accurately marks the level at the corners, creates references to pull the mass, and only then executes the floor leveling without rushing, ensuring that the slope is real and not a guess that turns into a headache when it rains.
What the Mason Does Before Starting the Floor Leveling
The mason begins by thoroughly wetting the ground and compacting the base. He emphasizes this care because the floor leveling needs support, and a loose or poorly compacted base is an invitation to future failure.
-
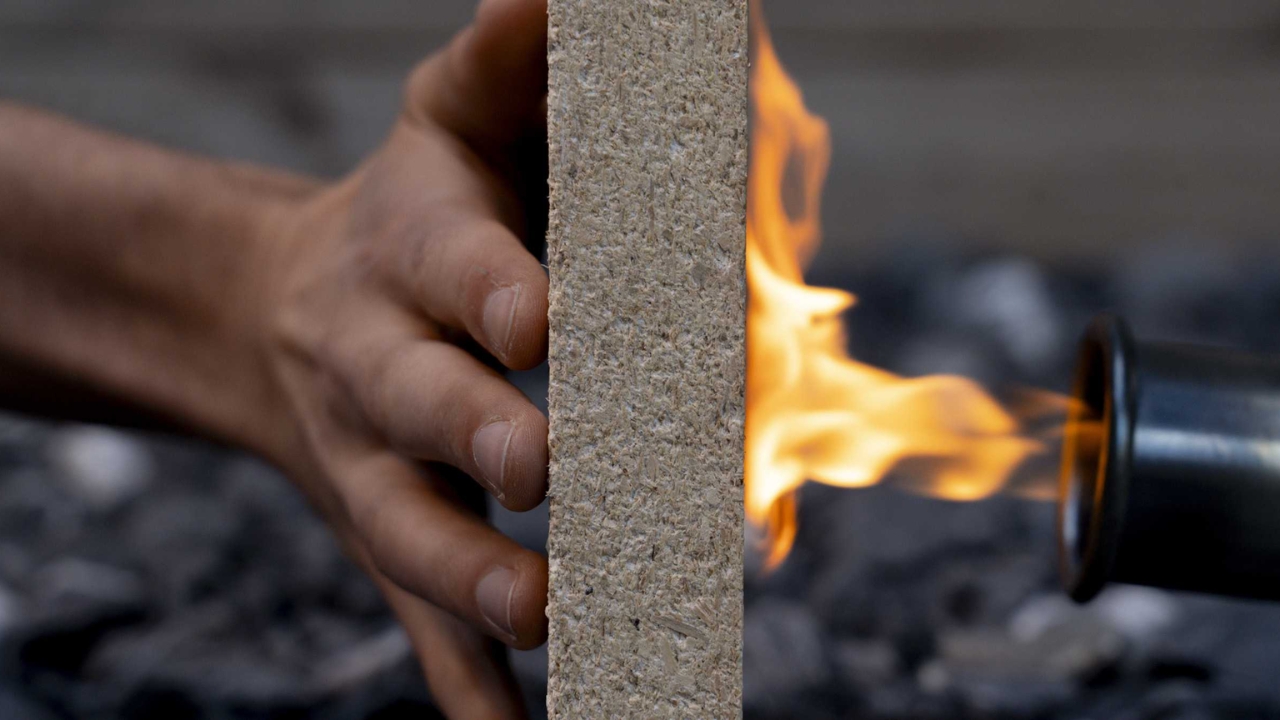
Scientists transform sawdust into fire-resistant panels, stabilize the compound with an enzyme extracted from watermelon seeds, and turn waste into promising material for construction.
-
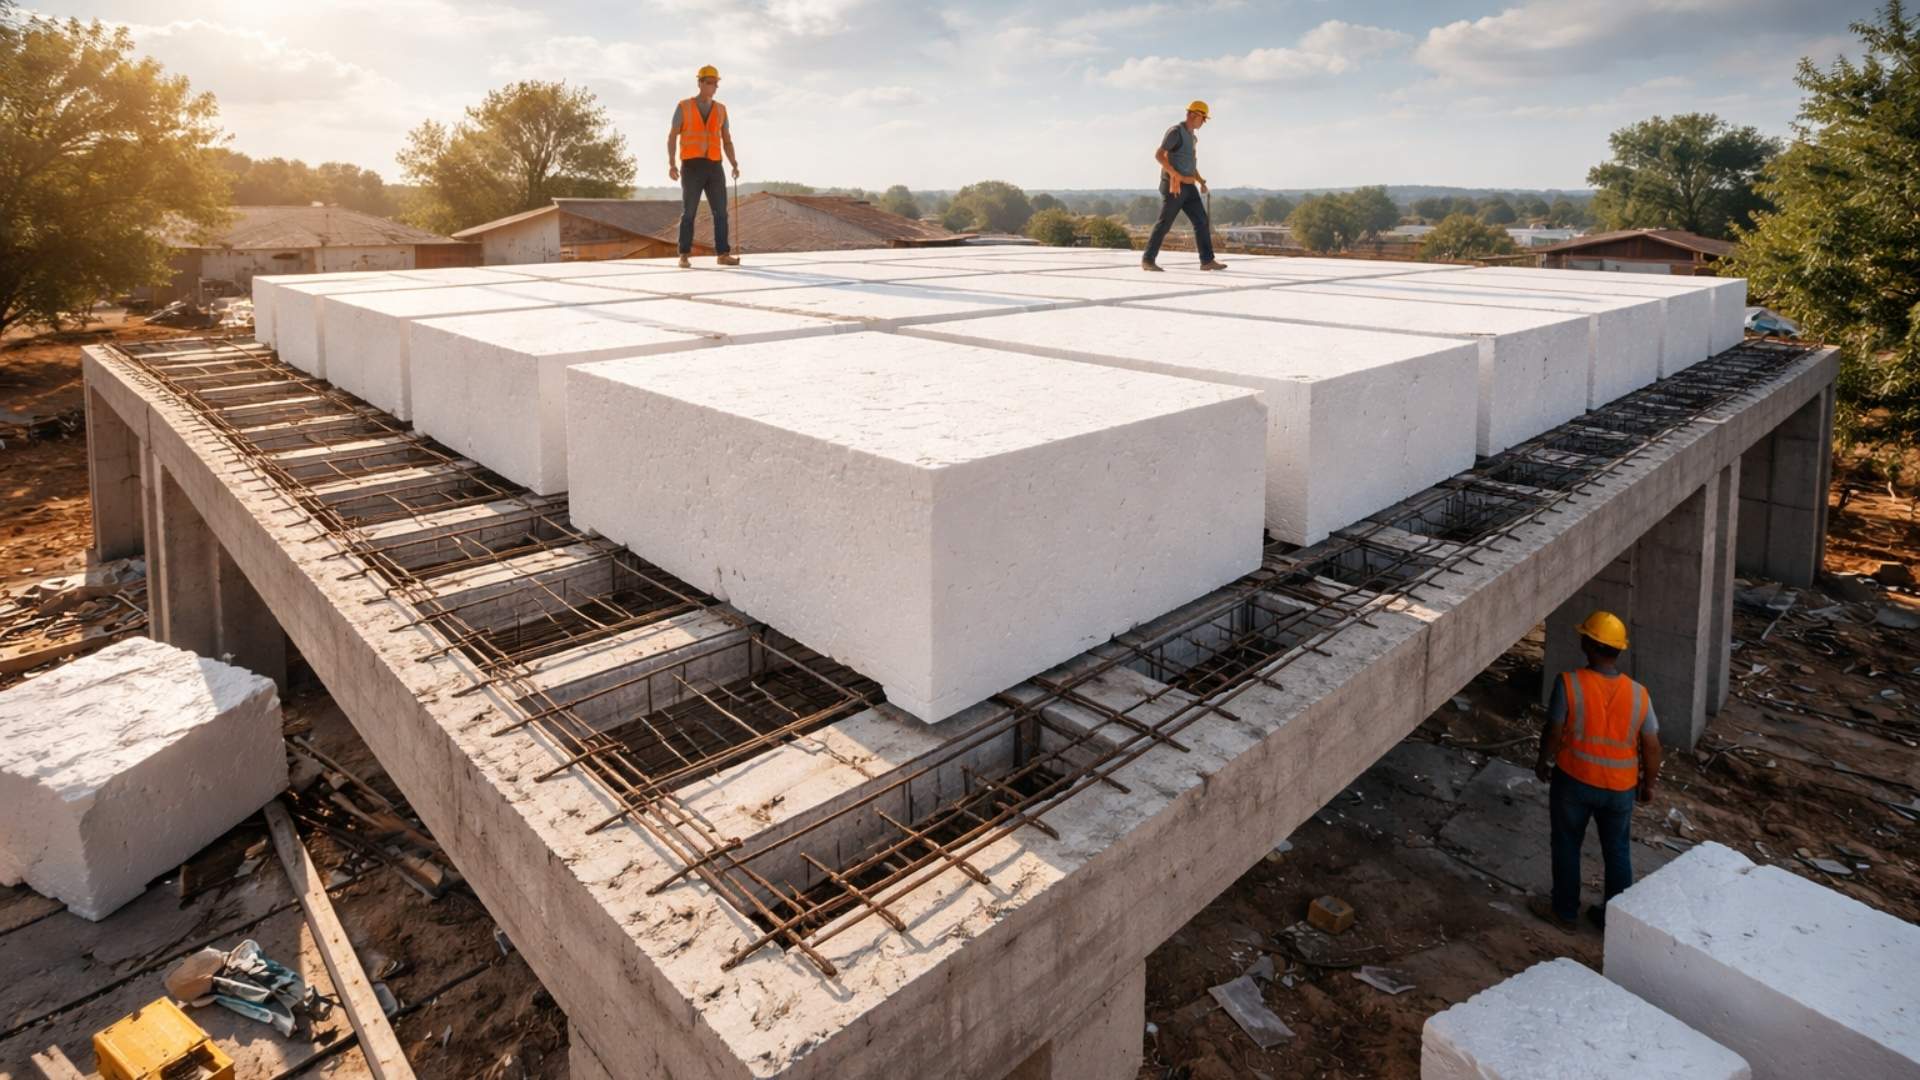
Forget concrete: architects are replacing tons of concrete with giant blocks of expanded polystyrene to build the roofs of houses and reduce structural weight by up to 50%, cut costs, improve thermal insulation, and speed up construction.
-
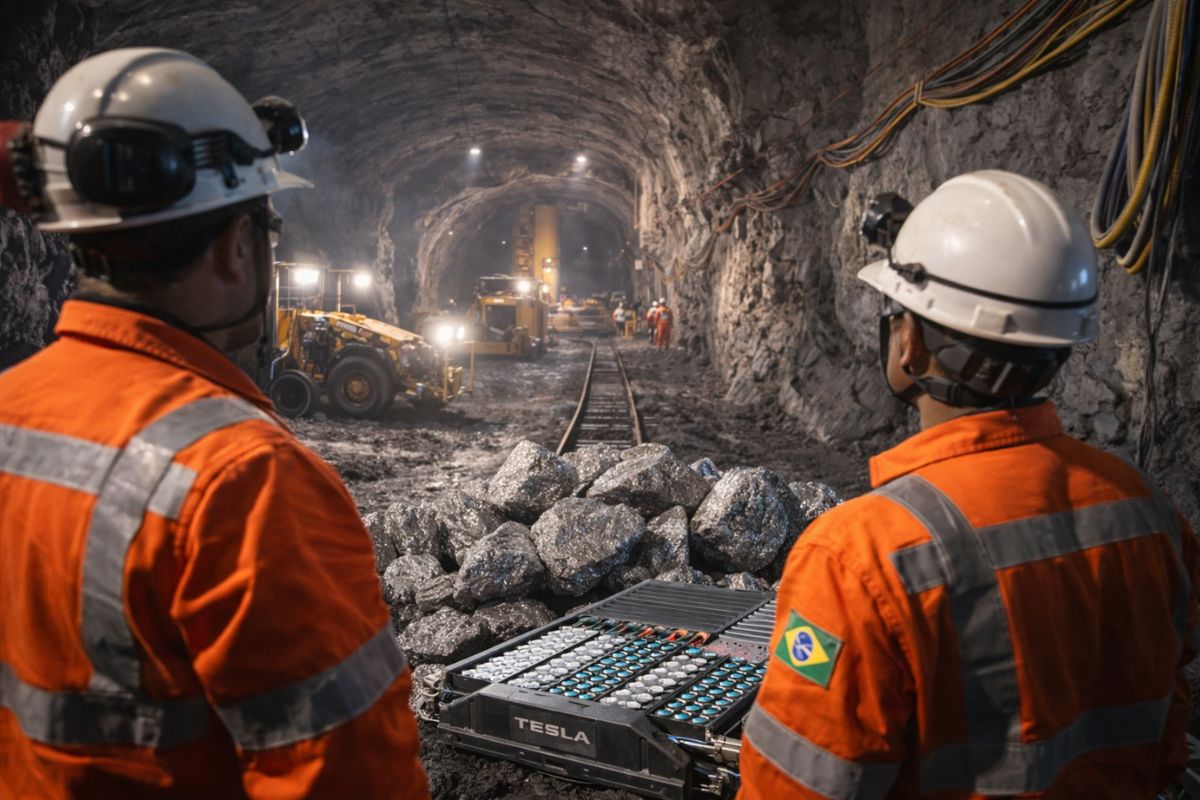
The Brazilian state enters the center of the global race for critical minerals by starting the construction of the largest underground nickel mine in Latin America, a mineral essential for electric car batteries that the entire world is competing for at this moment.
-
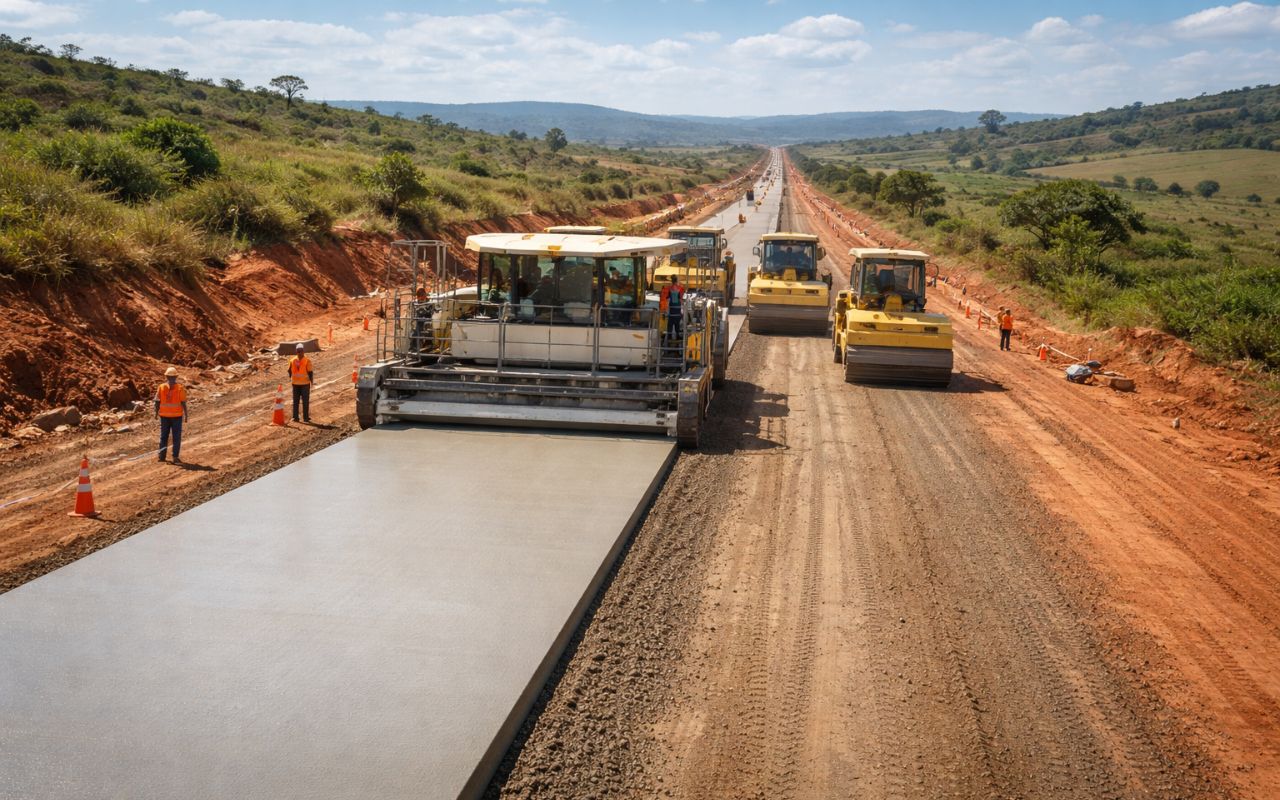
New CCR concrete paving technology promises roads up to 3x more durable, less maintenance, and cost reduction in Brazil.

The idea is for the ground to be firm enough to receive the mass without yielding and without creating weak points that later turn into holes, cracks, or unevenness.
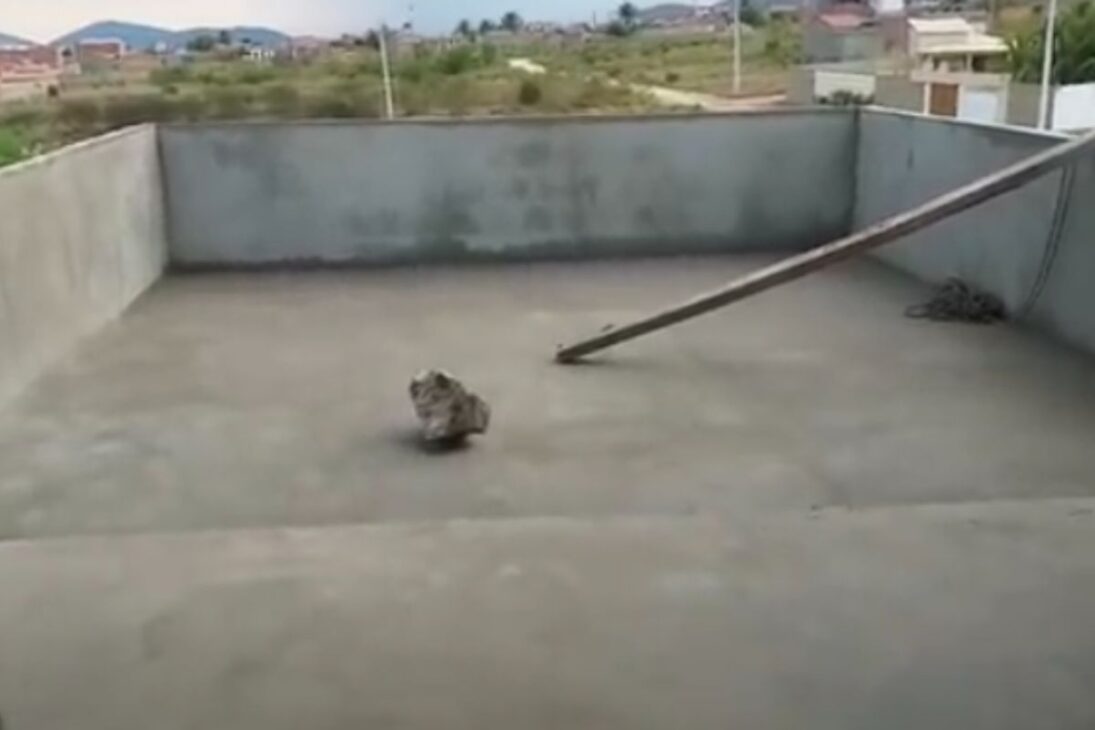
He also explains the reason for the “difference in height” between one side and the other. The highest part needs to be on the side where water cannot invade, especially near the covered area and the slab.
The floor leveling is designed for protection, as it directs drainage outward and reduces the risk of rain pushing water inside the house.
How the Mason Marks the Level Point at the Corners with a Hose
The mason Kaká, responsible for the YouTube channel Kaká Mason, uses the hose level because he wants a precise and repeatable marking.
He chooses one corner as a reference and defines an initial height that makes the work easier, explaining that this reference can be adjusted as needed, as long as it helps avoid working too low and maintaining control of the level. From this point, he takes the hose to the other corners and waits for the water to stabilize.
When the water stops, the mason makes the mark at that exact point. He repeats the process at the four corners of the wall, always following the same logic: observing where the water “stops” and marking at that location.
These marks become the map of the floor leveling because from them the mason understands what will remain level and what will slope to create the correct drainage.
The Correct Slope That the Mason Uses to Avoid Water Pooling or Backflow
After marking the corners, the mason adjusts the heights to create the slope in the planned direction. He shows that the slope cannot “go the wrong way,” because that makes water return to the area that should be protected.
To avoid this error, he compares heights at different points and emphasizes that the reference must be consistent, with the higher side where water should not enter and the lower side where water needs to drain.
The mason consciously works on this slope, marking and checking until he is sure that the incline is behaving as it should.
It is not a random slope, it is a slope built with reference, and that is what prevents water pooling and avoids a “deceptive” floor, which looks right until the day it rains and everything reveals the error.
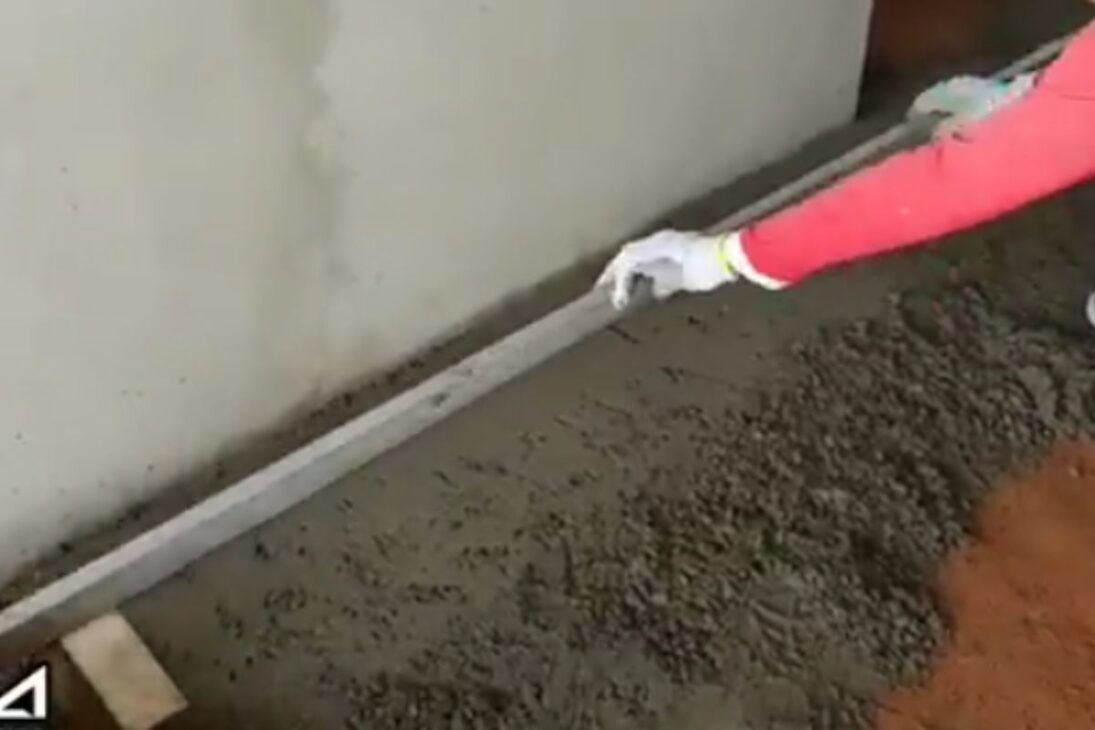
Line, Points, and Guides for the Mason to Pull the Floor Leveling Without Differences
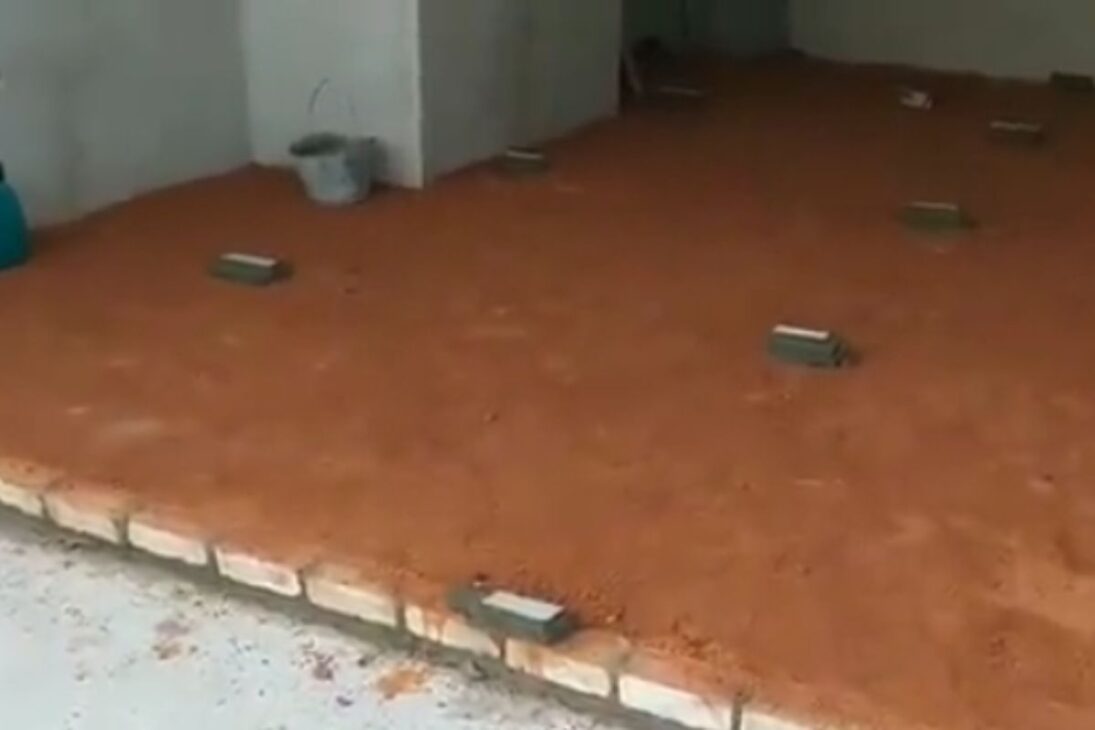
With the marks ready, the mason begins to create the reference points that will guide the ruler. He makes mass points and uses the stretched line to align these points, ensuring that the floor leveling plane remains consistent along the stretch.
The concern here is the same as for the level: if the points are not well made, the ruler will “dance,” and the floor leveling will be born with a belly or a hole.
He comments that the size of the ruler significantly influences the result and prefers to work with a 2-meter ruler because it reduces the chance of differences.
To adjust height and keep the ruler “running” at the point, the mason uses a piece of porcelain as support at the same size as the reference, making small adjustments until the point is at the correct level.
A well-made reference saves rework, as it prevents the floor leveling from being irregular and requiring correction later.
You Can Make the Points on One Day and the Floor Leveling on Another
The mason makes it clear that there is no problem making the points one day and executing the floor leveling later. The main care is to remove excess mass that has remained around the points when returning, to avoid hindering the ruler’s fitting and to ensure that the execution doesn’t “jam” right at the beginning.
When executing the floor leveling, he reinforces another crucial point: it is better to wet only the section you are going to work on.
The mason explains that wetting everything at once can hinder progress because, while you move forward, the already wet area loses condition, and the floor leveling may not have adequate support. The control of humidity follows the pace of the work, and this helps the mass to “set” properly on the ground.
Thickness of the Floor Leveling Varies According to Use, and the Mason Adjusts This
The mason differentiates between internal floor leveling and floor leveling for more demanding areas, such as garages and halls. For inside the house, he works with a more contained thickness because the load is different, and the goal is to prepare the floor for covering.
In areas like garages or halls, he makes the floor leveling more robust, with greater thickness, because there is more impact and greater structural demand in daily use.
He also mentions that in some areas, more debris will be added to complete the volume and maintain the plane, and that is why he deliberately leaves some parts a bit higher, precisely to compact and avoid future floor leveling failures.
Planned height is not a mistake, it is a strategy, as long as it is pulled and finished with the ruler at the correct level.
The Mix That the Mason Uses and the Care with Water in the Mixture
The mason shows a mix reference for the floor leveling mass, working with sand, cement, and gravel in a proportion that he considers appropriate for the point of the service.
He also highlights the water. The mass cannot be too dry, but it also cannot become a “soft” mixture that loses control on the ruler. Therefore, he measures the water in buckets and seeks a consistent point that allows spreading and pulling without crumbling and falling apart.
During execution, the mason warns that, because it is concrete mass, if the ruler does not run smoothly and if you do not monitor the level, the difference appears quickly.
He insists that the secret is to pull calmly, check, adjust, and not try to resolve out of haste. Good floor leveling is controlled floor leveling, not “eyeballed” floor leveling.
Final Finish for the Mason to Avoid Flaws or Unevenness
In closing, the mason Kaká uses a finer mixture to correct small holes and finish, sifting the sand and applying a layer of adjustment to leave the surface ready.
He uses a smooth trowel to aid in the finish and reinforces that if you throw dry mass without the proper preparation, the mass can come loose and compromise the result.
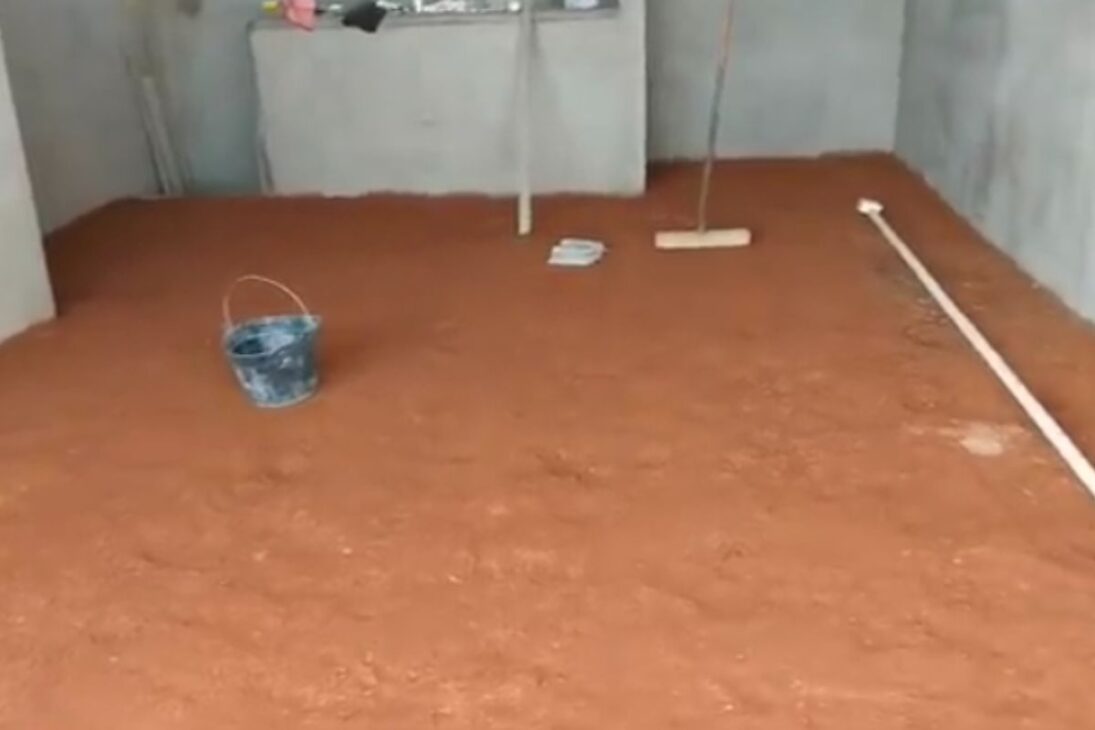
He shows that the floor leveling looks much better when the base is well prepared, the points are accurately marked at the corners, and the ruler is used correctly, running at the points and respecting the planned slope. The final result does not depend on tricks, it depends on a well-made reference and patient execution.
Would you do as the mason and prefer to mark the points one day to pull the floor leveling more calmly the next, or do you prefer to solve everything on the same day to save time?


-

-

-

-

-

30 pessoas reagiram a isso.