 Portuguese
  English
  Spanish
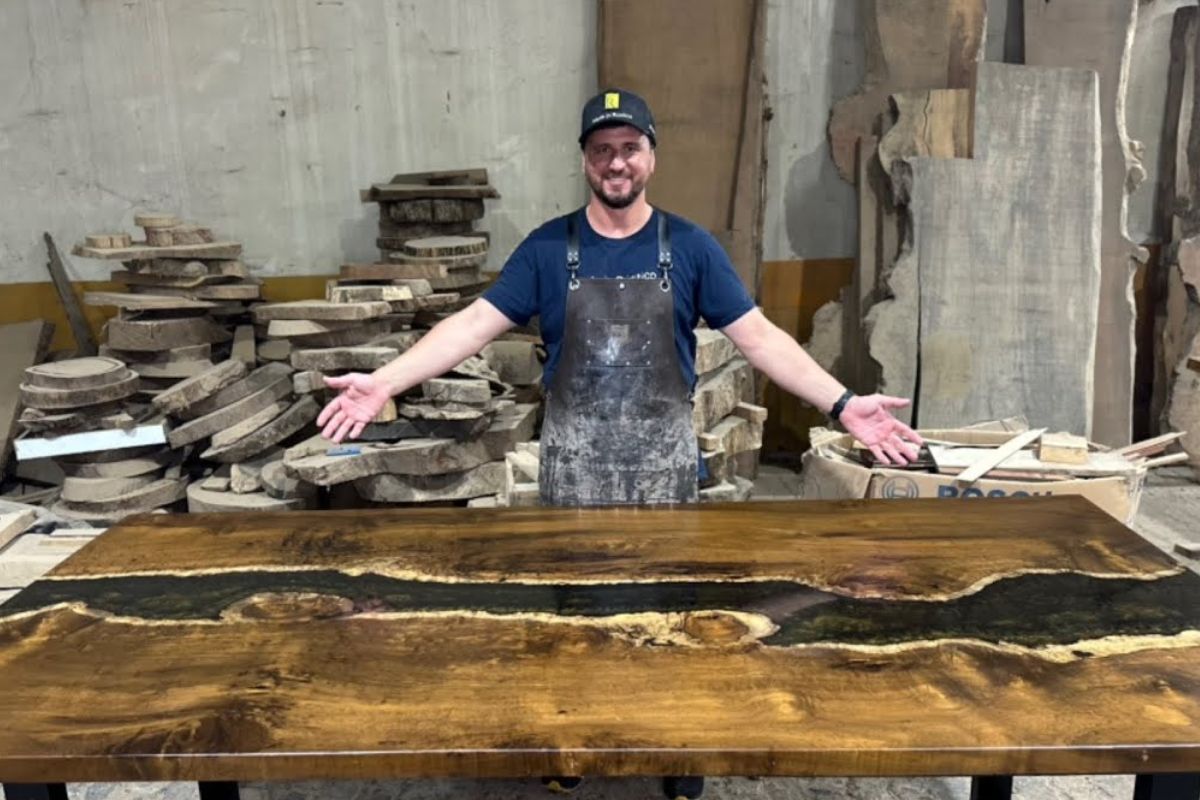
The R$ 28,000 Table Starts With Stripped Bark, Brushing on the Organic Edge, and Black Color Testing With Gold Pigment to Prevent Bubbles. To Avoid Bubbles, the Wood is Sealed and Receives 8 kg of Polipox Resin and 2 kg 160 g of Hardener Before Curing and Shipping to Ceará.
The production of the R$ 28,000 table takes place in a workshop where improvisation does not enter: here, every decision is made with a ruler, scale, and hand care. The person responsible is Rafael, from Made in Rústico, who works with rustic furniture made of reclaimed wood and solid wood, focusing on so-called river tables, tables where the resin forms a “river” between boards.
What seems like just a pretty finish reveals a process full of risks: twisted wood, difficult-to-clean organic edges, cuts that can break the piece, and a resin that heats up quickly. In the end, in addition to the visual standard, there is a practical goal that guides the design of the R$ 28,000 table: to deliver a large piece, with at least 5 cm of thickness promised to the client, ready to head to Ceará.
The Twisted Wood and the Organic Edge That Defines the Design

The first scene of my overview was the wood still raw, with bark and an irregular edge, exactly the type of detail that the carpenter tries to preserve.
-
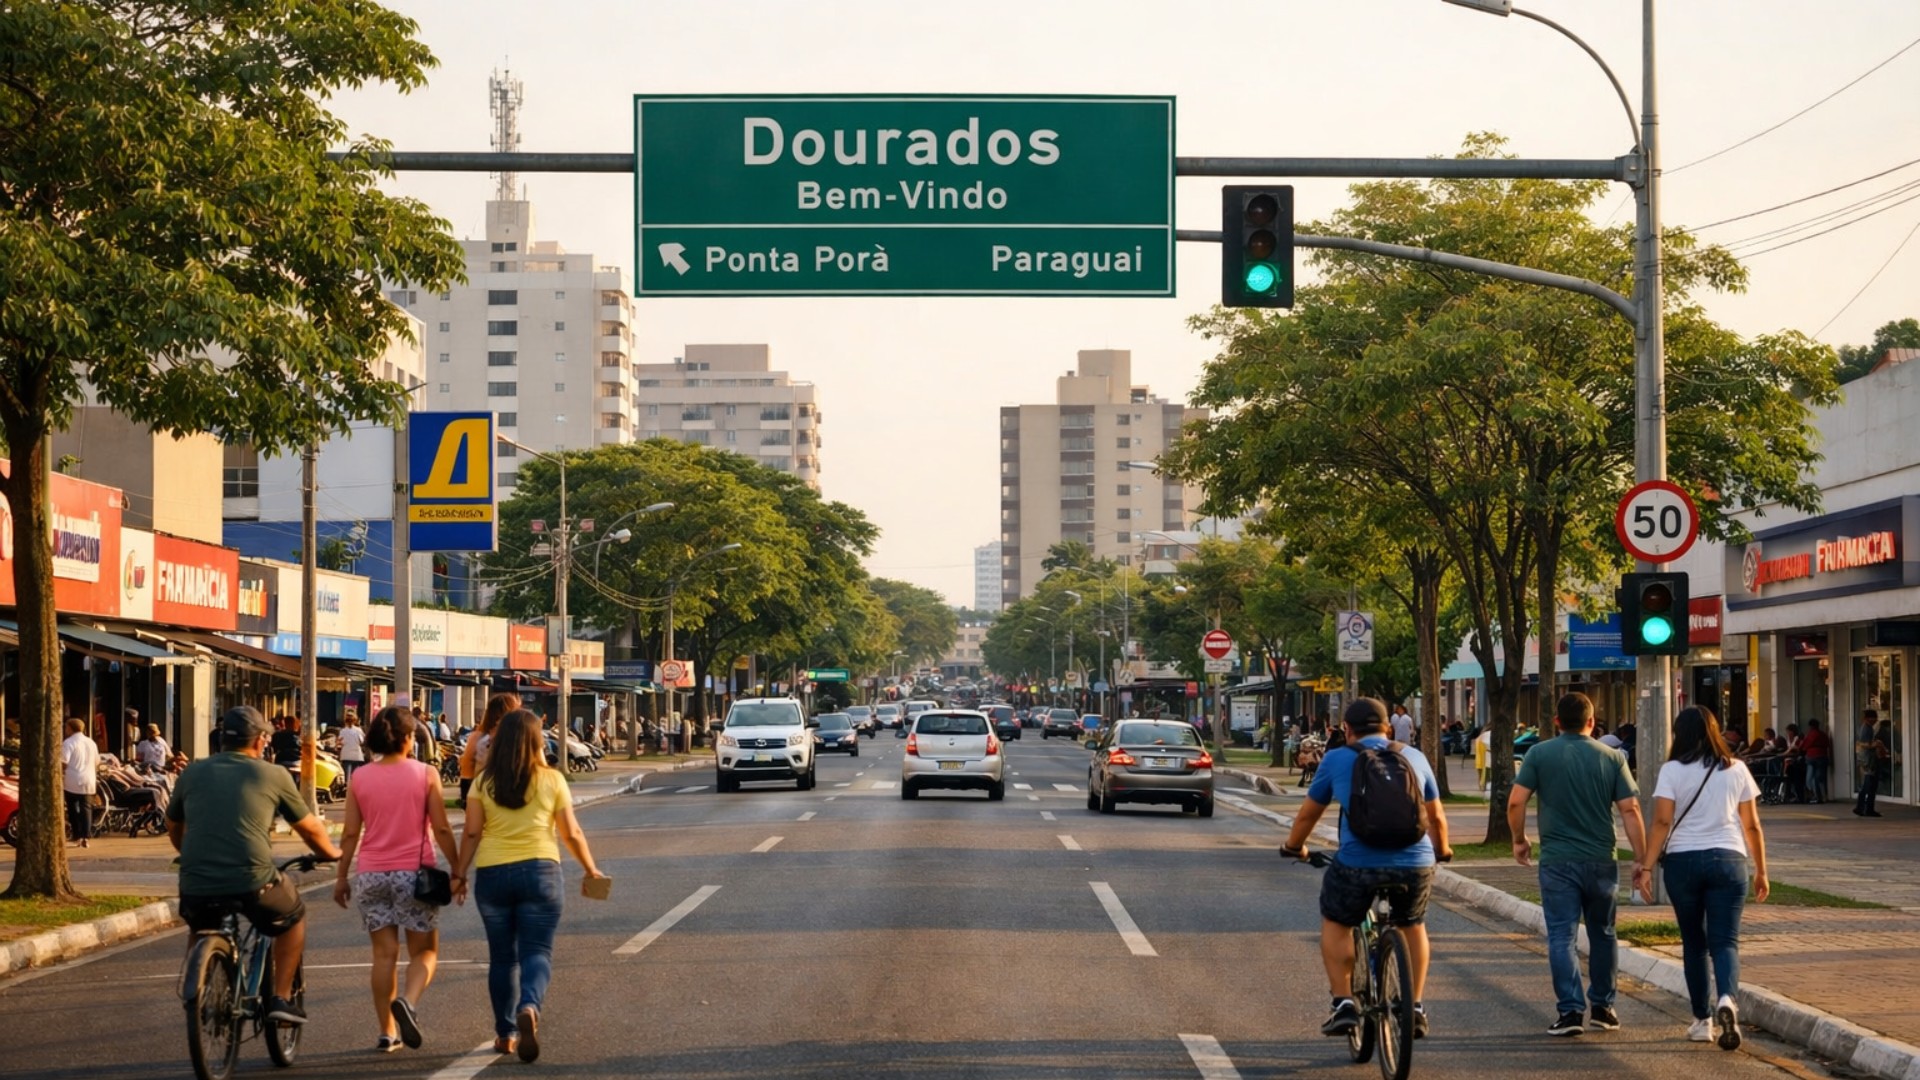
Brazilian city neighboring Paraguay becomes a ‘magnet’ for people seeking quality of life and high standards with exceptional growth and commutes of up to 15 minutes.
-
A rare storm transformed part of the Gulf into an unlikely scene of hail, extreme rain, and tornado risk in the middle of the desert, with volumes that exceeded the annual average in a single day.

-
Brazil catches the world’s attention with ships powered by ethanol and biodiesel that have lower emissions, an unprecedented certification with advantages in chartering, and a revolution in cabotage.

-
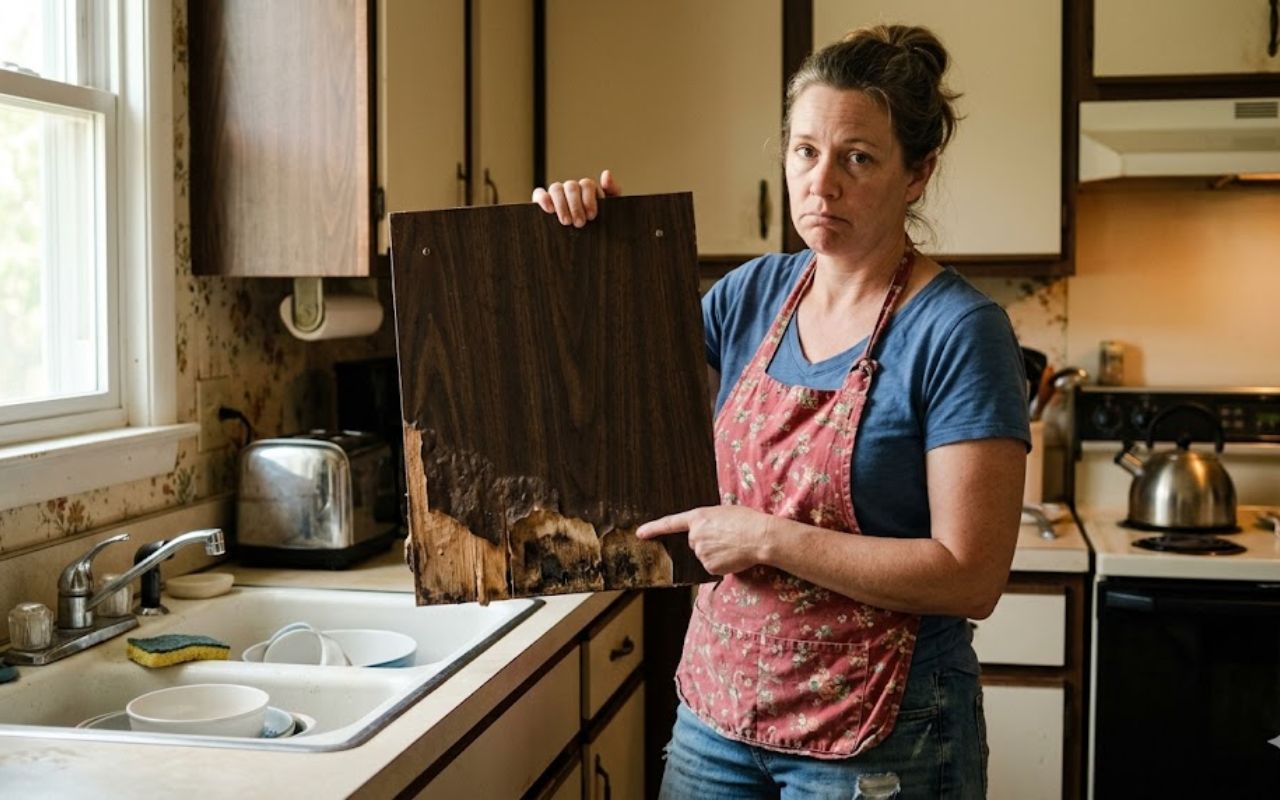
A couple who only has Sundays free has built a hand-dug pool, a hamburger joint, a dance hall, and a playground in their own home without hiring a mason, and even with breaks due to accidents and the pandemic, the work has never truly stopped.


Rafael repeats a rule that he also applies to students: the more organic and natural it looks, the more beautiful the table tends to be.
This aesthetic choice comes at a technical price because the bark needs to come off without damaging the grain, and the surface must be clean to receive resin.
The removal of the bark is done by pulling on the bark itself, without hitting directly on the wood.
The reason is simple: any impact on the exposed fiber leaves a mark and can show up later.
As the piece was “extremely dry,” the bark comes off with less resistance, but the organic edge creates tricky spots where the hand needs to go slowly so as not to tear off the natural design.
Fine Brush, PPE, and the Detail That Determines Adhesion

Next, he goes for an aggressive yet controlled cleaning, using a steel brush on the grinder.
The detail is in the choice of brush: he prefers “the finest possible” to avoid damaging the wood and not erasing textures.
This stage requires glasses and gloves because the brush bristles can come loose and become projectiles, in addition to cutting the hand.
After that, a quick sandpaper comes in to “activate the surface.”
On the workshop floor, this translates to preparing the wood not to reject the resin.
With each pass, the edge becomes more defined and, at the same time, more vulnerable: any dirt stuck there causes bubbles or sealing failures in the table.
The Exclusive Color and the Risk of Pigment in the Resin
Before pouring liters, Rafael makes a sample for the client.
This is where the story of the R$ 28,000 table took on a laboratory tone: the chosen color is black with gold powder pigment.
He measures hardener, mixes, and warns that he was without a translucent black pigment, so he needed to adapt with “paste” pigment, which he considers harder to dose.
The alert is direct and technical: a minimal thread of paste pigment already darkens a lot, and going overboard changes everything.
I watched the mixture darken in seconds and start to heat up in the cup, a sign that the reaction is underway.
The sample goes to small boards, which also become studio gifts, and serves as final color approval before the Polipox resin faces the large piece.
Cuts in Two Passes and the Invisible Danger of the Fiber Opening
With the color set, the focus returns to the wood.
The original board is about 3 m, but the table will use 2.50 m to better take advantage of the most beautiful part of the curve.
The cut, however, is not made “in one go,” even with a powerful machine.
The reason is safety: when cutting close, the piece can crack, break suddenly, and cause serious injury.
The solution is to divide it into two cuts to “cut the fiber” and reduce the opening force.
This step defines the square, the fit, and the appearance of the “river” in the river table.
If the wood arrives twisted, any attempt to force the cut results in material loss or the risk of splitting, and that’s where the R$ 28,000 table begins to differ from ordinary furniture: the process avoids shortcuts.
Mold, Silicone, and the Decision to Maintain 5 cm on the R$ 28,000 Table
Days later, I found the piece already inside the molding tank, with silicone applied to the joints.
The critical point appeared when placing a ruler: the base was not flat, with a visible height difference.
Rafael explains why he does not plane everything at this moment: if he straightens it now, he loses thickness and breaks the promise to the client to keep the table at least 5 cm.
The solution is strategic: he will fill with resin to compensate for the “bent” part underneath, maintaining the thickness.
At this stage, he acknowledges a mistake that increases the risk: there were cracks, and he forgot to seal underneath, which opens the way for the resin to leak.
The correction will come after demolding, with filling and stabilizing the crack.
Sealing Before Pouring and the Recipe of 8 kg with 27% Hardener
Before the main application, the workshop goes into bubble control mode.
He uses resin to seal “the entire edge of the wood,” a step designed to reduce bubbles in the final stage.
The chosen product is Polipox, which he mentions as the material he uses at this stage.
The main mixture is heavy: 8 kg of resin with 2 kg 160 g of hardener, in the proportion he describes as 27% hardener.
The resin is of low viscosity, which helps form fewer bubbles.
I watched the pour gain a dark shine with the gold, and the use of the torch to burst the bubbles that rise.
The color of the R$ 28,000 table appears at this moment: a deep black, with golden reflections that change depending on the angle, exactly the type of finish that requires control of every gram of pigment.
Curing, “Gum,” and the Point at Which the Resin Begins to Shine
Shortly after the first application, a typical problem of manual work arose: a “long nib,” an excess appearing on the edge.
He uses a mini hand grinder, like a Dremel, to remove the excess but stops halfway.
The justification is technical: the resin was dry to the touch but not yet cured, and therefore it was “rubberizing” like gum.
I witnessed the decision to wait a few more hours, even with a tight schedule.
When the material truly hardens, the cut is clean, and the surface accepts sanding without tearing.
This interval is one of the borders between common finishing and the finishing of the R$ 28,000 table: anticipating this step often costs later in failure of shine or permanent marks.
Sanding, Adhesion, and the Rule Not to Delaminate
The next step is noisy and essential: sanding where the resin will receive a new layer. Rafael explains the risk with a practical example: if someone moves the table and it shifts, the resin can delaminate if there isn’t enough adhesion.
That’s why he insists on “sanding well” to ensure that the new layer sticks to the previous one.
At this point, the word sander dominates the workshop.
The OMIL stationary belt sander, with 6.20 m sandpaper, speeds up the work but physically takes its toll: he reports effort in his shoulder and back and is seen wearing a support belt.
Even so, the sander shortens the leveling work, revealing small holes that need to be corrected.
Invisible Corrections, Straight Cut, and Edge Finishing
After the sander, micro-defects appear that only become visible when the light hits: tiny holes, small porosities, and sealing marks on the side.
The correction is straightforward: “apply a little resin” to those points, filling them in so that the finish becomes uniform.
It is the phase where the Polipox resin stops being “river” and turns into correction mass, applied sparingly so as not to alter the design.
To close the sides, he uses a circular saw with a guide, cutting off the excess and leaving the profile straight.
The result is a clean edge that contrasts with the preserved organic edge, a balance that defines the aesthetics of the river table.
Iron Legs, Nut-Bushing, and Levelers to Protect the Floor
With the top on track, the legs come in.
He assembles an iron solution and solves a common problem: crooked threads and forgetting levelers.
The choice is a “nut-bushing,” installed with a riveter, creating a firm thread to receive the leveling foot. He discards the part of the foot that faces the wood and keeps the thread compatible.
The purpose of the leveler is simple and functional: to prevent direct contact of the foot with the client’s floor.
It’s a small decision, but it aligns with the price of the R$ 28,000 table and the fact that it is going far away.
The Distance to Ceará and What the Workshop Tries to Prevent
The R$ 28,000 table was cited as the farthest he would make, destined for Ceará.
Rafael recalls that he has had tables in Bolivia but admits to geography doubts and emphasizes the perception of distance.
For those who produce, distance means that the piece needs to leave the workshop with the least fragility possible.
Therefore, the entire process I saw on the bench focuses on preventing three failures: wood cracking, resin bubbles, and delamination due to lack of sanding.
In total, the rigor becomes what sustains the value of a table that needs to maintain shape, color, and finish until the final point.
What I recorded in Rafael’s workshop is that the R$ 28,000 table is not born ready and does not come straight.
It depends on repeated, almost invisible decisions that combine organic wood with controlled resin, heavy Polipox mixtures, curing patience, and sanding discipline.
If you intend to order a table of this kind, ask to see the color sample, inquire about the sealing of the edge, and about the cure point before sanding, because that’s where the finish appears or collapses.
In your opinion, what weighs most to justify a R$ 28,000 table: wood, resin, or technique?


-

-

5 pessoas reagiram a isso.