 Portuguese
  English
  Spanish


With Simple Mortar, Cheap Powder Pigment, and a Texture Roller, the Direct Texture Technique on Brick Promises to Transform Unplastered Walls into Professional Finishes, Spending Little and Without Mess
For those who look at a raw brick wall every day and postpone the renovation due to the cost of plastering, the direct texture on brick appears as a technical and economic shortcut. The proposal is to use only common mortar, a little powder pigment, and a texture roller to create a continuous, closed, and decorative surface, without intermediate steps of roughcasting and fine plaster. The result is a protected wall, with color and relief, made with accessible materials and a simple work routine.
In practice, the direct texture on brick combines three pillars that interest those renovating: low cost, use of easily found materials in any construction store, and a step-by-step process that can be followed by those already somewhat familiar with mortar. The method begins with careful preparation of the brick, advances to two coats of mortar (the second pigmented), and ends with the application of the roller while the mass is still fresh, a step that defines the final texture effect and the perceived finish level.
What Is Direct Texture on Brick
The direct texture on brick is a coating technique in which the mortar is applied directly onto the exposed brick, without the traditional layer of plaster.
-
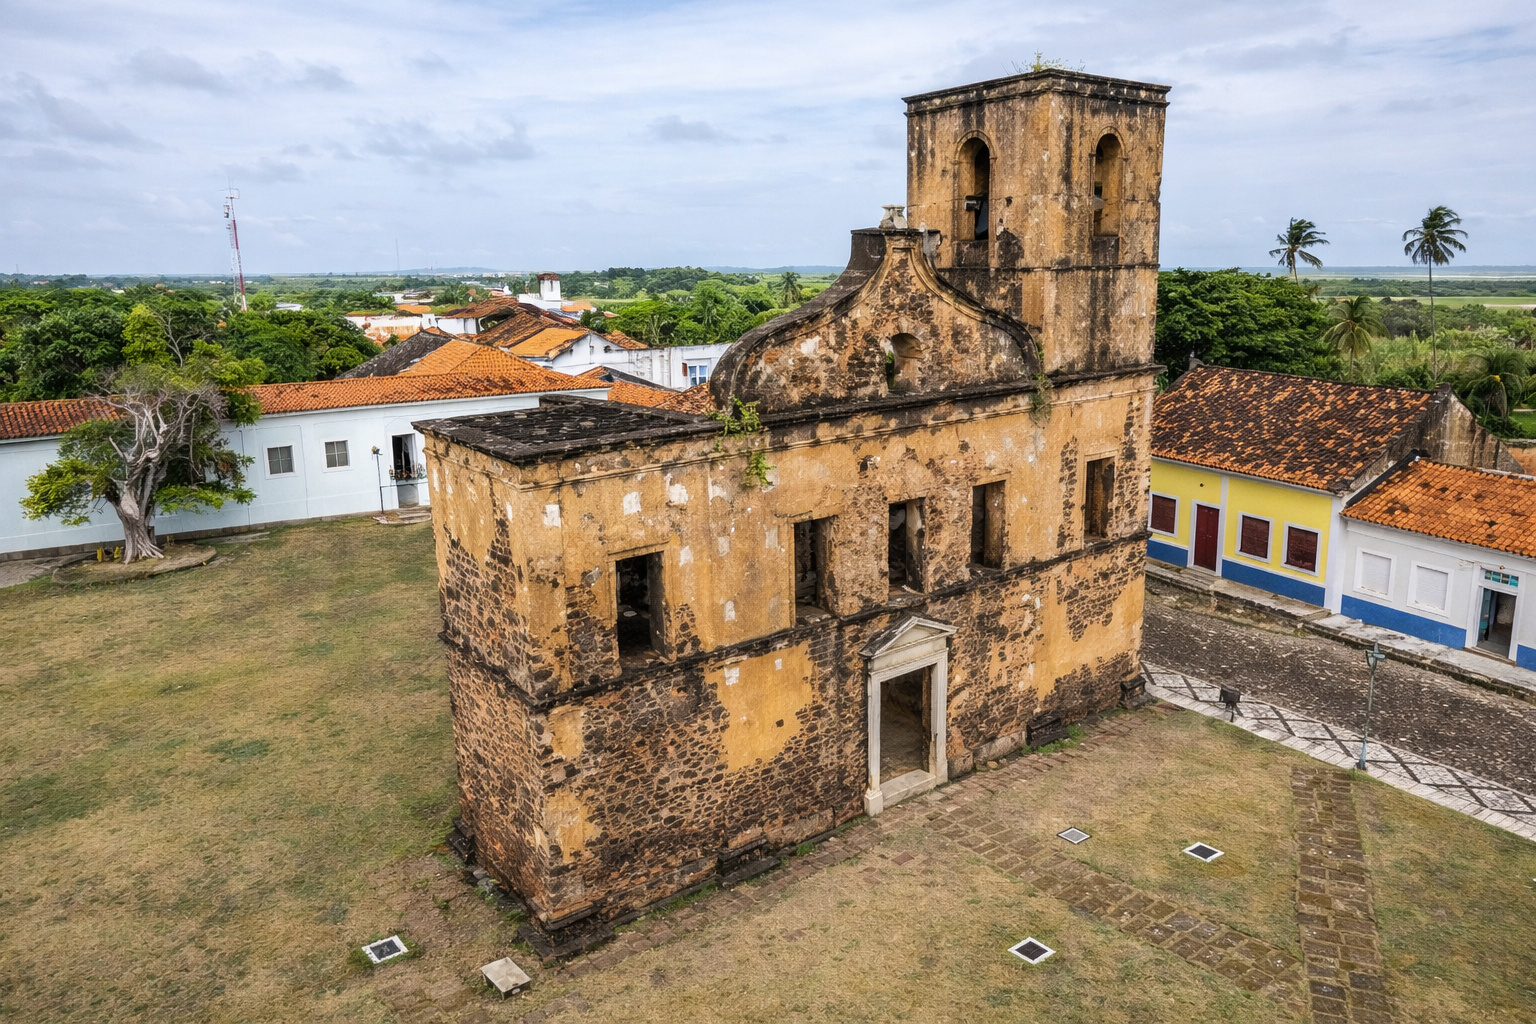
The Brazilian colonial city that stopped in time and shares territory with a rocket launch base.
-
79-year-old woman challenges limits, visits 193 countries in the world after 56 years of planning and reveals the behind-the-scenes of a global journey that few have managed to accomplish.

-
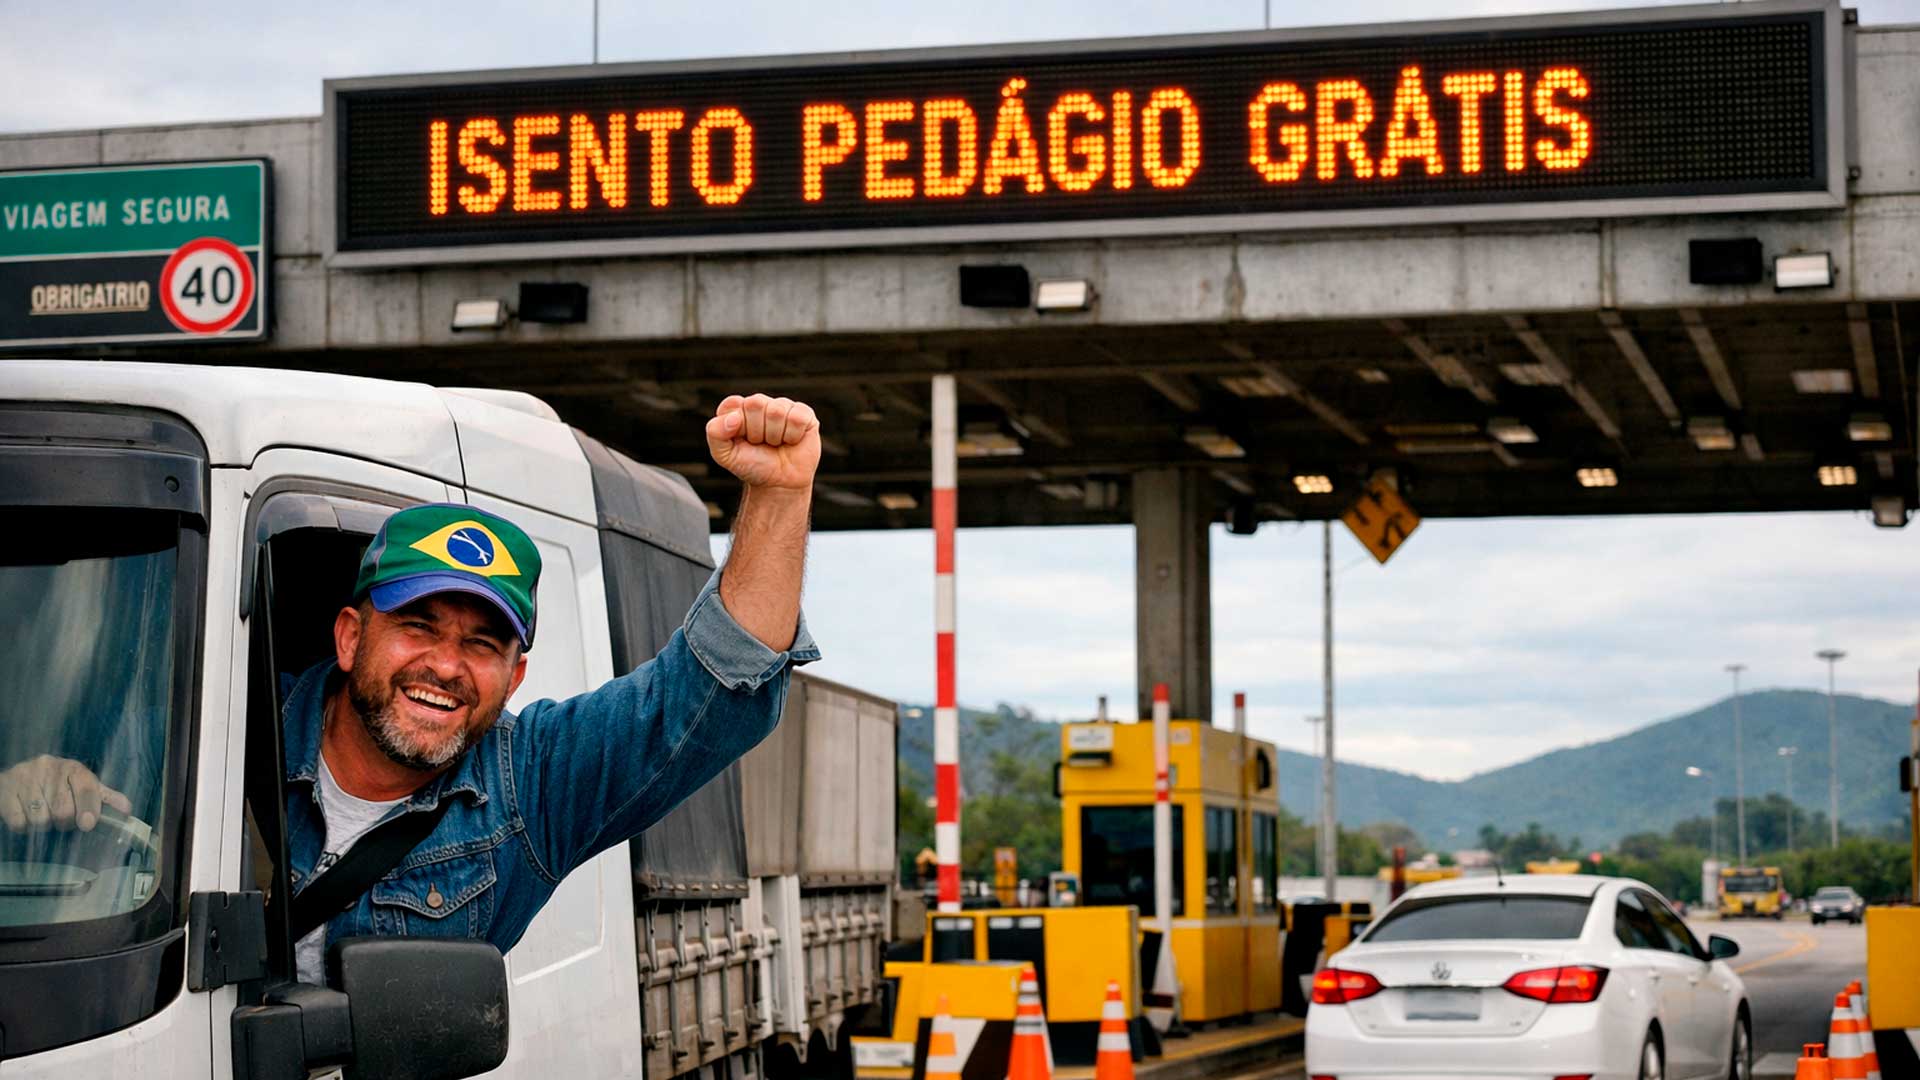
These are the drivers who may stop paying tolls on highways in a project that promises to reduce costs for those who live from transportation in Brazil.
-
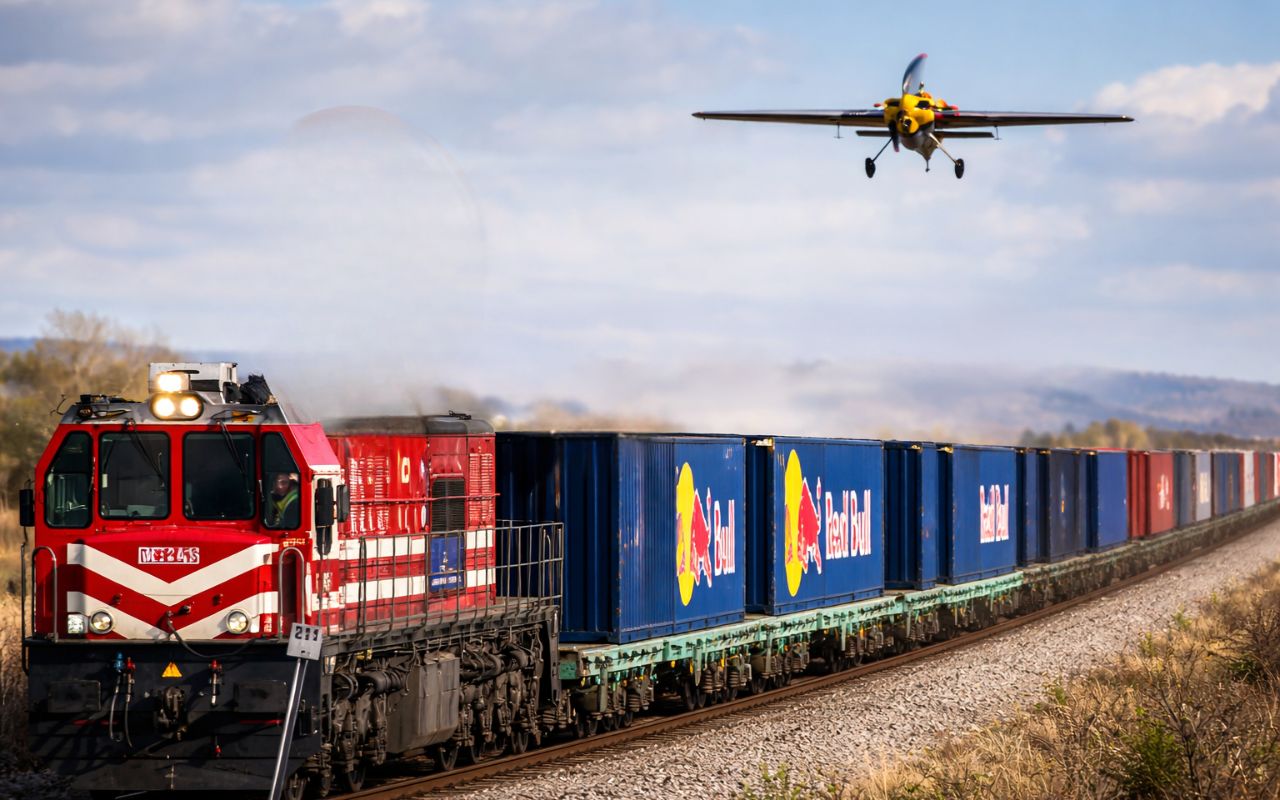
(Video): Italian pilot lands plane on moving train at 120 km/h and achieves unprecedented feat in aviation, even with a narrow runway and without direct visual contact.

Instead of a smooth finish, the goal is to create a textured effect using a specific roller, typically of medium texture.
While covering the exposed masonry, this texture helps to protect the brick against moisture and superficial dirt, in addition to giving the environment the appearance of a finished wall, even in areas where plaster has not been applied.
Tools and Materials Needed
The execution of the direct texture on brick depends on a few items, but all must be used correctly to ensure a consistent finish:
Ready-mixed mortar suitable for masonry
Construction powder pigment, in the chosen color
Trowel for applying and leveling the mortar
Bricklaying trowel for handling and transporting the mortar
Medium texture roller, of the type used for decorative effects
Extension handle for the roller, making it easier to reach the wall
Cart or mixer for preparing the mortar
The powder pigment can be yellow, as shown in the video example, but the color is entirely optional. The critical point is to dose little pigment and mix very well, as the goal is to achieve a uniform shade without wasting product.
Measurements and Proportions for Applying Direct Texture on Brick
1. Preparing the Mortar for Direct Texture on Brick
For a common interior wall, you can use as a reference:
- 1 bag of 20 kg of mortar
- About 4 to 4.5 liters of clean water, adjusting until creamy, without lumps, and not too runny
- Always mix in a mixer or cart until homogeneous
The base is to follow the point indicated by the manufacturer and only then adjust the consistency for the direct texture on brick, without making the mixture too runny.
2. Average Thickness of Each Coat
For the direct texture technique on brick, a safe reference is:
- First coat: about 2 to 3 mm thick, just to seal the brick and form the plane
- Pigmented second coat: about 2 mm on average, considering the final texture effect
In total, the direct texture on brick usually ends up being between 4 and 5 mm in thickness, summing the two coats.
3. Pigment Proportion in the Mortar
Since the powder pigment is highly concentrated, the idea is always to start with a little and adjust. A practical parameter:
- For 1 bag of 20 kg of mortar:
- Start with about 30 g to 50 g of powder pigment
- Mix very well
- If a stronger tone is desired, gradually increase, without exceeding about 150 g per bag, to avoid compromising the mortar’s strength
The important thing is to mix well before deciding to add more pigment.
4. Approximate Yield per Bag of Mortar
Considering two thin coats and the use of a texture roller:
- 1 bag of 20 kg yields, on average, 4 to 5 m² of direct texture on brick in two coats
- If the wall has many irregularities, consumption increases slightly
Therefore, it’s always worth planning with 10% excess relative to the measured area.
5. Drying Time Between Coats
To keep the direct texture on brick well adhered:
- Interval between the first and second coat: under normal conditions, around 2 to 4 hours, until the mortar becomes “tacky” and firm and grayish
- Roller application: always while the second coat is still fresh, right after finishing each section of the wall
Very cold or humid environments may require more waiting time.
6. Dimensions of Tools and Workspace
- Texture roller: standard width of 18 to 23 cm, medium texture
- Handle: 1.5 to 2 m helps to reach the top of the wall without a ladder in residential areas
- Size of work section: ideally work in sections of 1.5 to 2 m wide at a time to have time to roll the texture before the mixture starts to dry
Preparing the Wall Before Texture
Before thinking about mortar or roller, the brick wall needs to be prepared. This step directly influences the adherence of the mortar and the visual quality of the direct texture on brick.
The main care points are:
Remove any “little bits” and remnants of mortar that stick to the brick
Perform a mechanical cleaning of the surface, removing loose dust and residues
Check for any loose or peeling spots on the masonry
On very dry days, it’s common to lightly moisten the wall to prevent the brick from “pulling” water from the mortar too quickly.
In the case shown, the wall was already damp due to heavy rain on the same day, which eliminated the need for additional moistening.
First Coat of Mortar: Seal and Cover the Brick
The first application stage is structural: visually close the brick and create a continuous base.
The step-by-step is straightforward:
Apply the mortar with the trowel, covering the brick completely
Spread the mixture evenly, without leaving visible holes
Ensure sufficient thickness just for sealing, without excessive material
After this first coat, it is necessary to wait for the drying to start. When the mortar begins to look grayer and firm to the touch, it is in the right condition to receive the pigmented second coat.
Second Pigmented Coat and Correction of Flaws
The second coat is responsible for the visual effect of the direct texture on brick. It is here that the powder pigment, mixed directly into the already prepared mortar, comes in.
Important technical points:
- Add the pigment gradually, mixing well before adding more
- Work until the mortar presents a homogeneous color
- Avoid “overdoing” the pigment to prevent compromising the consistency of the mixture
With the pigmented mortar ready, the application follows the same principle as the first coat, but now with increased attention to detail:
- Cover the entire wall again, already with the desired final color
- Touch up missed points, holes, and places where the mixture did not completely cover
- Use the trowel to “close” micro-cracks and even out the mortar layer
This correction care ensures that, when passing the roller, the texture relief appears over a continuous base, without brick “screaming” underneath.
How to Use the Texture Roller to Create the Effect
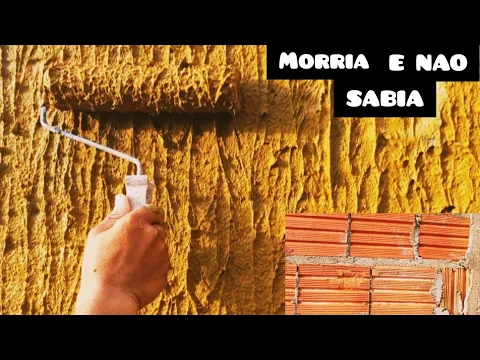
With the second coat of mortar still fresh, the stage that gives identity to the direct texture on brick begins: using the medium texture roller.
The operation follows a simple logic but requires rhythm:
Fit the texture roller onto the extension handle
“Load” the roller on the freshly applied mortar, rolling lightly over the surface
Roll the roller up and down the wall, overlapping the previous stroke
The practical guidance is to vary the movement, rolling the roller in different directions, always while the mixture is still wet. This helps create a controlled irregular relief, with a more natural and less repetitive look.
With multiple rolls along the wall, it is possible to cover large areas while maintaining the texture pattern, always respecting the open time of the mortar so that the relief forms before drying.
Where to Apply and How to Utilize the Technique
Although demonstrated on an unplastered wall, the direct texture on brick can also be applied to already plastered walls, provided they are firm, dust-free, and without loose parts.
In practice, the technique can be used in:
Simple interior areas, such as living rooms, bedrooms, and hallways
Protected exterior areas, as long as the mortar is compatible with the use
Walls that previously had superficial infiltration and were treated beforehand
A highlighted point in the step-by-step is the yield of the mortar. Since it uses a relatively thin layer and a texture roller to spread and mark the relief, the material consumption tends to be lower than a traditional plastering system followed by finishing compound and painting, reinforcing the economic appeal of the solution.
Practical Care in Execution
Some precautions help maintain the direct texture on brick with a professional appearance:
Work in wall sections, avoiding visible seams
Do not delay using the roller, to avoid marking over already dry mortar
Clean tools frequently, avoiding color contamination or lumps
Respect the drying time between coats to not drag the first layer
Another relevant point is the use of pigment: intense colors require preliminary testing, in a small amount of mortar, to adjust the tone before applying to the entire wall.
An Economic Resource for Those Who Don’t Want to See Raw Brick
At the end of the process, the wall that previously displayed exposed brick now has a textured finish, with a uniform color and decorative relief.
With a combination of simple mortar, cheap pigment, and a texture roller, the direct texture technique on brick consolidates as a viable alternative for those looking to renovate spending little and still delivering a visually professional result.
And you, would you take on doing direct texture on the brick in your home, or would you still prefer the traditional smooth plaster before any finish?


Vou seguir está dica,eu estava pensando em fazer,mas tinha dúvidas após ler a matéria me sinto mais seguro,obrigado
Posso aplicar essa técnica em uma parede externa, sujeita a chuva e Sol??
Pode sim, para área externa o recomendado é argamassa AC3.