 Portuguese
  English
  Spanish
Have you ever found yourself driving at night and noticing that the headlights seem dimmer—or worse, that they are shining into the sky instead of the road? Besides compromising safety, misaligned headlights can lead to fines and even failing an inspection. The good news is that adjusting the height of the headlights is simpler than it seems, and you can do it at home with patience and attention. Knowing how to adjust the height of the headlights correctly can avoid headaches and, most importantly, increase your safety and that of other drivers.
How to Prepare the Car to Adjust the Headlight Height
Before getting started, it’s essential to prepare the car. Park the vehicle on a completely flat surface, facing a wall or gate, keeping a distance of about 3 to 4 meters. Ensure that the tires are properly inflated and that the fuel tank is at least half full—this directly influences the front height of the car.
Close all doors tightly and remove any unnecessary weight from the trunk, such as luggage or tools. The goal is to keep the car in the same balance it would have during a regular trip, with just the driver on board. Turn on the headlights and observe the light pattern on the wall. This beam will serve as a guide for the adjustment.
-
It surpassed the T-Cross, Creta, and Tracker: with nearly 8,000 units sold, the Volkswagen Tera was the best-selling SUV in March 2026.

-
Honda performs miracles in fuel consumption with a hatch that marks 13.2 km/l in the city and 15 km/l on the highway, leaving Polo, HB20, 208, and Onix behind and becoming a reference among compact cars without resorting to turbo or hybrid systems.

-
Six diseases that seem common but can prevent the renewal of the driver’s license for the elderly throughout Brazil and surprise experienced drivers — could any of them affect you without showing clear signs?

-
With 122 hp, fuel consumption of up to 17.7 km/l, and a trunk capacity of 440 liters, this hybrid SUV impresses even though it costs up to R$ 47,000 more than the Yaris — meet the Toyota Corolla Cross.

Marking the Ideal Light Point
One of the secrets to adjusting the height of the headlights accurately is to correctly mark the light beam. Take some adhesive tape and mark on the wall the center point of each headlight, at the height of the main beam. Then, draw a horizontal line about 5 to 10 centimeters below that point—this will be the ideal reference for the adjustment.
The rule is simple: the beam should tilt slightly downward to avoid dazzling oncoming drivers, while still ensuring good visibility ahead. This is especially important for those driving at night on single-lane roads, where improperly used high beams can be a real danger.
Adjusting the Headlights Step by Step
Now comes the practical part. Open the hood and locate the adjustment screws. Most cars with halogen headlights have two screws: one for vertical adjustment (height) and another for horizontal adjustment (side direction). They are usually located near the headlight housing and can be adjusted with a screwdriver or a regular Phillips head.
With the car running and the headlights on, slowly turn the vertical adjustment screw until the main beam is aligned with the lower line marked on the wall. If the beam is too high, it may blind drivers ahead; if it’s too low, it compromises your own visibility.
Next, adjust the horizontal screw to align the beam with the center of the corresponding headlight mark. Perform the process on one headlight at a time and test the results from a distance, checking if the light pattern is symmetrical and even.
Testing the Results Before Driving
Finished the adjustment? Don’t head out without testing. Take a short drive at night on a quiet street. Check if the field of vision is balanced—the right side should illuminate the shoulder a little more, while the left should keep the focus lower, avoiding glare for oncoming drivers.
If it still seems misaligned, make minor corrections. It’s a work of patience, but it pays off. In just a few minutes, you can have perfectly adjusted headlights, saving yourself a trip to the shop and, on top of that, avoiding the risk of a fine for improper alignment—which, according to the Brazilian Traffic Code, can be considered a serious offense.
Small Care That Makes a Difference
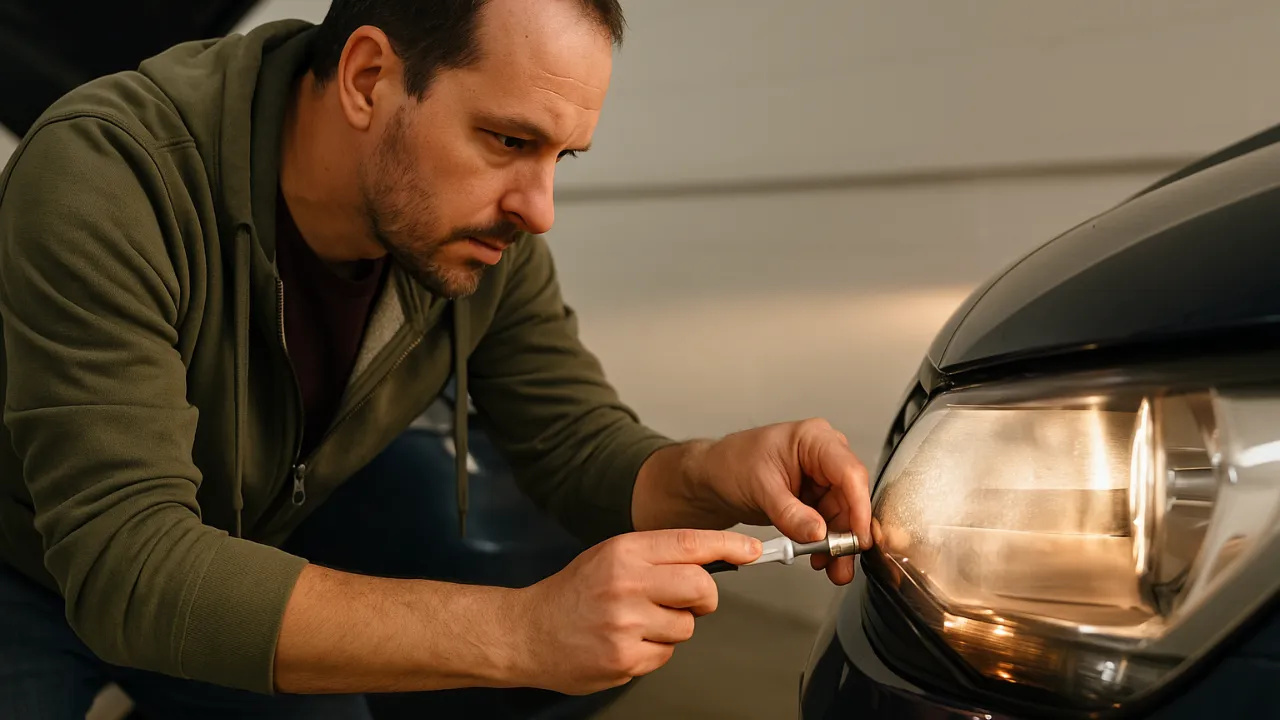
Take the opportunity to check the condition of the halogen bulbs. If you notice different shades between the headlights, it may be a sign of wear. Replacing the bulbs in pairs is always the best option, as it maintains uniformity of illumination.
It’s also worth cleaning the headlight glass with a soft cloth and neutral product. Foggy or yellowed headlights drastically reduce light range, and there are affordable polishing kits that restore transparency in minutes.
Remember: well-adjusted headlights are not just an aesthetic issue, but an active safety item of the vehicle. Besides illuminating the path, they allow other drivers to see you more clearly—especially in rain or fog conditions.
In the end, adjusting the height of the headlights is one of those simple tasks that makes a difference for both your safety and your wallet. With basic tools and attention, you can efficiently make the alignment and keep the car within the standards, without needing to refer to a specialist. And the best part: it’s one of those tasks that every driver should know how to do.


Seja o primeiro a reagir!