 Portuguese
  English
  Spanish
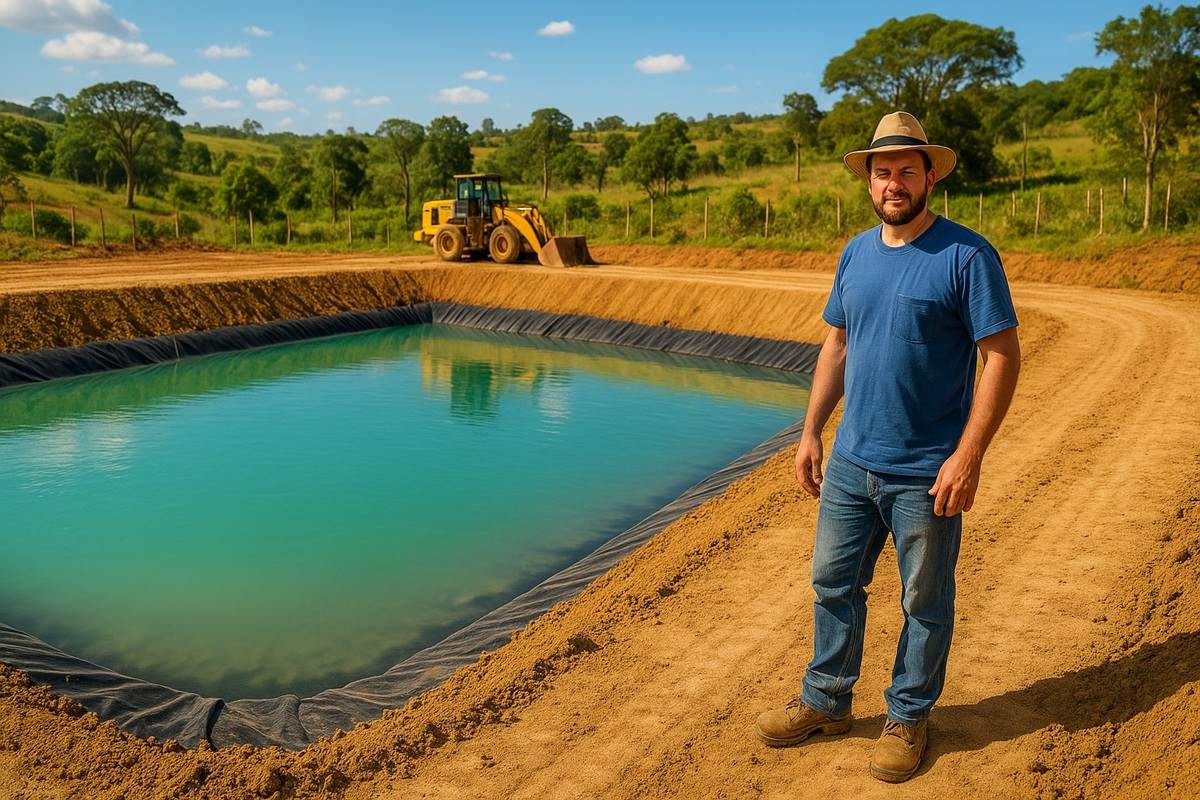
Follow The Construction Of A Lake On Sandy Soil In Interior São Paulo, Using A 200 Micron Silo Tarpaulin, 25 To 30 Cm Of Soil And A Cost Of About R$ 2,800 In Materials
The proposal presented on the Hamilton Miranda channel at Sítio Paraíso describes all the steps to create a lake using a 200-micron silo tarpaulin, even in an area far from springs, rivers, and any natural water source.
Hamilton explains that the goal was to build a waterproof lake on sandy soil, where water does not remain without intervention.
The intention of showing each phase is to allow others to replicate the process without relying on partnerships, brands, or sponsorships, since all the material used was acquired without commercial ties.
-
With a DNA shape, this bridge in Singapore draws attention in modern architecture and surprises tourists by transforming a simple crossing into an unforgettable visual experience in the urban heart.

-
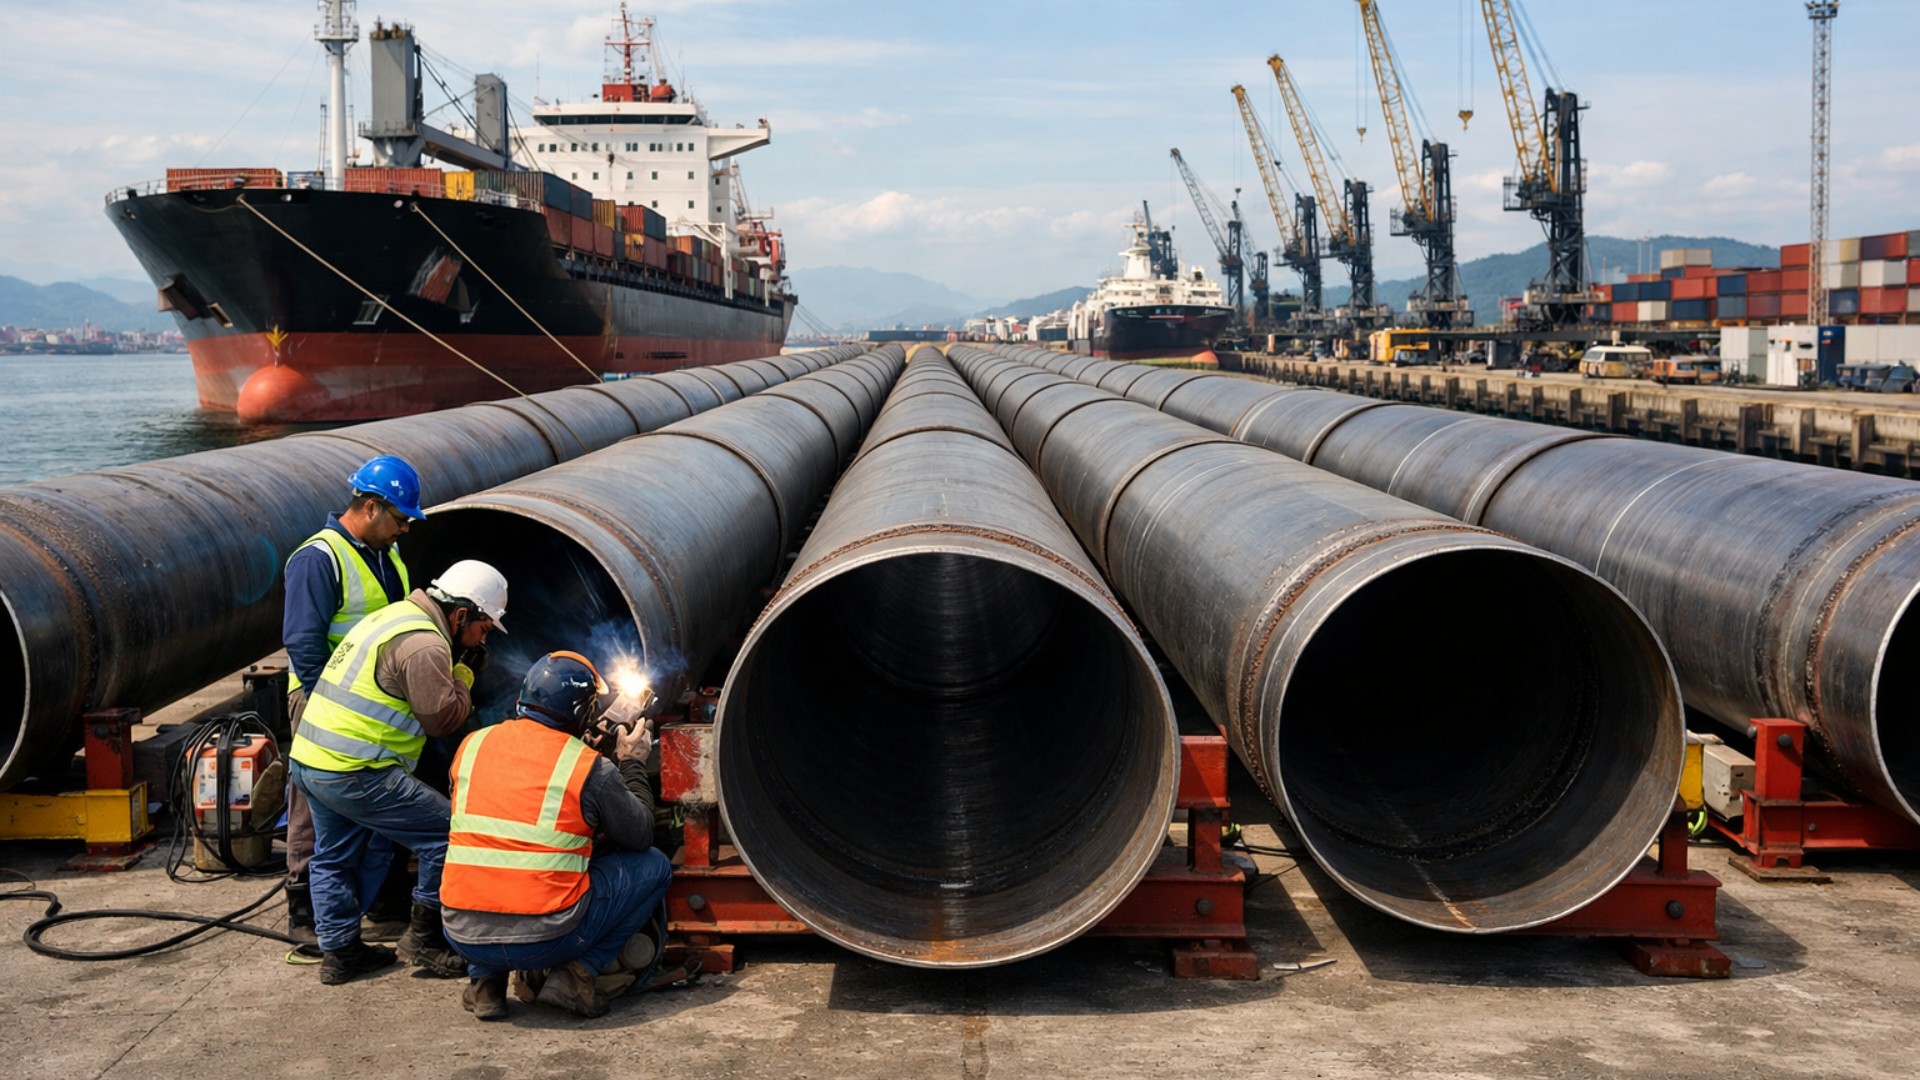
Giant underwater pipeline begins to take shape with a R$ 134.7 million project at the Port of Santos: the 1.7 km structure uses 12-meter and 700 mm pipes to supply water to 450,000 people in Guarujá.
-
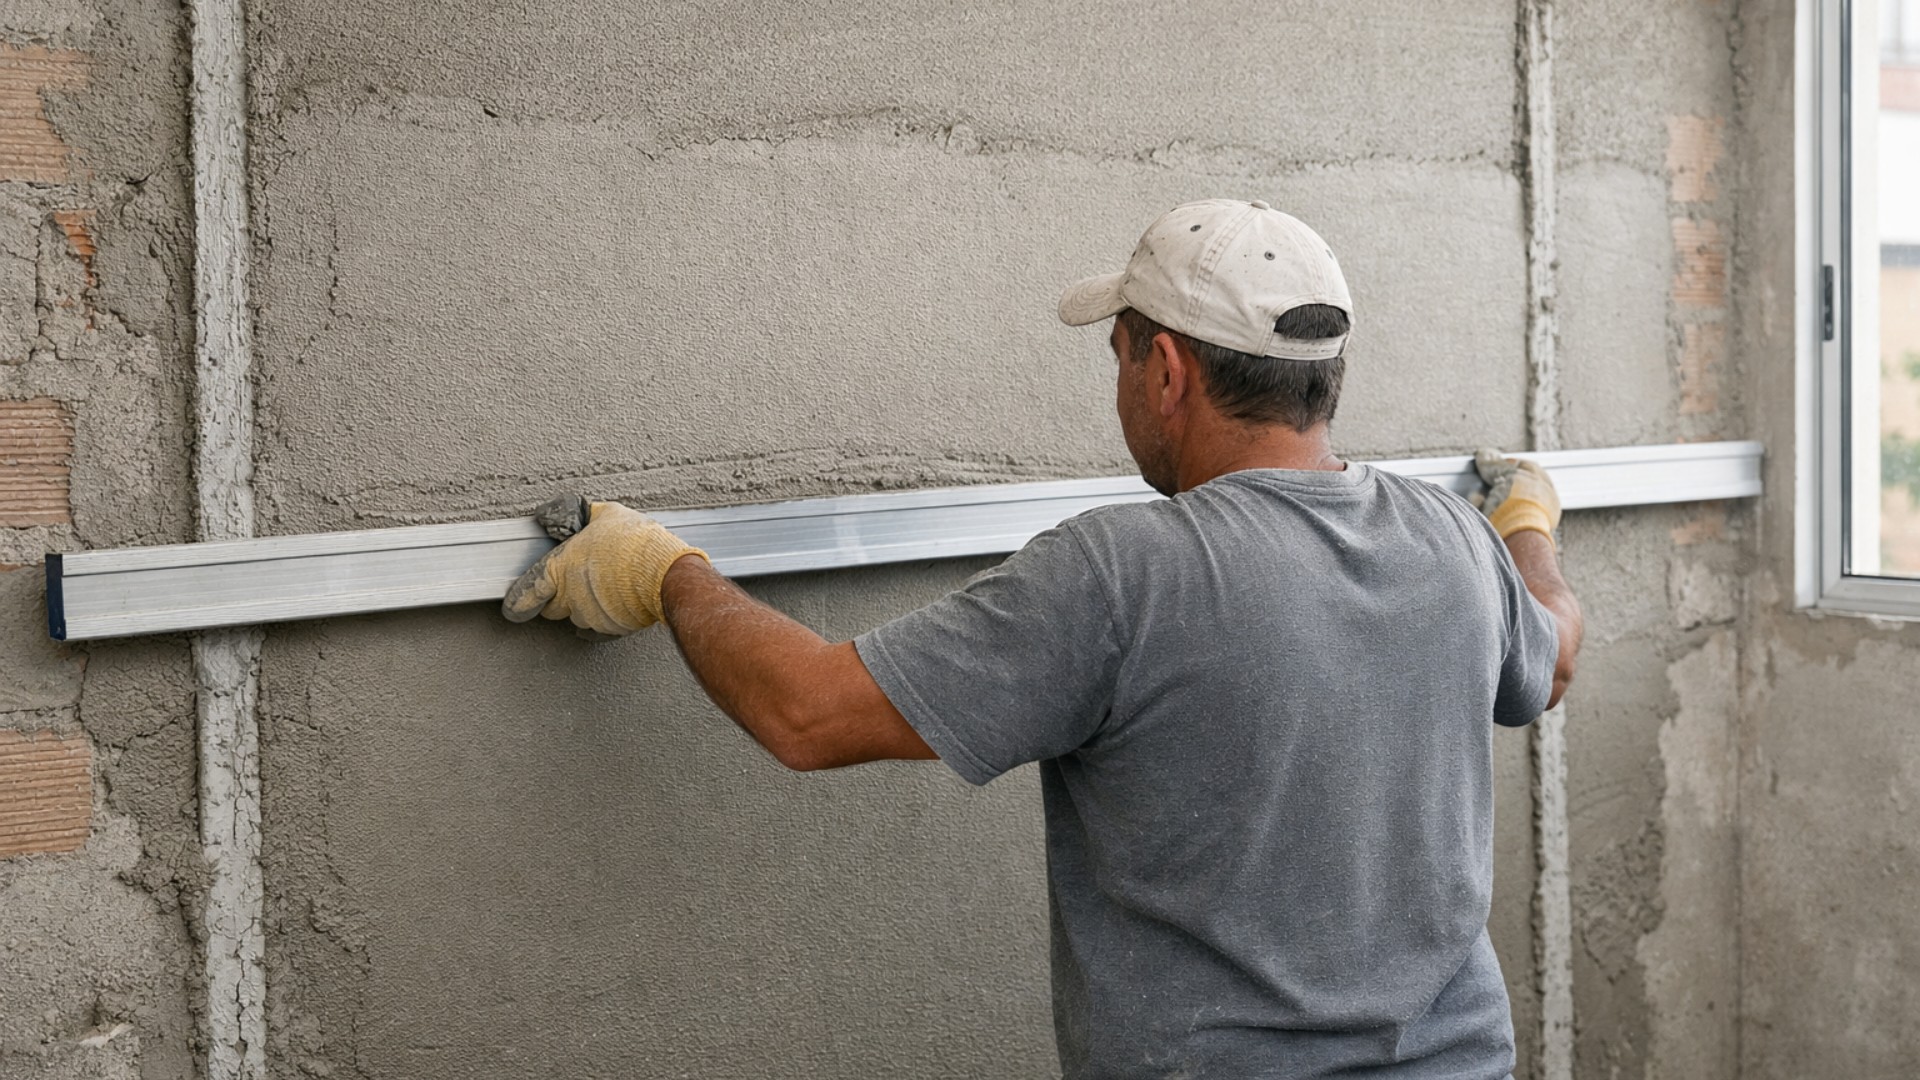
A mason reveals a professional plastering technique that uses aligned guides and a 3-meter ruler to plaster an entire wall in up to 3 hours, without visible seams, with uniform thickness, perfect plumb, and a finish ready for painting without rework.
-
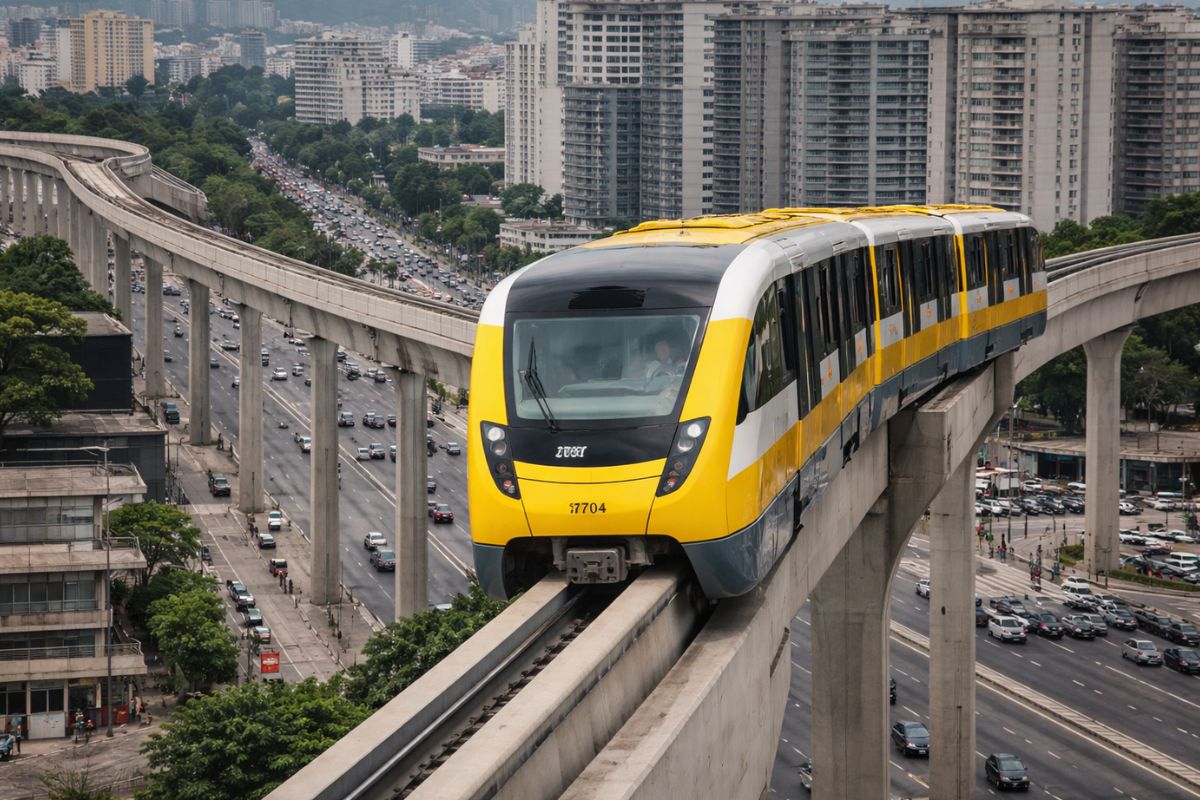
The project that was supposed to be ready for the 2014 World Cup in Brazil debuted with a 12-year delay and nearly R$ 6 billion invested: the Line 17-Gold of the São Paulo monorail opened with reduced hours and is only expected to operate fully in October.

The project shows that the size of the lake depends on the available space and the intentions of each person, and it can be smaller or larger than the model presented.
To avoid infiltration, the technique used consists of waterproofing the bottom with black and white 200-micron silo tarpaulin, which must be protected with a layer of 25 to 30 centimeters of soil.
Land Preparation
The first step involves excavation with a front loader. The equipment, weighing about 12 tons, already performs part of the soil compaction during the opening of the space.
The recommendation is to ask the operator to leave all sides with a gentle slope, allowing the soil to remain on the tarpaulin after it is installed.
Very steep side walls are not suitable, so it is necessary to request that the machine works in such a way that it can enter and exit the lake from any point on the edge.
The process was carried out on sandy soil in the interior of São Paulo, where water infiltrates quickly. Therefore, without waterproofing, the lake would not hold water. The author explains that this condition repeats in many properties, reinforcing the reason for using the tarpaulin.
Characteristics Of The Tarpaulin Used
The chosen material has a width of 12 meters and a length of 50 meters. Since the lake exceeded this width, it was necessary to cut the roll in half and make a seam. The author shows how to identify the quality of the tarpaulin, emphasizing that it should withstand stretching of up to one centimeter without tearing. He points out that the durability of the tarpaulin depends exclusively on protection from the sun and wear caused by animals and sharp objects.
In the video that served as a basis, the tarpaulin has been present for over ten years in the old lake, without showing any damage, precisely because it is buried.
Seaming And Fixing Process
With the tarpaulin unrolled and positioned, the marking and gluing phase begins. The seam is made with multipurpose contact glue. The work requires abundant application, without saving, to ensure adhesion. After gluing, the soil is manually placed over the entire newly joined strip, creating uniform pressure and preventing the joint from shifting.
During this phase, the author emphasizes that one should not step directly on the tarpaulin to avoid punctures. The use of boots is avoided, and the team works in socks, always following the trail of soil already dumped.
He warns that no animals should circulate in the area. Dogs, chickens, and other species can puncture the tarpaulin with their claws or beaks.
Preparation To Receive The Soil
After gluing, the tarpaulin is rolled up again, leaving a central section open so that the front loader can deposit large volumes of soil without touching the material directly. The machine throws the soil always from top to bottom, close to the tarpaulin, but without stepping on it.
With the mounds formed, the rest is leveled manually with a hoe, taking care not to hit the tarpaulin in the still exposed areas. When the entire surface is covered with 25 to 30 centimeters of soil, the material is completely protected.
The process of spreading the soil is the most labor-intensive stage. Since work on the land involves other tasks, the author interrupts and resumes the next day, finishing according to the time available at the site.
Care After Installation
After leveling is completed, the lake should not be filled immediately. The recommendation is to wait a few days or weeks for the soil to settle and naturally compact. Rain helps this process, but a hose can also be used if the weather is dry.
With the soil firmer, the tarpaulin will be protected against movements that could compromise its integrity. In the end, the water level will reach the point where grass will be planted around, creating a natural appearance.
The author emphasizes that the lake will only function properly if large animals are prevented from walking in the area, as their weight can sink the soil and affect the tarpaulin. Therefore, a temporary electric fence was installed around the area during the work.
Costs And Construction Variations
The cost of the tarpaulin used was R$ 2.65 per square meter, totaling R$ 1,590 for the roll. The remaining cost involved using the front loader and a can of contact glue. The initial goal was to keep expenses between R$ 2,000 and R$ 2,500, but the total ended up being R$ 2,800, as the machine needed to work more than planned to place the soil.
The author explains that the cost can be lower for those looking to build a small lake, as everything can be done manually with a hoe and wheelbarrow.
Additionally, he states that some municipalities offer support to small producers with machines and incentives, which further reduces the final cost.
The lake is described as a multi-purpose structure that can serve irrigation, fish farming, or merely act as a water reservoir. Fish such as tilapia, pacu, catfish, and other species can be raised normally. Only ducks and a specific variety of carp should be avoided, as they can puncture the tarpaulin even when buried.
He explains that the water should circulate to avoid stagnation. In areas with low water supply, it is recommended to use a low-consumption pump connected to some type of filter with plants, roots, or natural brushes.
The original video ends by showing the old lake, now over ten years old, fully naturalized and surrounded by grass. The idea is to demonstrate how the new lake should look after it is full.
The work is tiring but rewarding. He reports that sitting by the lake, fishing, or simply observing the water compensates for all the effort. The maintenance is minimal after the proper installation of the tarpaulin is completed, as infiltration is null and only evaporation reduces the level over time.
The project is presented as an accessible alternative to expensive membranes and complex systems sold on the market. The technique shared for free aims to help people who want to build their own lake but believe the cost is unfeasible.


Seja o primeiro a reagir!