 Portuguese
  English
  Spanish
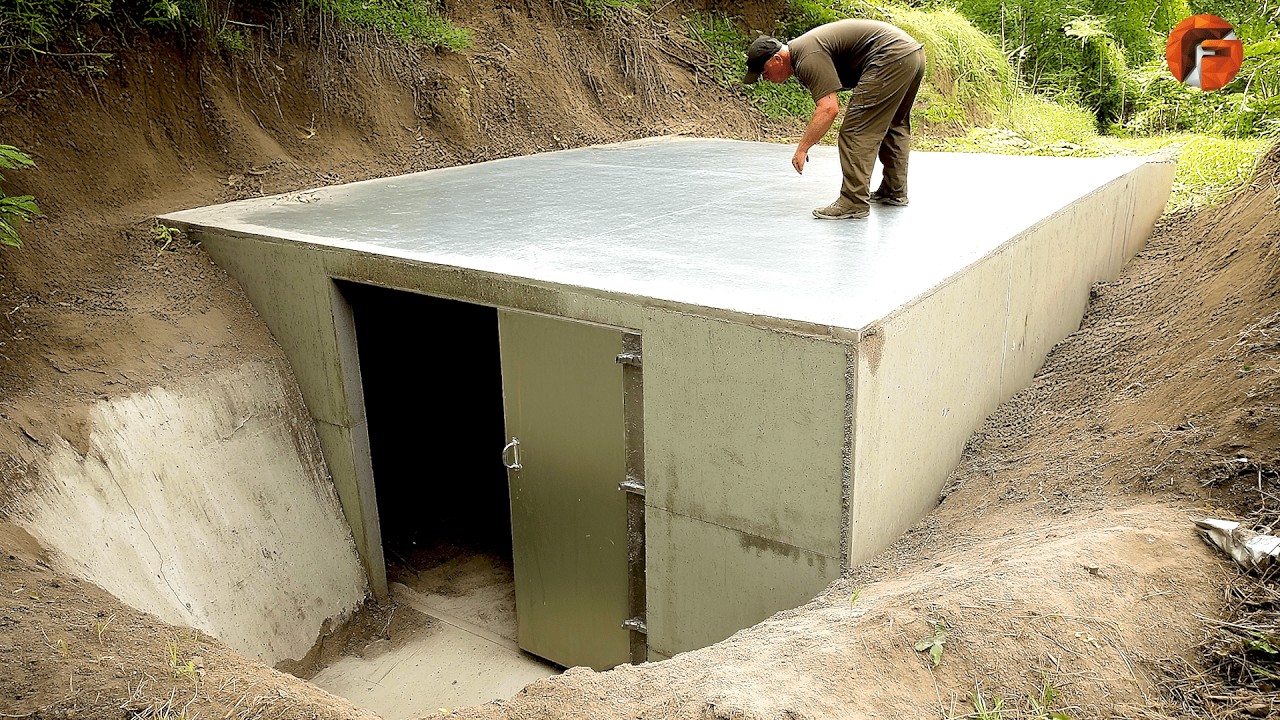


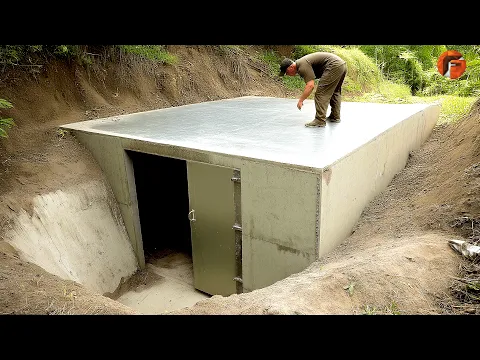
With Just US$ 5,000, Man Transforms His Backyard into a Functional Underground Bunker, Revealing Each Step of the Excavation, Structure, and Waterproofing.
In a period marked by global uncertainties, increased interest in self-sufficiency, and emergency preparedness, a DIY project caught attention on social media. Utilizing an extremely tight budget, content creator @tehnolexa decided to transform an ordinary backyard into a functional underground bunker, dug and built practically from scratch, with a total investment of just US$ 5,000.
The project, documented in video from start to finish, shows how technical planning, material reuse, and careful execution can enable a robust structure even without substantial financial resources or professional teams.
Excavation of the Underground Bunker: The First Structural Challenge
The starting point was the manual and mechanical excavation of the land. The images reveal a deep hole, with well-defined walls, respecting alignment and geometry to ensure stability. The excavation was not done randomly: stakes, markings, and levels were used to define the exact perimeter of the future structure.
-
With 55 floors, 177 meters in height, a 15-meter walkway between the twin towers, ventilated facade, and 6,300 m² of leisure space, Ápice Towers already has one tower completed and another nearly at the top.

-
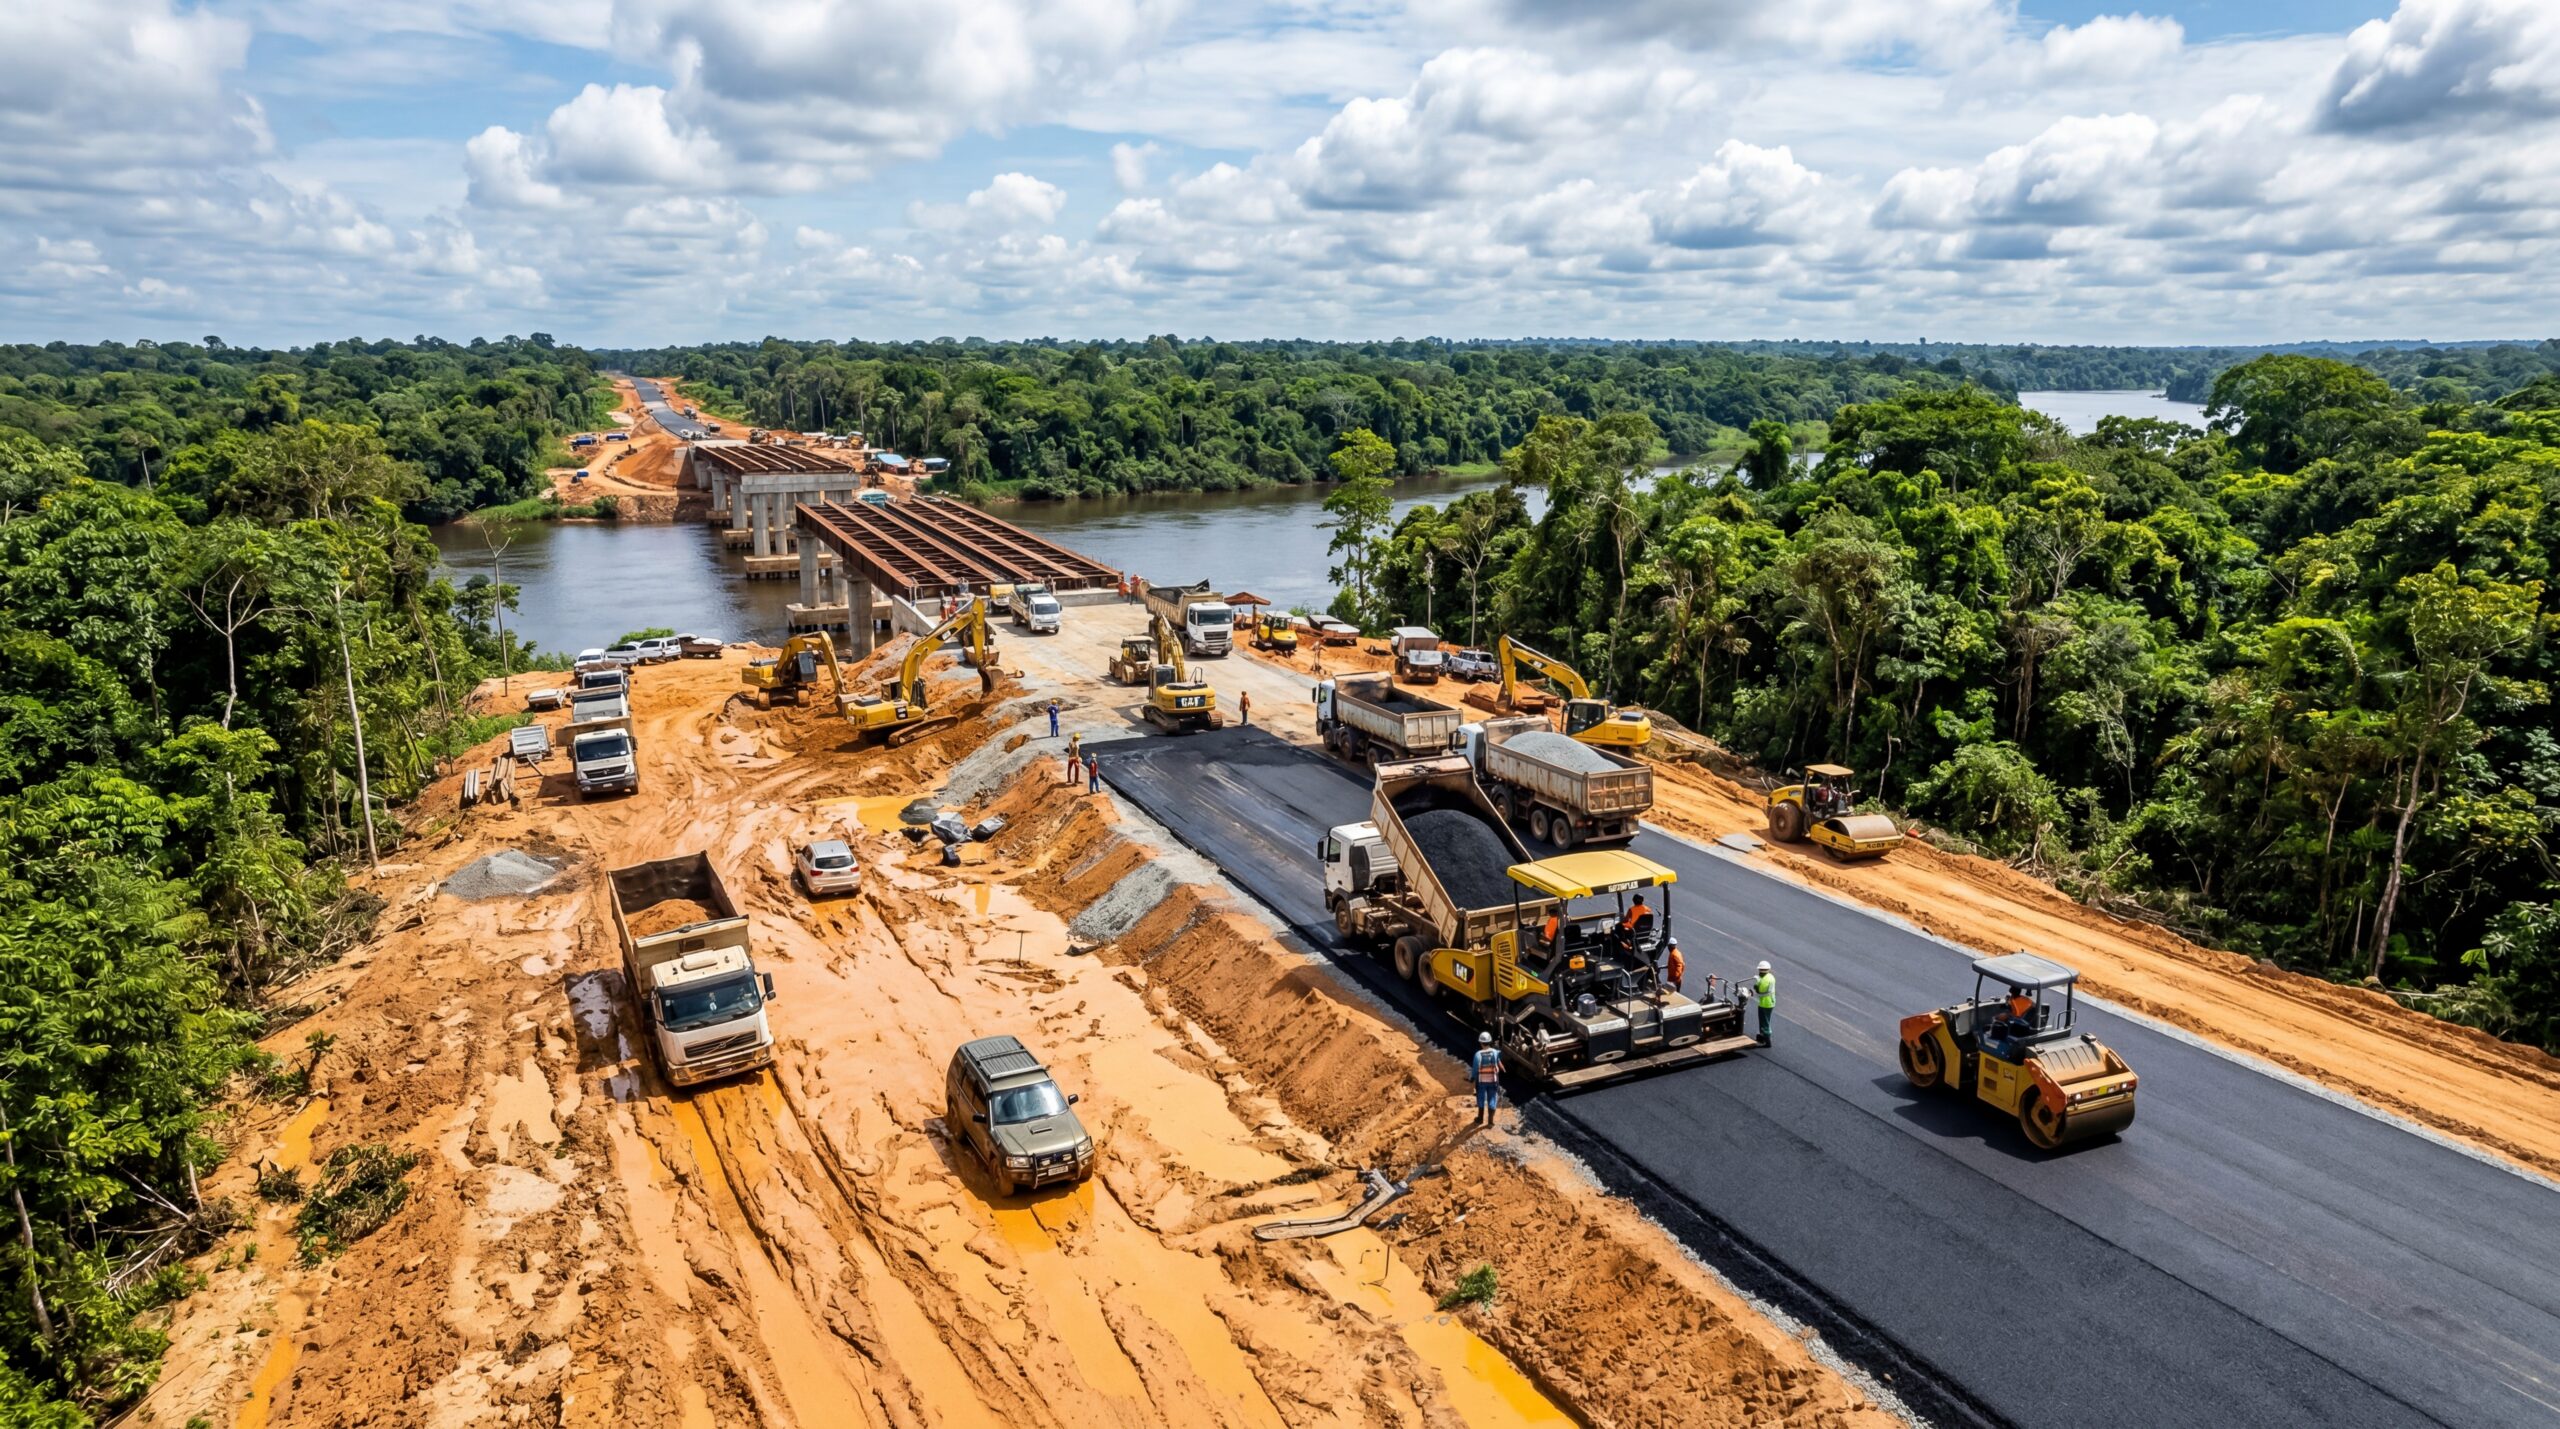
After nearly 50 years of neglect, BR-319 receives R$ 678 million to pave 340 km, gain a 320-meter bridge, and try to lift Amazonas out of the mud, the quagmire, and road isolation.
-
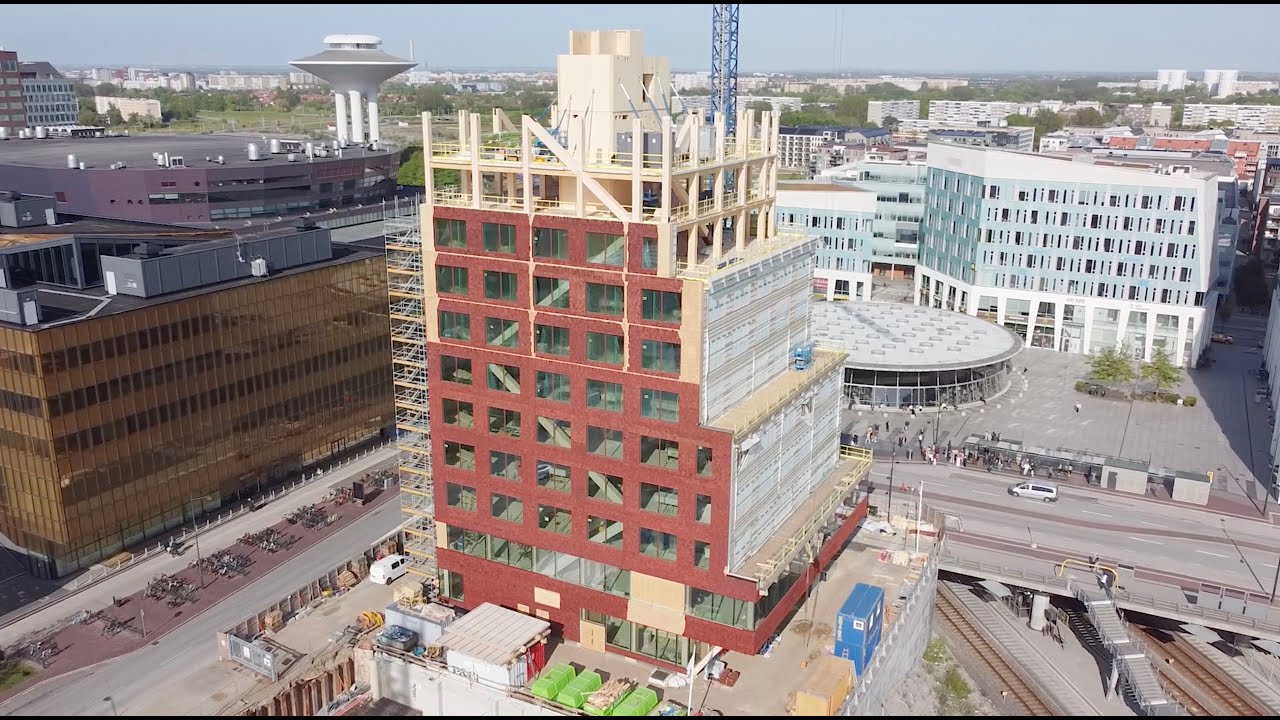
In Sweden, a 51-meter tower was built almost entirely of wood, without a concrete structural core and with solar panels integrated into the facade, using CLT and laminated beams to challenge the dominance of steel and concrete in modern buildings.
-
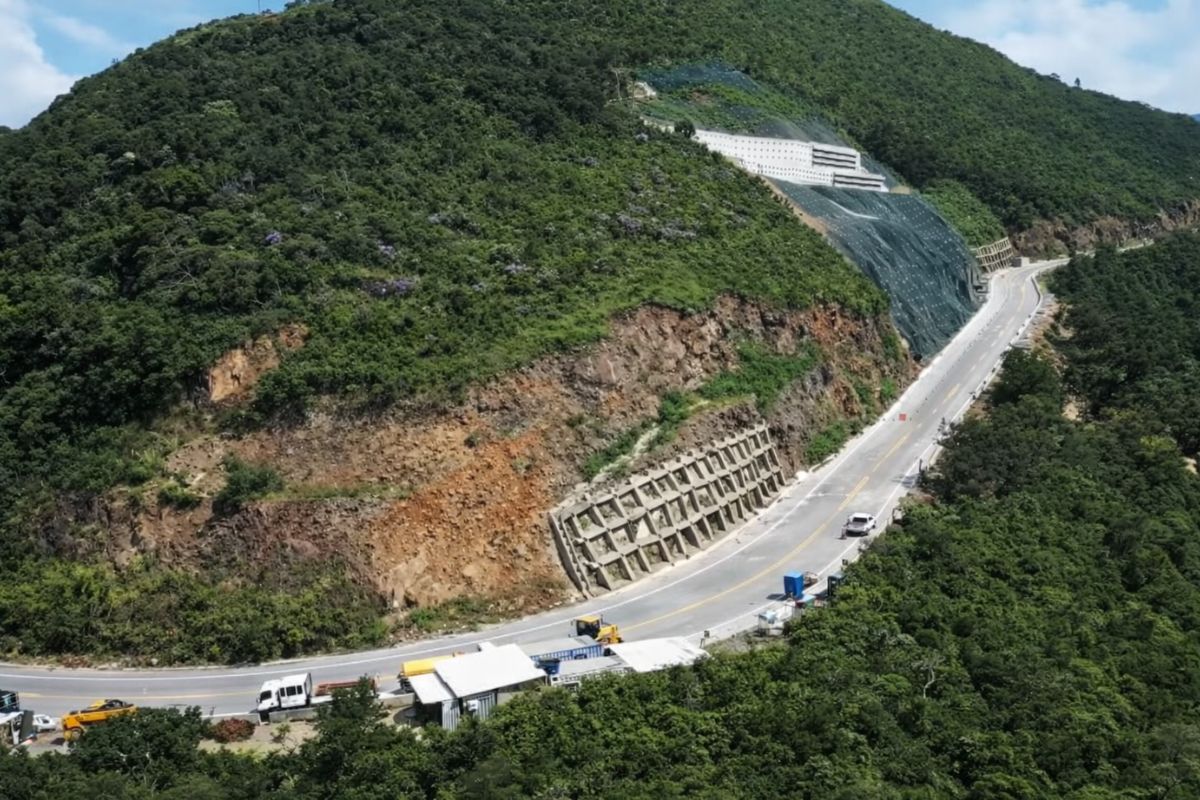
The section of Serra da Rocinha on BR-285 is now open in Timbé do Sul: 50 m tensioned curtains and top-down technique stabilize the slope, with a stairway duct controlling the water.

This stage is critical in any underground bunker, as errors in slope or depth can compromise the safety of the structure. Even being a DIY project, care with the soil and compaction is evident from the first days.
Reinforced Foundation and Soil Preparation to Support Loads
After reaching the desired depth, the focus shifted to the foundation. Layers of gravel and crushed stone were applied for drainage, reducing risks of infiltration and moisture accumulation.
Next, a waterproofing membrane was installed, creating an initial barrier against water and soil moisture.

The concrete used in the base was prepared and poured on-site, forming a solid slab capable of supporting the weight of the bunker’s walls and roof. This foundation is the key element that ensures durability and stability over time.
Molded Concrete Structure and High-Resistance Walls
With the base ready, @tehnolexa began mounting the wooden forms for wall molding. The use of plywood forms, reinforced with bracing and supports, allowed for the creation of thick walls that withstand lateral soil pressure.
Metal reinforcements were positioned before pouring the concrete, increasing the structural resilience of the bunker. After the concrete pour, the walls gained sufficient rigidity to withstand subsequent backfilling, an essential step in underground constructions.
Waterproofing and Protection Against Moisture and Infiltrations
One of the most technical aspects of the project is waterproofing. The creator applied layers of asphalt and plastic protection on the external surfaces in contact with the soil. This type of treatment drastically reduces infiltrations, mold, and concrete degradation over the years.

Additionally, the use of drains and proper slope of the surrounding land helps to direct rainwater away from the structure, increasing the bunker’s lifespan.
Access to the Bunker and Reinforced Underground Staircase
Access to the bunker was designed through a poured concrete staircase, also molded on-site. The steps follow a regular height and depth pattern, ensuring safety for daily use.
The staircase connects the surface directly to the interior of the refuge, without compromising the structural integrity of the sidewalls.

This detail shows that the project is not just an “improvised hideout”, but rather a functional space designed for real use in prolonged situations.
Bunker Interior: Functionality Above All
Although compact, the bunker’s interior was designed to be functional. The internal space allows for circulation, storage, and adequate shelter. The simplicity of the finishing is intentional: fewer superfluous elements mean lower costs and reduced risk of failures.
The focus of the project is on durability, safety, and efficiency, which are essential characteristics in any underground structure aimed at protection and survival.
What makes this underground bunker especially impressive is not just the final result, but the total cost. With US$ 5,000, considered a trivial amount for projects of this type, the project demonstrates that technical knowledge, patience, and disciplined execution can substitute for large budgets.
The video by @tehnolexa serves almost as a visual manual, attracting those interested in DIY construction, emergency preparedness, and low-cost structural solutions.
Why Do Projects Like This Attract So Much Attention Today?
The increased interest in bunkers, shelters, and autonomous structures reflects a global scenario of concern over climate crises, economic instability, and extreme events. Projects like this show that the search for safety does not necessarily have to be linked to million-dollar investments.
More than just a bunker, what is seen here is a practical example of engineering applied to everyday life, where planning and technique transform an ordinary backyard into a solid and functional underground structure.


Com $5k não dá pra fazer nem piso, laje, concreto, ferro, reforçado.