 Portuguese
  English
  Spanish
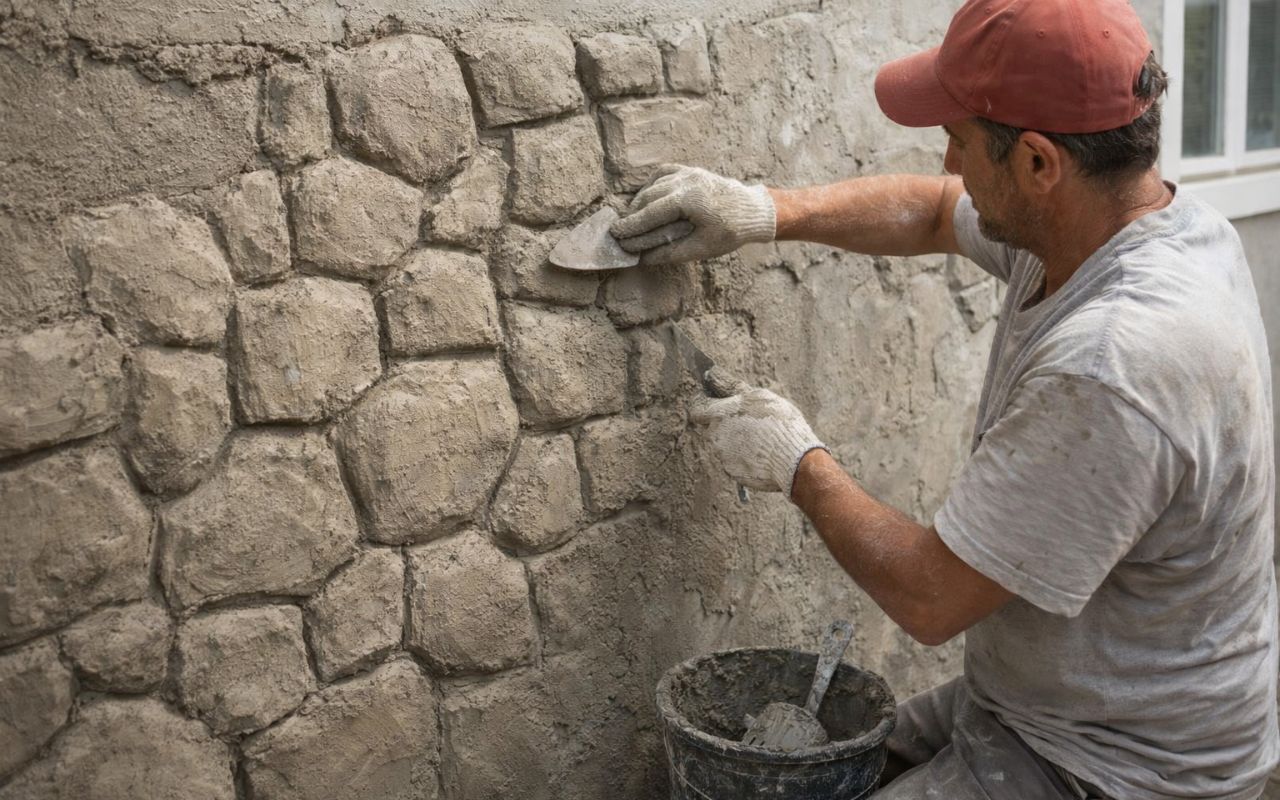


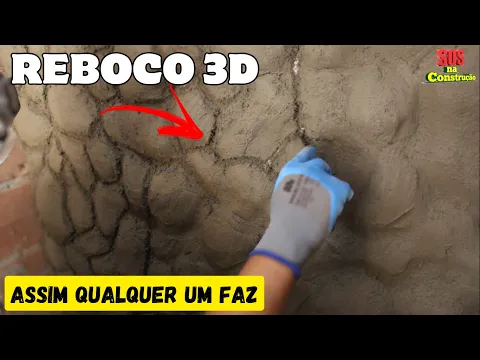
A Mason Shared a Simple 3D Plastering Technique on YouTube That Can Transform Common Walls into Decorative Surfaces with a Stone Effect. See How It Works.
A simple 3D plastering technique taught by a mason on social media caught the attention of thousands of people interested in decoration and construction.
The method was presented in a video published on the profile “SOS na Construção”, where the professional demonstrates step by step how to create a wall that looks like stones using only plaster, basic tools, and a bit of creativity.
The idea stood out because it shows how any mason can transform a common wall into a striking decorative element.
-
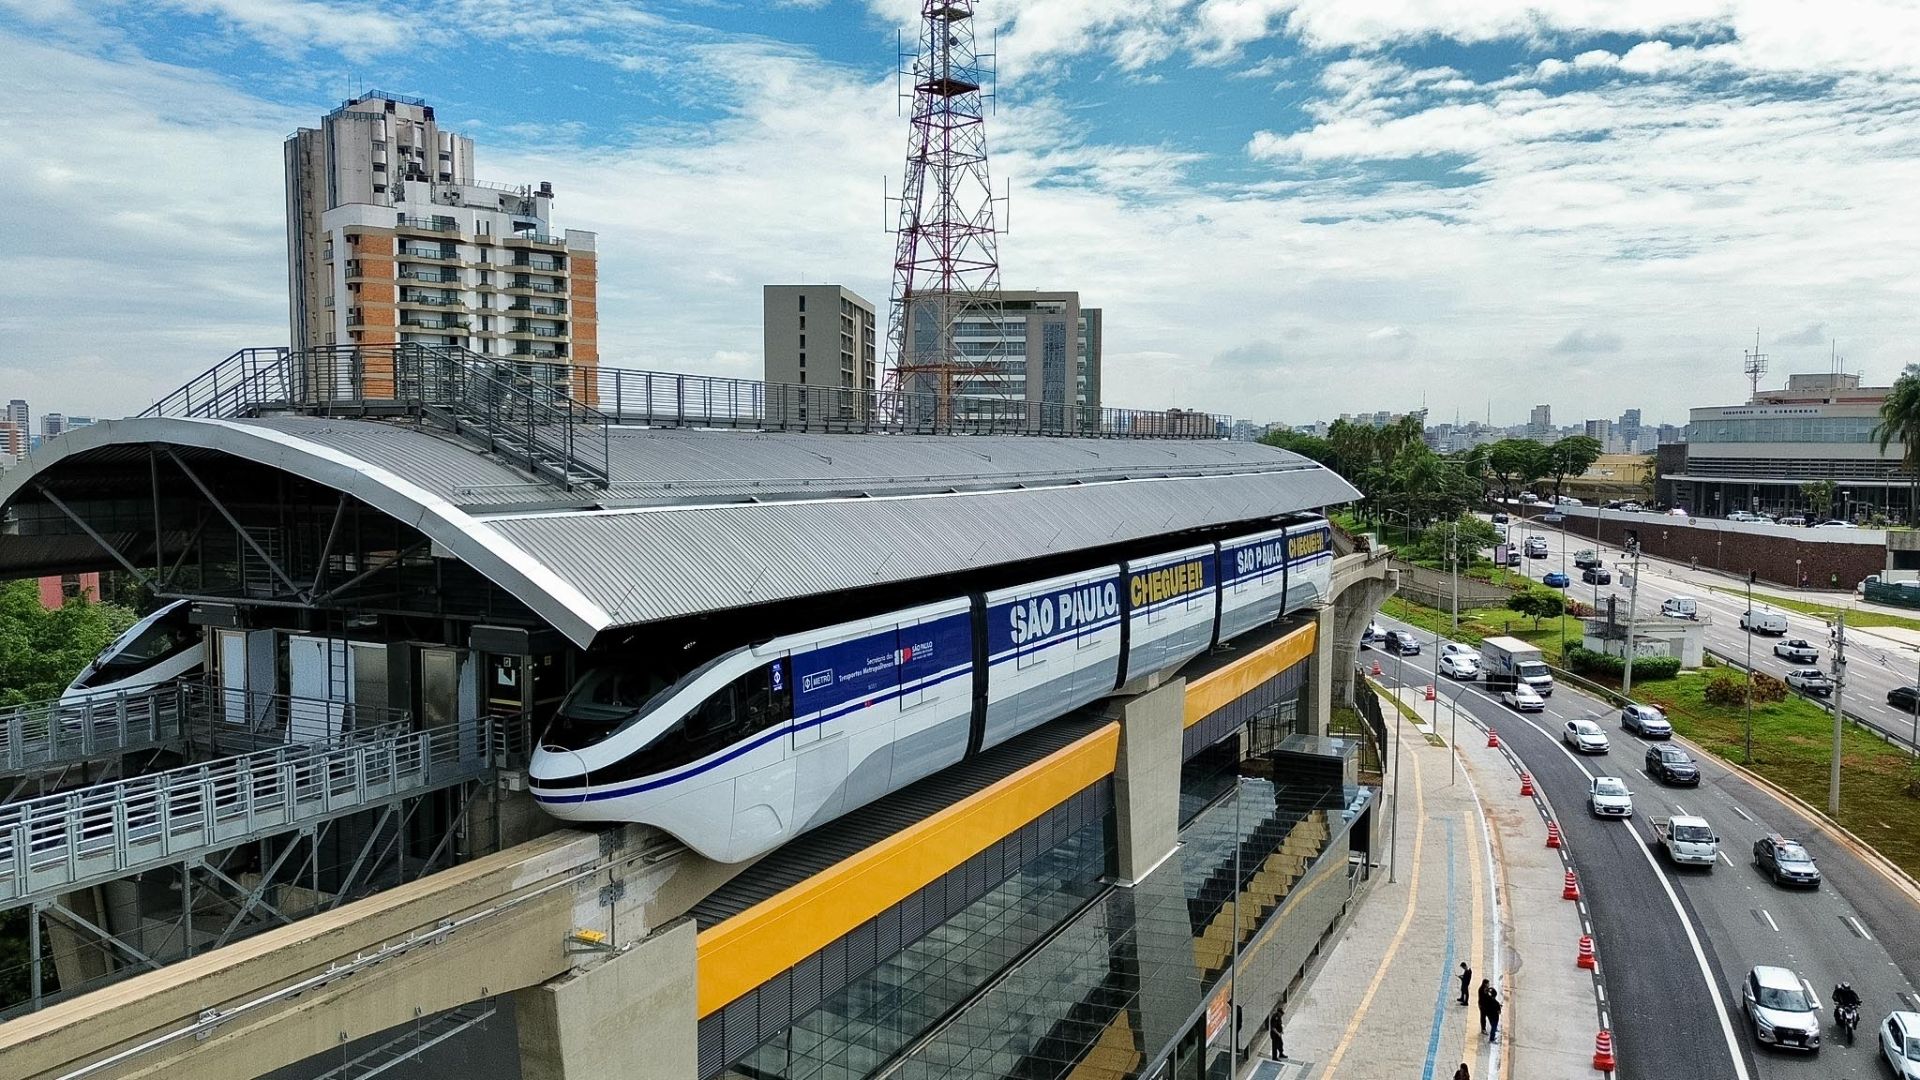
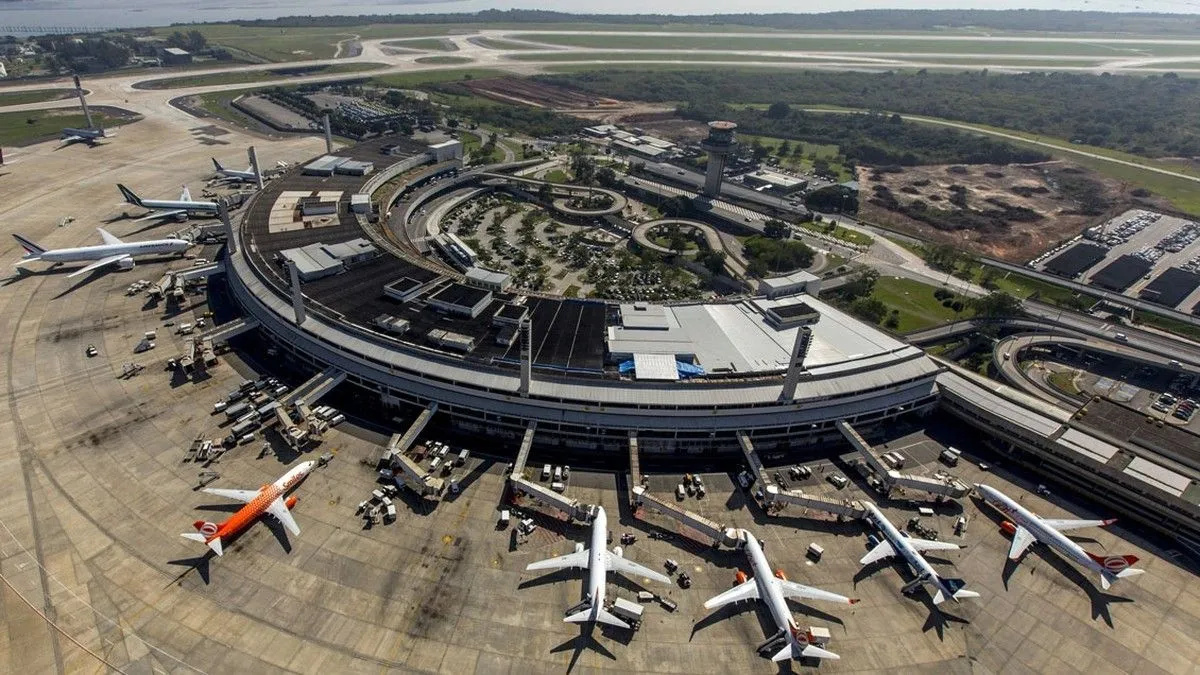
Congonhas receives the monorail promised for the 2014 World Cup after more than a decade of delays and becomes the first airport in Brazil with integrated subway.
-
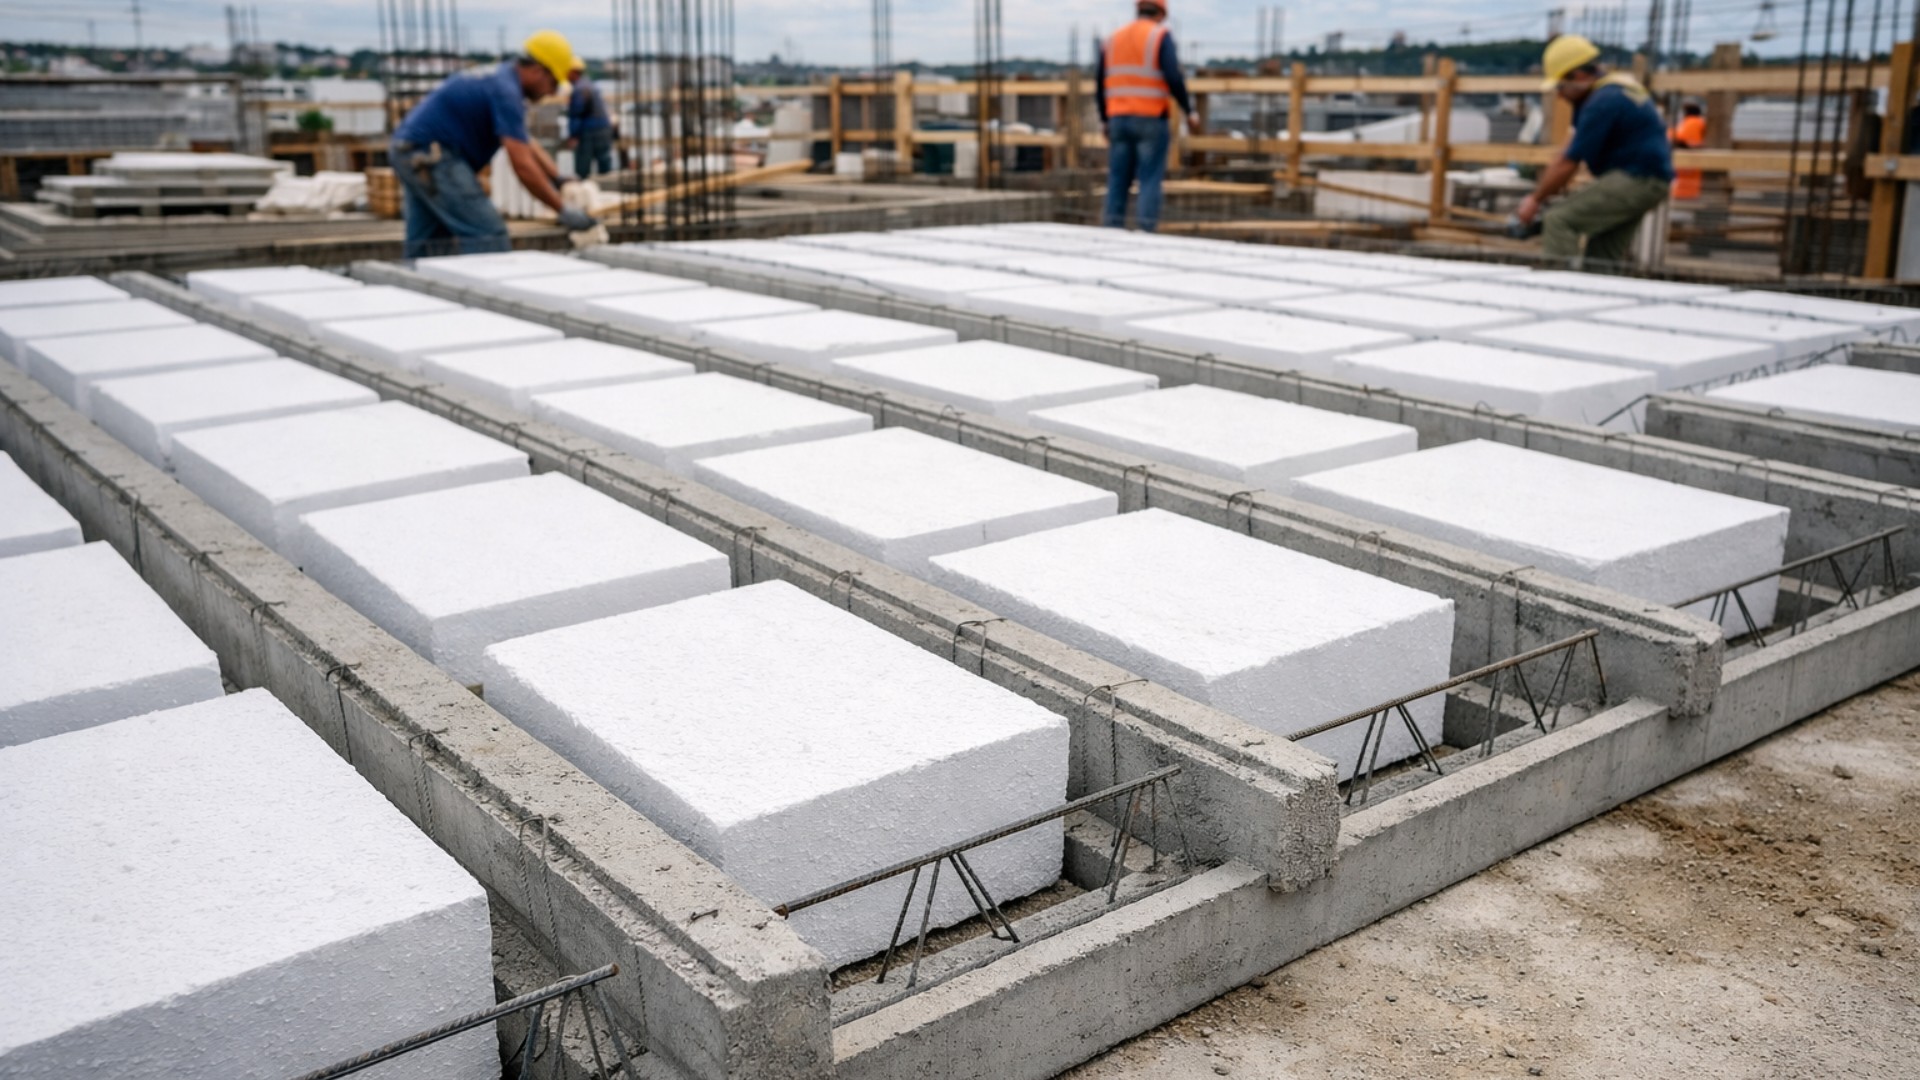
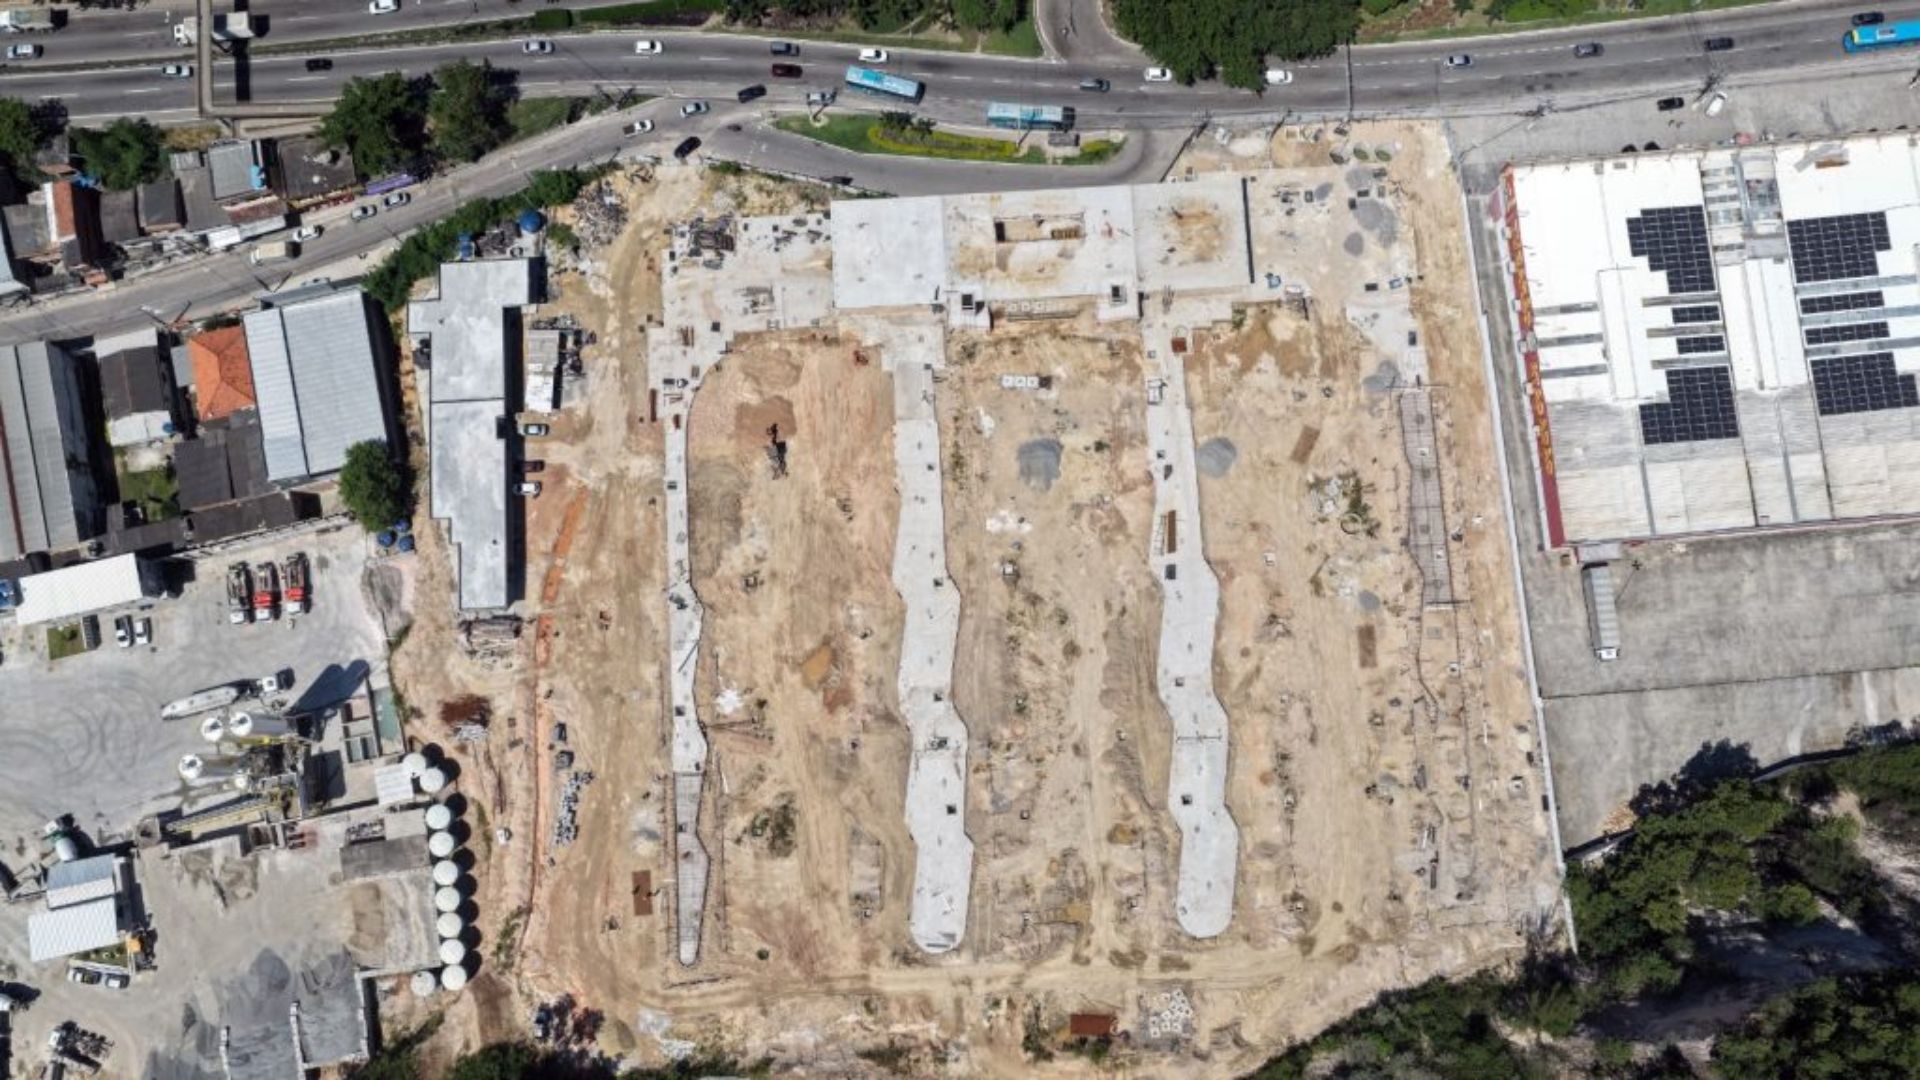
Goodbye, concrete: a new trend in civil construction reduces the weight of the structure by up to 30%, accelerates projects by up to 40%, cuts costs on steel and labor, and improves thermal insulation with EPS.
-
Russian engineers create an innovative propeller blade for aircraft that could completely change the way airplanes and helicopters operate.

-
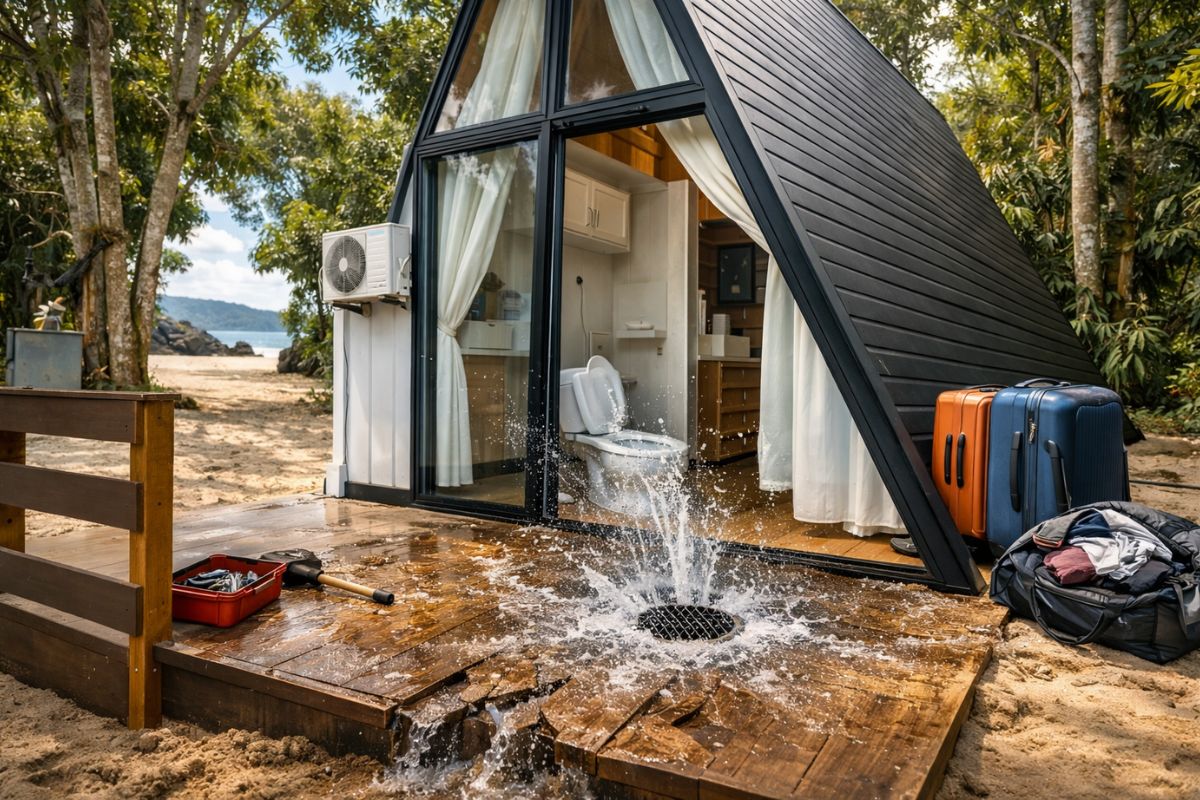
Couple finishes building PVC chalet on the beach on the last day, with air conditioning and curtains, but discovers the bathroom drain is inverted: water escapes from the drain, risking breaking the floor, and the rush continues before the trip.

Moreover, the 3D plastering method promises to be accessible, fast, and reproducible in different areas of the house, such as living rooms, balconies, or outdoor areas.
Materials Needed to Do 3D Plastering
To apply the 3D plastering technique taught by the mason, it is possible to use simple materials that are easy to find in construction stores.
Below are the main items needed to execute the complete process, from the preparation of the plaster to the final finish of the wall.
- Cement or Plaster – The main base used by the mason to create the 3D plaster effect on the wall.
- Plasticizer – Replaces lime and helps improve adhesion and resistance of the 3D plaster.
- Bucket or Large Container – Used to prepare and mix the cement plaster.
- Water – Necessary both to prepare the plaster and to help with finishing during the process.
- Brush – Used to finish the 3D plastering and remove excess plaster.
- Pointer or Piece of Metal – Tool used to create the divisions that imitate stones in the 3D plaster.
- Sandpaper #120 – Used after drying to smooth the relief and highlight the stone effect.
- Wall Paint – Applied in the final stage to enhance the effect of the 3D plaster.
- Paint Pigments (Optional) – Allow creating different shades and making the finish more realistic.
With these simple materials, any mason or even someone who enjoys doing small projects at home can reproduce the decorative effect of 3D plastering, creating walls that look like stone with a modern finish.
How Does the Mason Start the 3D Plastering Process?
According to the mason, the first step to create the 3D plastering is to prepare the cement plaster used in the application.
With the mixture ready, he molds small portions of the plaster into “balls” using his hands, varying the size between small, medium, and large.
These portions are placed directly on the wall, forming the base of the decorative effect. The professional explains that it is not enough to just touch the plaster against the surface, as it may come loose later.
Therefore, the mason “throws” the plaster properly against the wall to ensure adhesion and durability in the 3D plastering.
Finishing the 3D Plastering Requires Few Materials and Technique
After filling the entire area of the wall, the finishing stage of the 3D plastering begins. At this moment, the mason uses a brush wet with water and a metal tool called a pointer to shape the divisions that imitate natural stones.
The brush helps to smooth the edges and remove excess plaster. Meanwhile, the pointer is used to draw the divisions between the “stones,” creating the characteristic aspect of the 3D plastering.
During this process, the mason keeps a bucket of water nearby to constantly wet the brush, ensuring a cleaner and more detailed finish.
Drying Time and New Adjustments in the 3D Plastering
After finishing the drawing of the divisions, the mason waits about 30 minutes for the plaster to reach an ideal point for new adjustments. At this stage, the professional reinforces some lines and corrects imperfections in the 3D plastering.
The final finish occurs after two days of complete drying. Only after this period does the mason return to the wall to perform another important stage: sanding.
Painting Further Enhances the Effect
With the wall already dry, the mason uses 120-grit sandpaper to smooth parts of the relief and highlight the natural effect of the 3D plastering.
This process helps create variations on the surface, making the visual result even more realistic. Next comes the most creative stage.
The mason applies paint to the wall, using various colors to simulate natural stones or create a personalized style of 3D plastering.
According to him, those who intend to apply the technique indoors can use regular paint mixed with pigments to achieve different shades.
Mason’s Tip Increases Durability
During the explanation, the mason also shares an important recommendation for those who intend to reproduce the technique. Instead of using lime in the mixture, he advises using plasticizer.
This product improves the adhesion of the plaster and helps prevent cracks in the 3D plastering. Thus, the final result tends to be more resistant and durable.
As he shows the final result, the mason celebrates the achieved appearance. According to him, the finish really resembles natural stones, proving that 3D plastering can completely transform the look of any environment.
Watch the full video


Ficou muito legal, amei, de que região vc é?