 Portuguese
  English
  Spanish
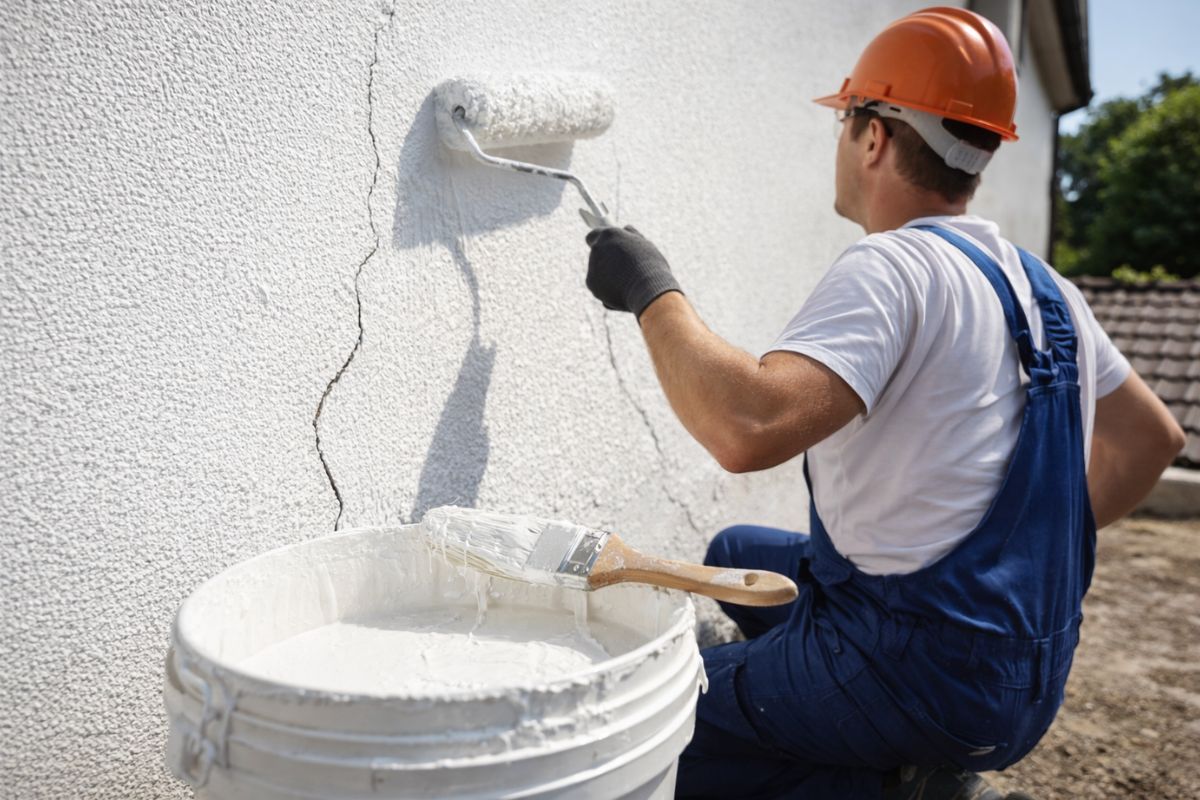
The homemade rubber paint is made with acrylic mass, white PVA glue, liquid gloss, and liquid dye, creating an elastic layer that waterproofs external walls, resists sun and rain, covers small cracks, and can cost up to 80% less than ready-made paints on the market.
Renewing the external wall of the house without spending a fortune seems impossible when looking at the prices of ready-made paints in construction stores. But a homemade rubber paint made with just four cheap ingredients surprisingly solves this problem, creating an elastic protective layer that waterproofs surfaces, resists sun and rain, and also covers small cracks and fissures. The composition provides a finish that resembles flexible rubber, adhering to different types of bases such as plaster, cement, and masonry without the need for complex preparation.
Cost savings are the argument that convinces those who are still in doubt. The homemade rubber paint can cost up to 80% less than ready-made paints with similar functions, and the necessary materials can be found in any construction supply store. For those with external walls exposed to the weather, cement pots that need protection or indoor environments with humidity problems, this solution offers waterproofing, durability, and finish in a single application.
The four ingredients that make up the homemade rubber paint
According to Revista Oeste, the recipe is simple and each ingredient plays a specific role in the final result. The acrylic mass is the base of the rubber paint and provides the structure and consistency necessary for application.
-
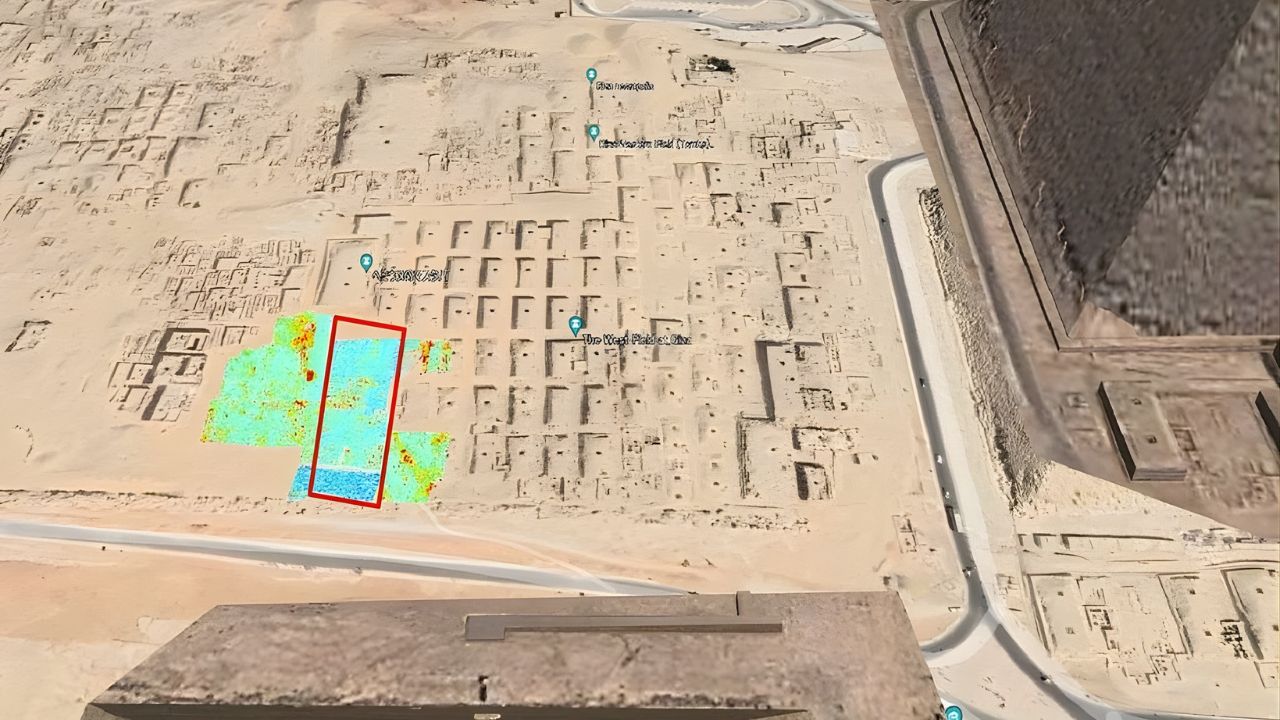
An archaeologist announces that scanning technology has found an unknown structure in the depths of the Great Pyramid of Khufu, a 30-meter void with a sealed door that has not been opened for 4,500 years, hidden within the last of the Seven Wonders of the Ancient World still standing, and says that the full revelation will come in 2026.
-
Scientists in China have discovered more than 700 animal fossils that should not exist and that lived millions of years earlier than science believed was possible for complex life on Earth.

-
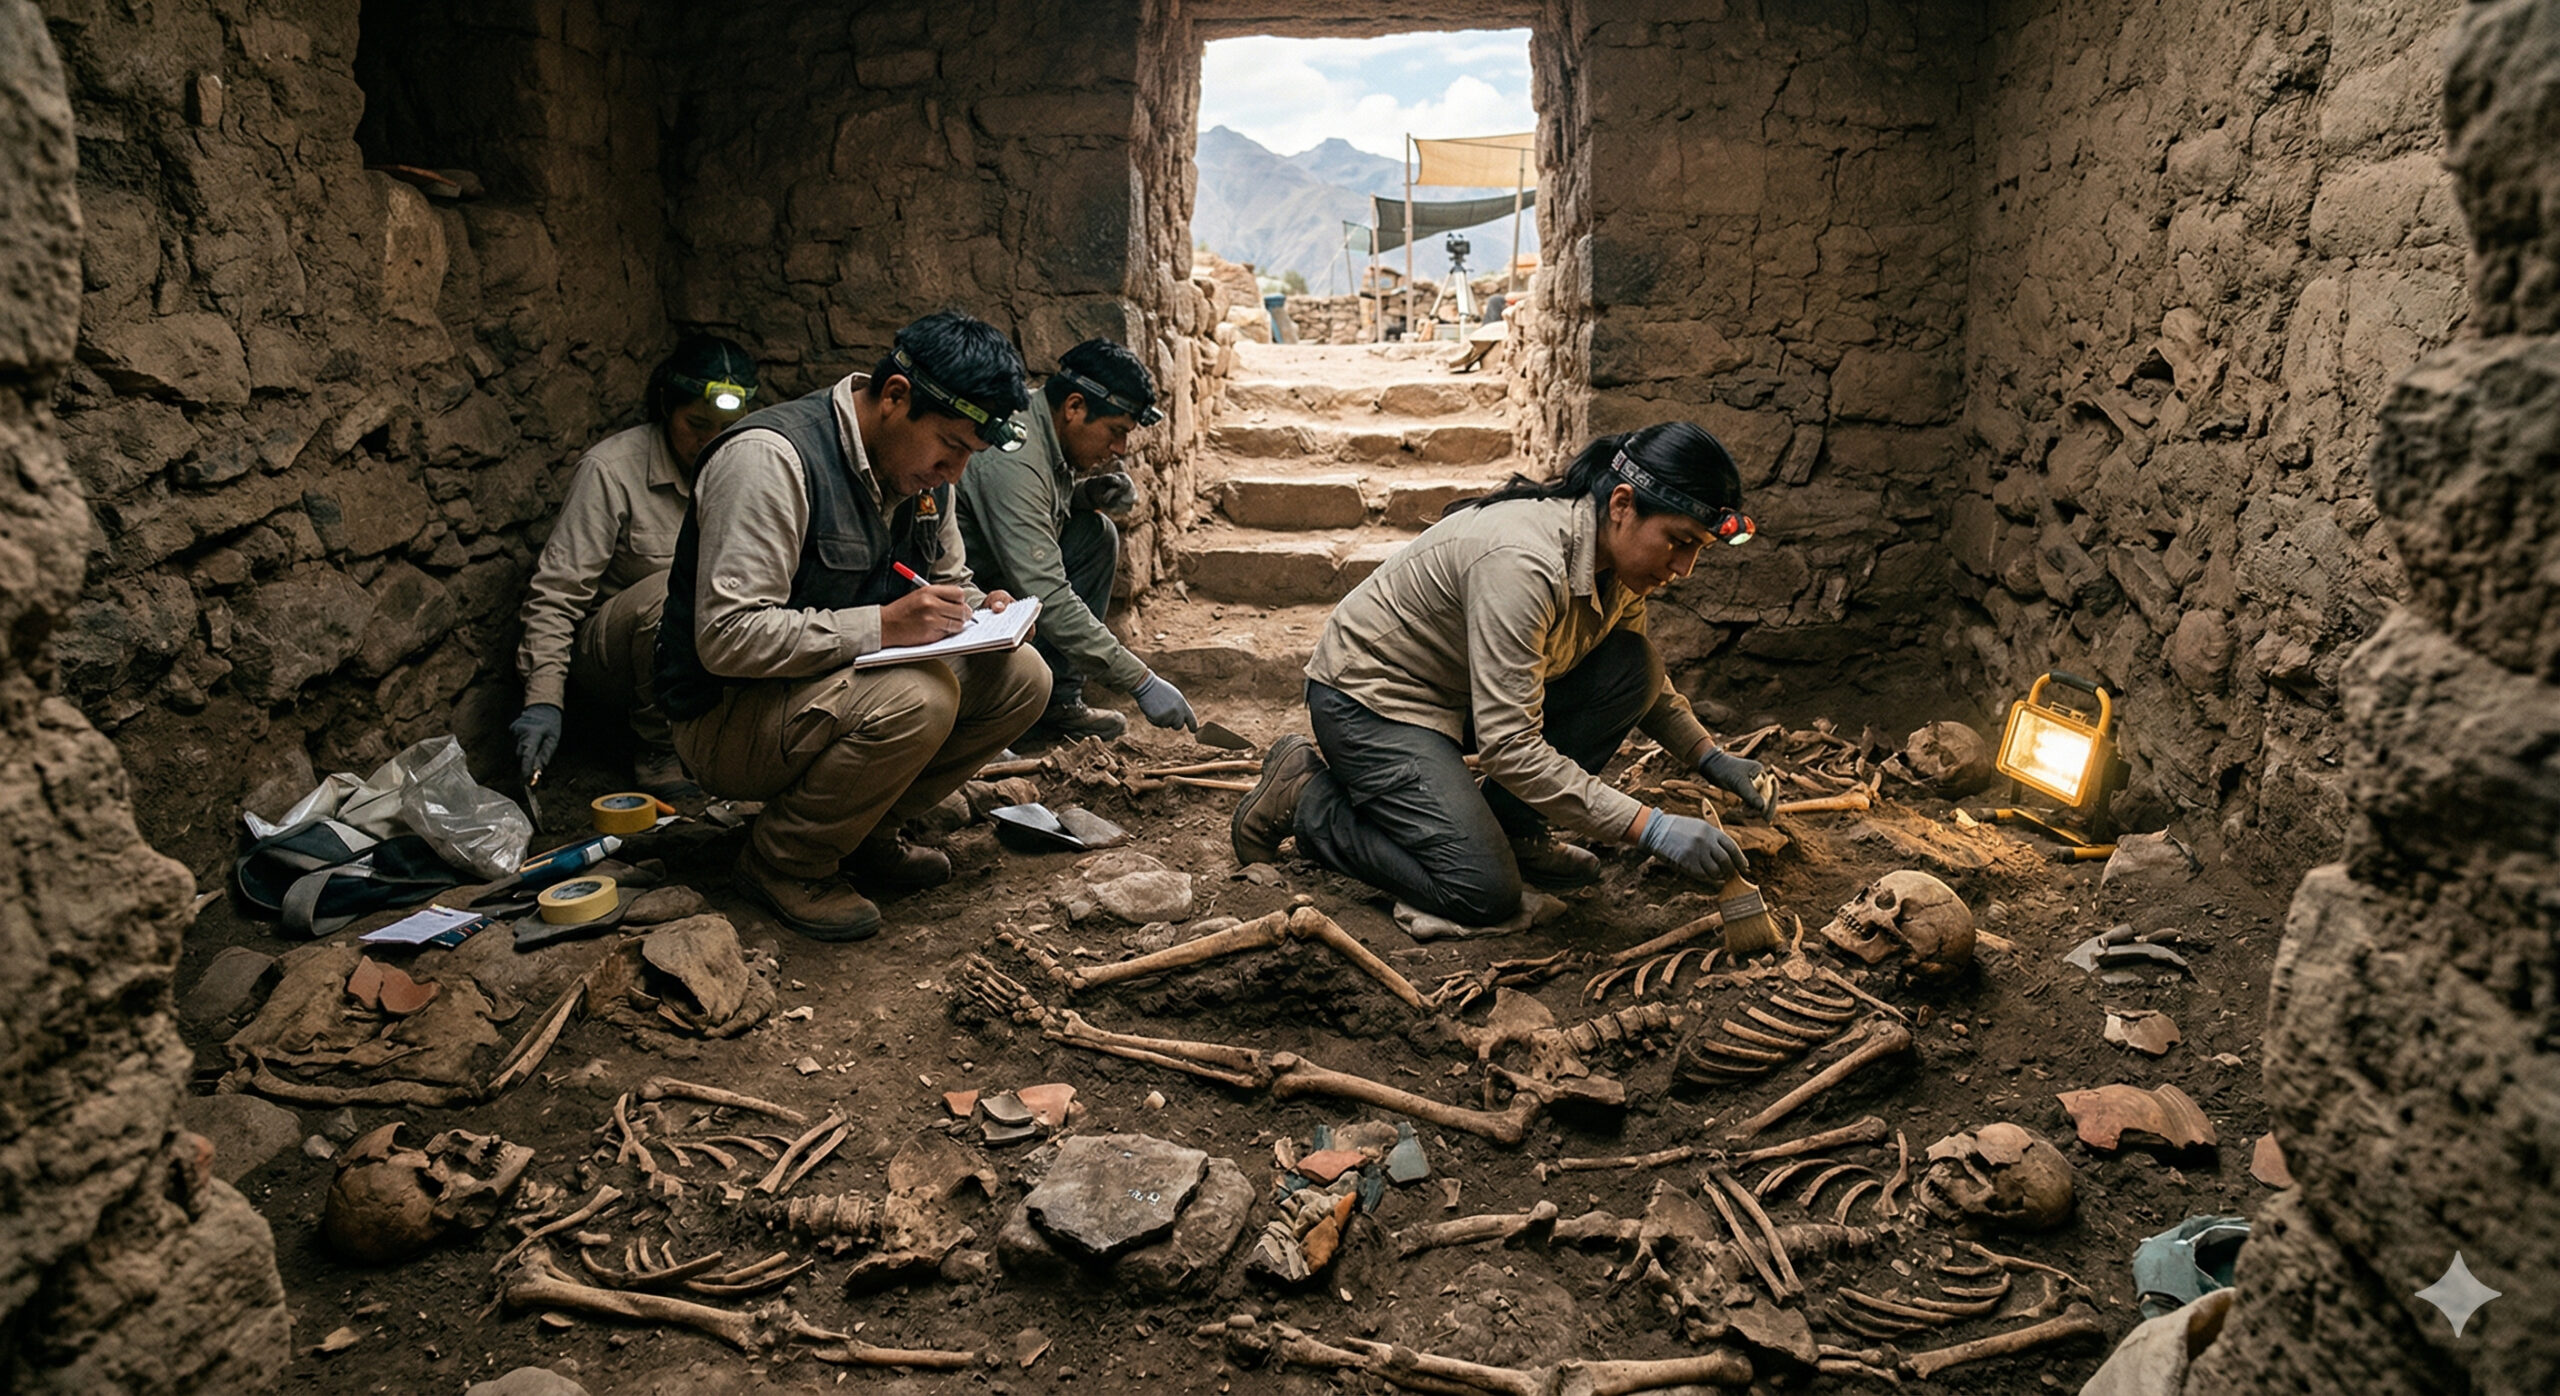
In Peru, archaeologists opened a temple dating back about 3,000 years and found 14 bodies associated with human sacrifices. This discovery expands the timeline of Andean rituals and indicates organized practices long before the great empires of the region.
-
Chinese engineer goes viral teaching how to take down F-35, and the video gains attention after Iran targets US fighter jet.

It is responsible for coverage and filling small imperfections on the surface, functioning as the body of the mixture that the other ingredients will complement.
The white PVA glue increases the resistance and adhesion of the rubber paint to the surface, ensuring that the layer does not peel off or degrade over time. The liquid gloss improves the finish and durability, adding a subtle shine that also facilitates later cleaning.
The liquid dye is the ingredient that defines the desired color, allowing customization according to the project. Together, the four materials create a rubber paint with elasticity, adhesion, and protection that surprises with its reduced cost.
How to prepare the rubber paint with the right consistency
The preparation requires attention to the order of the ingredients and control of the water added. The first step is to mix the acrylic mass well until it becomes uniform, without lumps or air bubbles that compromise the application of the rubber paint.
Next, the white glue and liquid gloss are incorporated into the base and mixed until the composition is homogeneous.
Water is added gradually, and this is the most important stage in preparing the rubber paint. The amount of water defines the ideal point of the mixture: too little water makes the paint too thick and difficult to spread, while too much water makes the layer too thin and compromises waterproofing.
The liquid dye is added last and should be mixed until the color is evenly distributed. The result is a rubber paint with a creamy texture, easy to apply with a roller or brush.
Where the homemade rubber paint can be applied
Versatility is one of the strengths of this mixture. The rubber paint adheres directly to plaster, cement, and other common bases without the need for primer or special preparation, which simplifies the process and further reduces the total cost of the renovation.
External walls exposed to the weather are the most obvious application, but not the only one.
Indoor environments with humidity problems, cement pots, decorative pieces, and surfaces with small imperfections also benefit from the rubber paint. The elastic layer it forms over the surface acts as a seal that helps prevent leaks and protects against wear caused by continuous exposure to sun and rain.
For those living in regions with frequent rains, the waterproofing that the rubber paint provides can prevent more serious problems such as mold and deterioration of plaster.
The decorative effects that the rubber paint allows to create
In addition to protection, the homemade rubber paint allows for exploring creativity with finishes that enhance the environment.
With a sponge, it is possible to create a brick effect that gives a rustic texture to the wall, a technique that has become popular in barbecue areas, balconies, and gourmet spaces. The combination of two colors of rubber paint in alternating layers creates visual depth that mimics professional finishes.
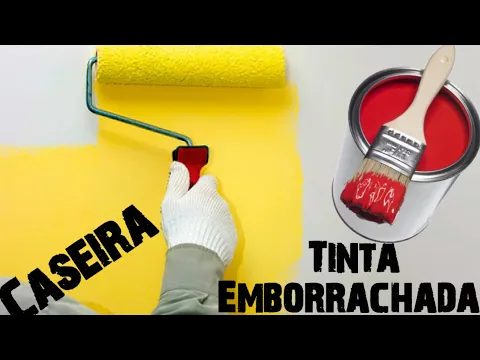
The application with a roller produces a uniform and smooth finish that works on both internal and external walls, while techniques with a spatula or dry brush create differentiated textures that personalize each space.
The rubber paint accepts these variations well precisely because of the elasticity of its composition: the layer molds to the applied technique and retains its shape after drying, creating reliefs and textures that common paints cannot sustain.
What to expect in terms of durability and protection of the homemade rubber paint
Durability depends on the quality of the ingredients and the correct preparation of the mixture. Well-prepared rubber paint withstands months of exposure to sun and rain without peeling, cracking, or losing color, provided the surface was clean and dry at the time of application.
The elasticity of the layer allows it to follow small movements of the wall without breaking, covering cracks that rigid paints cannot.
To maximize the lifespan of the rubber paint, the recommendation is to apply two to three thin coats instead of a single thick layer. Each coat should dry completely before applying the next, ensuring adhesion between layers and more uniform protection.
The final result is a waterproofed surface, with a modern finish and real protection against the elements, all made at home with four ingredients that fit any budget.
Have you ever made homemade rubber paint or is this the first time you’ve heard of this technique? Which surface of your house needs waterproofing the most right now? Share in the comments. Money-saving renovation tips that really work deserve to be shared with those in need.


Seja o primeiro a reagir!