Portuguese
  Spanish
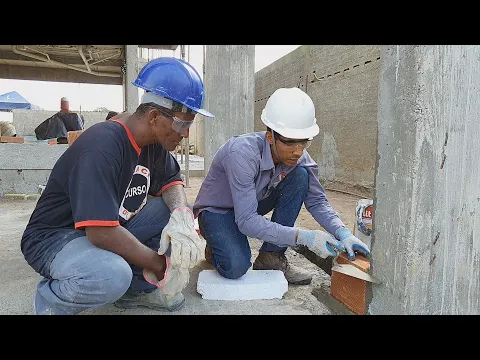
A mason explains how to use alignment, level, plumb, and square, correct with a mallet at the right time, and gain confidence in masonry with daily practice
Becoming a mason doesn’t happen overnight, but it doesn’t have to take a lifetime either. The leap begins when you stop working on autopilot and start seeing what’s happening on the wall: where the reference is, where the block wants to “go,” and what needs to be corrected before it becomes rework.
The most important thing is to understand that a mason doesn’t earn respect for working quickly, but for working correctly. In the step-by-step below, the logic is straightforward: set, check, adjust, and repeat, always with the same attention.
First of all: the mason who delivers well does not give up on the 4 pillars
The mason summarizes the quality standard in four points that come up all the time in conversation: alignment, level, plumb, and square. It may seem like “rule talk,” but it’s what prevents the crooked wall that becomes a headache later on.
-
28-meter, 156-ton titans traveled 20,000 km from China to the port of Santa Catarina: Portonave received 7 fully electric megacranes, part of a R$ 210 million package, to double container handling.

-
They exchanged the idea of a large house for a 35 m² warehouse, spent US$ 12,000 on the structure, and created a tiny house in Colorado with space to live and work.

-
A newly opened terminal in the middle of the Amazon has begun transporting soy and corn through Amapá, eyeing the queue of ships that is congesting the ports in the South.

-
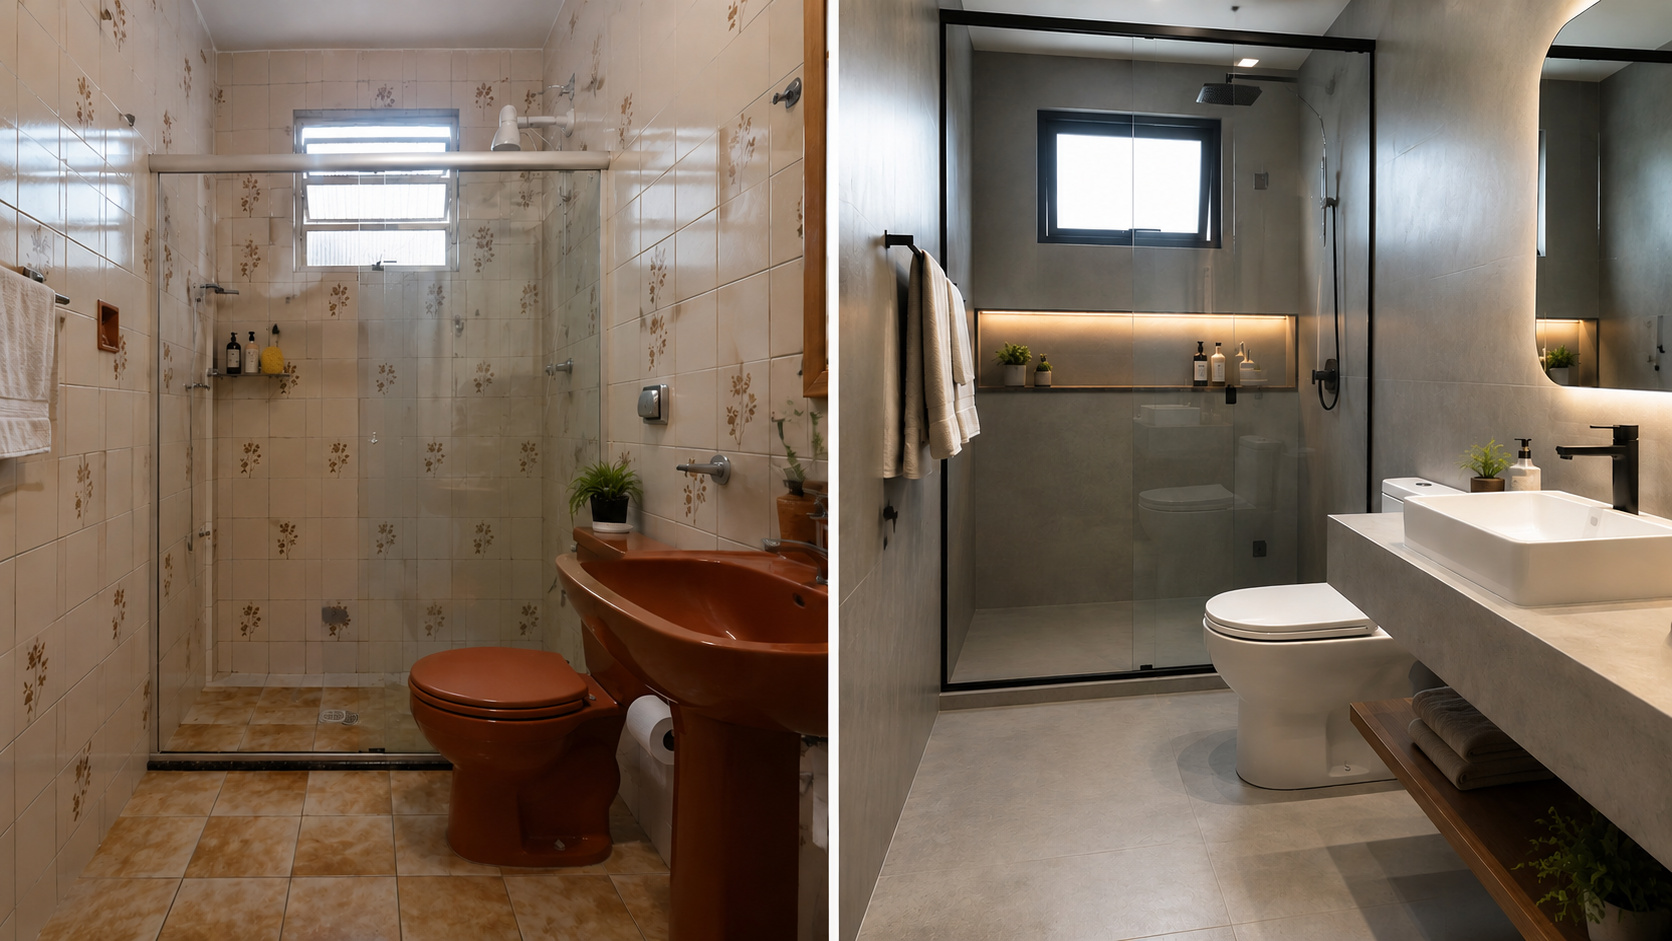
Goodbye to old tiles: renovation technique without construction transforms bathrooms in a few hours, eliminates debris, and reduces costs with coverings using special paints, high-resistance adhesives, and modern finishes that completely renew the space.


When you take these four pillars as a commitment, you reduce errors, save time, and increase the chance of being recommended.
Step 1: choose your reference and do not work by “eye measurement”

In the demonstration, the pillar becomes the reference for what comes next, including the plaster. The mason looks at the distance, compares it with the pillar, and decides where to adjust, either up or down, to keep the set coherent.
If you already have a reference point, using your eye as a rule is asking for the wall to start wrong. First, organize and remove excesses where the block will touch, making the fit cleaner.
Step 2: dampen the pillar and prepare the place for setting
Before applying mortar, he advises dampening the pillar with water and a brush. It’s a detail that many people skip, but it helps with the behavior of the mortar and adhesion.
It’s the kind of care that nobody notices at the moment, but everyone feels later in the result.
Step 3: apply the mortar in a way that it doesn’t collapse into the block

Here comes a practical tip: when scooping the mortar with the trowel, don’t keep it all flat. He explains that if it’s too flat, the mortar may “fall” into the block.
The mason advises keeping an inclination of about 45 degrees so that the mortar is well set and easy to receive the block.
Small decisions like this make the job cleaner and more manageable.
Step 4: set the block and use the mallet to correct, not to “solve in a panic”
The block goes on top of the mortar and enters the part that defines the apprentice’s rhythm: placing it calmly, positioning, and adjusting the corner.
When he needs to lower it, he taps with control, just enough. The mallet appears as an adjustment tool, not as brute force.
A mallet without checking becomes guessing. A mallet with checking becomes precision.
Step 5: the manual level is your best friend when you are still learning
He places the manual level on top of the block and reads the bubble. If the bubble is not in the middle, the block needs adjustment. The correction comes exactly to the side that the level shows.
Then, he goes back and checks again. It’s repetitive, yes. But that’s what makes the block get into place.
A good mason is not the one who gets it right every time on the first try, but the one who always checks before proceeding.
Step 6: repeat on the other side the same way to gain consistency
The mason reinforces that the process needs to be repeated on the other side, with the same sequence: wetting, well-applied mortar, well-placed block, level checked, adjustment made, and final check.
What makes you evolve is not doing it right once, but being able to repeat it correctly when no one is watching.
How to become a mason in 6 months without relying on “luck”
The most human part of the foundation is when he talks about how he learned: observing, trying, making mistakes, listening to corrections, and coming back the next day. He mentions that he took advantage of lunchtime to practice, placing a few blocks each day until his hand began to understand what his eye could already see.
The message is simple: if you arrive at the job site just to fulfill a task, you remain stagnant. If you come as an observer, you accelerate. He argues that with daily dedication, in about six months, one can perform various activities with more confidence.
Excellence: the client perceives more than you imagine
The mason also brings up a point that many people forget: those who hire are investing in a dream, not just a service. When you deliver something crooked, poorly checked, you lose the chance to come back and lose recommendations.
There is no shortage of work for those who deliver the minimum well done, and there is plenty of work for those who deliver well done and still pay attention to detail.
What was the most difficult thing for you at the beginning of masonry: getting the level right, keeping the plumb, following the line without “bending,” or gaining the confidence to adjust the block without fear of making mistakes?