Portuguese
  Spanish
Learn how to locate hidden wires in construction before drilling with practical techniques and accessible tools to increase safety and avoid damage in residential renovation.
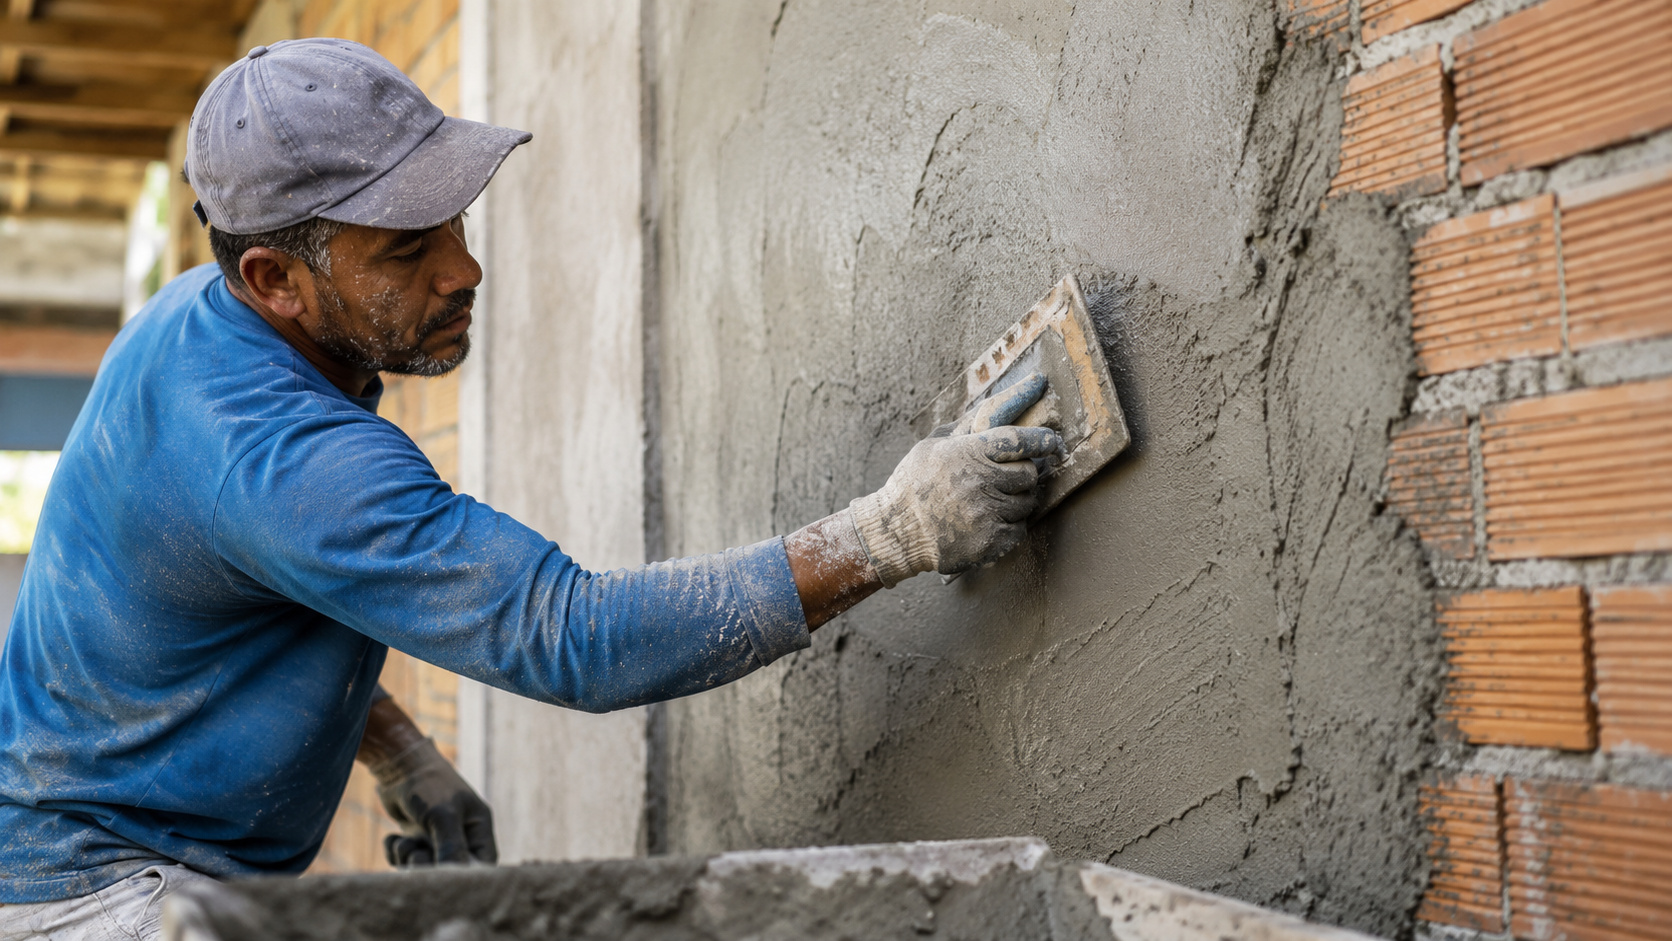
Detecting wiring in the wall before drilling prevents shocks, short circuits, and costly repairs in any structural intervention. With some quick and accessible methods, you can reduce risks, mark suspicious areas, and use the drill with more safety and planning. In residential renovation processes or everyday interventions, haste and lack of preparation can be very costly at the end of the month.
According to an article published by Catraca Livre on July 1, 2026, electrical wires can pass through masonry without any visible sign on the surface, making prior scanning a mandatory step. Drilling in the wrong spot can hit energized cables, severely damage the installation, and turn a simple task into an accident risk. This article details guidelines recommended by the source to shield your budget and protect your physical integrity.
Why map electrical wiring before starting to drill in residential construction?
Unawareness of the hidden path of cables is the main trigger for serious headaches at home. Extra care should be taken near outlets, switches, electrical panels, and light fixtures. These areas usually indicate possible paths of electrical installation, so they require careful observation before hanging shelves, pictures, mounts, or furniture on the wall.
-
Brazilian Architect Wins International Award for Empowering Ugandan Women to Build Their Own Homes

-
Singapore Constructs Massive Waste Island with 7 km Dike to Combat Space Shortage
-
Australia’s Massive 5.5 km Iron Mine Visible from Space Fuels Global Industry with Giant Trains

-
Brazil Unveils Innovative Monitoring System to Prevent Abandonment of Public Works, Boosting Efficiency and Reducing Waste in Infrastructure Projects


Mapping the infrastructure before drilling walls in residential construction has become an essential standard. To avoid missing the target, experts recommend that you establish a practical routine combining visual resources and scanning tools. In practice, combine the following fundamental resources:
- Carefully observe nearby outlets, switches, and light fixtures.
- Use a wall detector device before marking the definitive hole.
- Repeat the reading of the location in vertical and horizontal lines.
- Consult the electrical plan of the property when available.
- Avoid drilling points that show contradictory signs or unstable readings.
The safest and technically recommended method to mitigate accidents in residential construction is the use of an electronic locator. This device can identify metals, beams, and live wires running behind the plaster. It is an inexpensive device compared to the cost of repairing damage to the power network.
To obtain a reliable reading, slowly pass the device over the surface, repeating the reading in different directions to confirm the alert area before marking. Cross-referencing data from sequential readings ensures the necessary electrical safety your home needs to avoid short circuits.
How does electrical wiring usually run in masonry?
In structured and more organized installations, cables generally follow vertical or horizontal paths from outlets and switches. This means that drilling exactly above, below, or beside these points can be much riskier without prior verification.
However, not every house follows the ideal engineering standard. Older constructions, improvised splices, and sudden point changes can alter the original path of the wires. Therefore, visual observation should be considered only the beginning of the inspection, never your sole guarantee of protection.
Voltage pens: quick allies when drilling walls
Another very useful device for those facing construction work is the voltage detector pen. They work by proximity and indicate the presence of current electricity visually or audibly. However, their use requires certain operational precautions.
Voltage detector pens can be quite helpful, but they work best on energized wires that are close to the surface. They do not replace a dedicated wall detector and may fail on deep cables, thick conduits, or walls with denser coverings, such as heavy tiles.
Active Electrical Safety Protocol When Drilling
After choosing an apparently free spot with the help of machinery, turn off the circuit or breaker in the area before drilling. Use a drill bit suitable for the type of material and start the process without impact if the wall allows, proceeding carefully to notice any strange resistance or sudden change in pressure.
It’s also worth limiting the depth of the hole by attaching a piece of tape to the drill bit itself, especially when installing frames, light supports, and smaller plugs. Drilling deeper than necessary increases the unnecessary risk of hitting conduits, pipes, or other hidden elements. Pay attention to the following warning signs:
- Turn off the network breaker before starting any drilling.
- Use appropriate safety glasses and keep children away from the work area.
- Precisely mark the exact depth needed on the steel drill bit.
- Stop immediately if there is a burning smell, sparks, or unusual resistance.
- Do not continue drilling if the sensor indicated the presence of risk at the exact location.
The Right Time to Call for an Electrician’s Help
In the guidelines on how to map the hidden structure before drilling, the central idea is to use simple methods to avoid household accidents. Even so, very old walls or extensively renovated properties require extra caution and a qualified professional assessment.
Call an electrician when there is doubt about the real path of the wires, many nearby electrical points, clear signs of improvised installation, or if you need to drill near the power panel. The cost of this professional’s inspection will certainly be less than repairing damaged cables, dealing with electric shocks, or covering damages in the general installation.
Active prevention to shield your wallet and your family during residential renovations
Putting these precautions into practice before pulling the trigger on the tool is what separates a successful project from a catastrophic loss. Combining spatial mapping with accessible device technology creates an efficient shield for your installations.
Adopting the habit of checking surfaces before fixing any item improves the progress of residential renovations, protecting those you love. After all, keeping the network protected and ensuring the peace of mind of a residential renovation without surprises are the best investments for your property.